161
Printer Driver Sharing Function
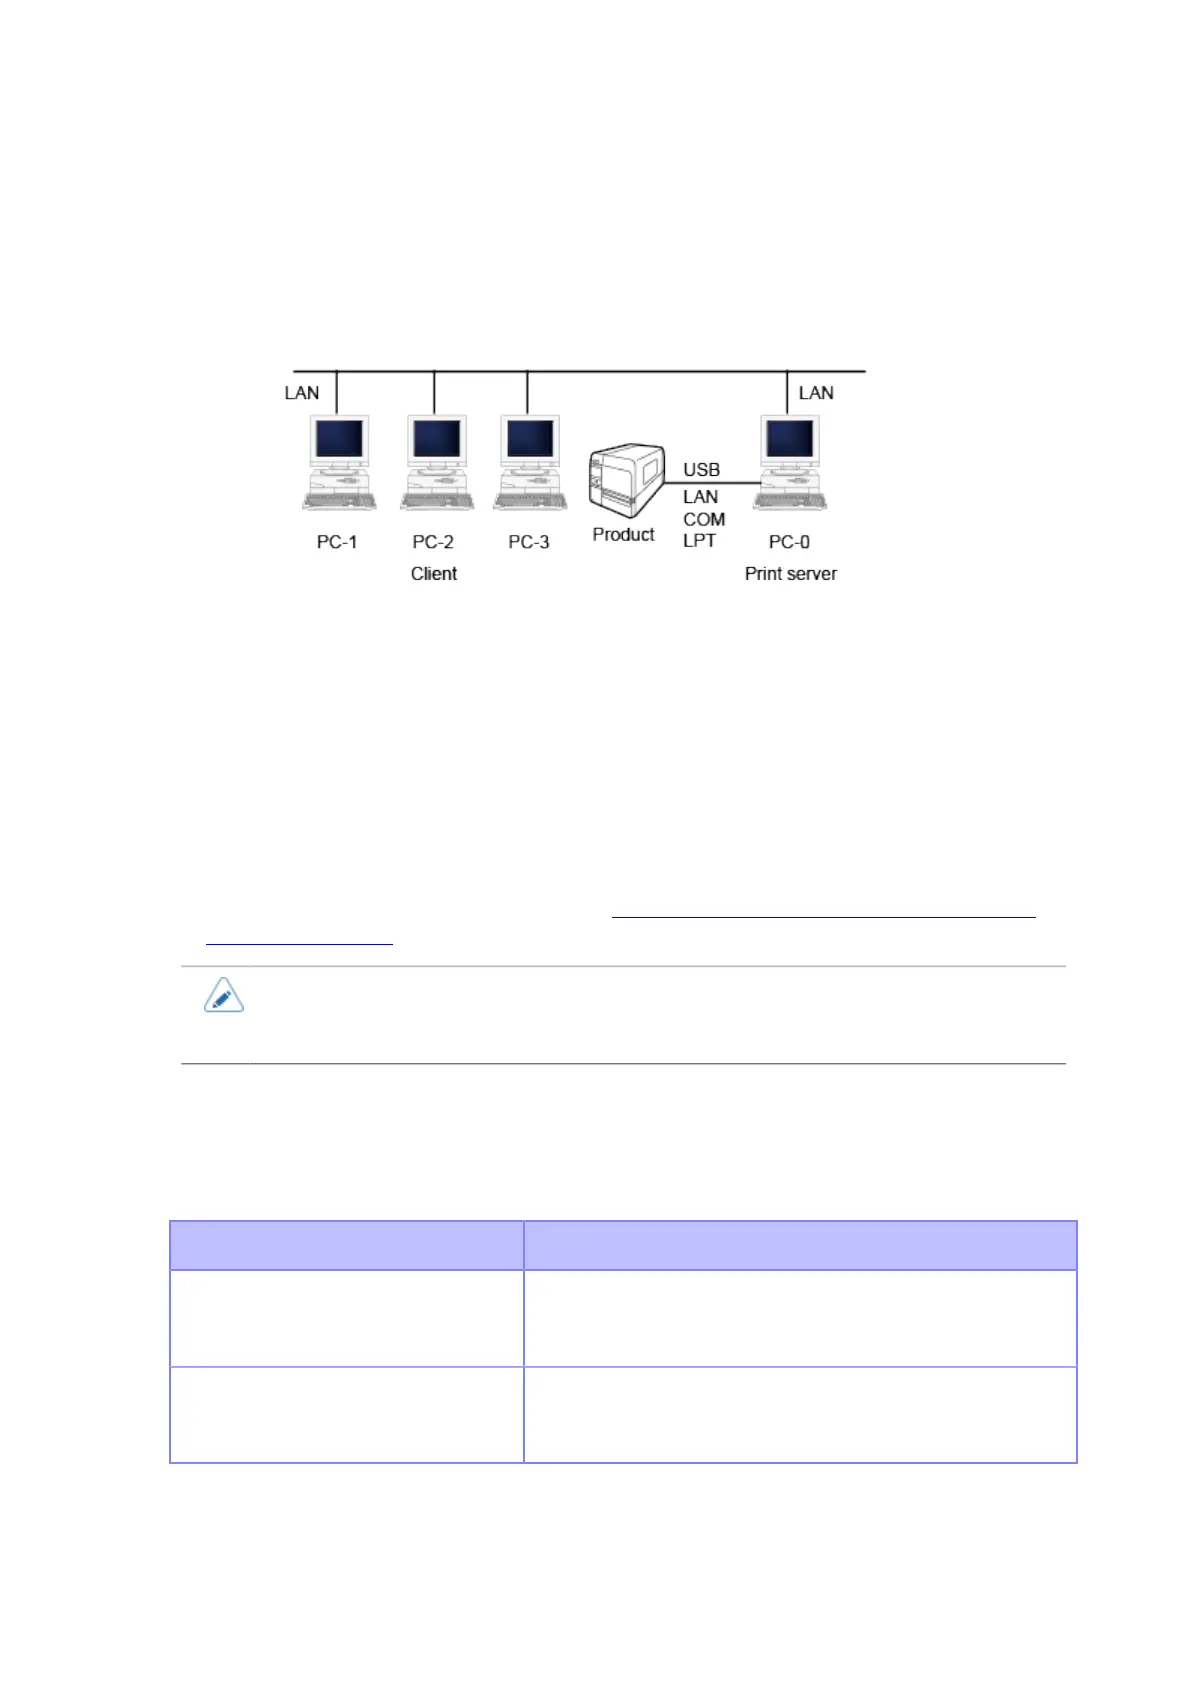
Connecting When Using the Printer Driver with Sharing Settings
The figure below shows how to connect when using the printer driver with sharing settings.
Set one computer (PC-0) as the print server and set other computers (PC-1, PC-2, PC-3, and so
on) as clients. All computers should be connected using a LAN connection and the print server and
product should be connected using LPT, COM, USB, or LAN.
Printer Driver Sharing Settings
The following shows how to set the printer driver when using the printer driver with sharing settings.
1. In both the print server and clients, download and install the printer driver from
the SATO printer driver download site. http://www.satoworldwide.com/software/
gallerydriver.aspx
• If you are adding it with the [Add a printer] icon from the [Printers] folder, the necessary
files may not be installed and may not perform correctly (the copy of the sharing printer
icon on the network computer will be the same).
2. After confirming that a label can be output correctly from the printer driver of the
print server, set the printer driver to "Shared".
3. Specify the output port of the client's printer driver to the sharing printer
configured on the server.
Environment Setting Method
Windows Server 2008 In the printer driver, open [Properties] > [Ports] > [Add Port]
> [Local Port], and specify the port name as "\\Sharing
computer name\Sharing printer name".
Windows 7 or later In the printer driver, open [Printer properties] > [Ports] >
[Add Port] > [Local Port], and specify the port name as "\
\Sharing computer name\Sharing printer name".
4. Turn off the bi-directional communication of the printer driver in the client.