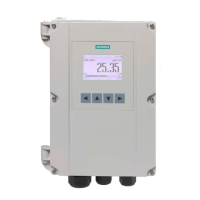
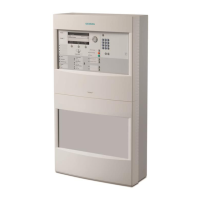
Commissioning Ethernet switch (modular) FN2012
A1 integrated into station
24
105 |
Building Technologies
24.2 FN2012-A1 integrated into station
This description is for an FN2012-A1 that is connected to the station via a ribbon
cable.
You will find information on mounting and installing the FN2012
008851. See chapter 'Applicable documents'.
A1 has no IP address in the factory setting.
Commissioning an integrated FN2012-A1
ϖ The FN2012-A1 is connected to the station via a ribbon cable.
ϖ The rotary switch on the FN2012-A1 is set to '0'.
1. Create the FN2012-A1 in the site configuration:
– In Engineering Tool, create the 'Ethernet switch (modular, FN2012)'
element in the hardware tree for the station to which the FN2012-A1 is
connected.
– Or
– Read the new devices in on the station and then load the configuration
from the station to the PC.
2. Configure an IP address for the FN2012-A1 that is valid on the sub-net:
– In Engineering Tool, select 'Network' task card > 'Global system
configuration' > 'FS20 network configuration' > 'Ethernet sub-net' >
'Connections' > 'Station with the FN2012-A1'.
– On the 'Overview' tab, enter the IP address of the FN2012 in the 'IP
address network switch' field.
3. Configure redundancy management for the Ethernet ring in Engineering Tool.
– You will find more information in document 009078.
4. Configure the local ports and fault monitoring for local ports in the web
interface:
– Put the web interface into operation. Link [➙ 106]
– Deactivate any local ports on the FN2012-A1 that are not being used in
accordance with your safety requirements. Link [➙ 108]
– Configure fault monitoring for local ports. Link [➙ 109]
 Loading...