Thaw, vortex, and centrifuge an RNase P plate
IMPORTANT! Expose the RNase P plate to room temperature for no more than 45 minutes, inclusive
of thawing and preparation time.
After thawing, the RNase P plate cannot be refrozen.
1.
Remove the RNase P plat
e from the freezer, then thaw the plate in its packaging.
•
Thaw the plate for approximately 5 minutes.
•
Use the plate within 30 minutes of thawing.
2.
Confirm that the bench, vortex, and centrifuge are clean. Before use, wipe the vortex and
centrifuge using a lint‑free tissue.
3.
While wearing powder‐free gloves, remove the plate from its packaging.
4.
Vortex the plate for 5 seconds, then centrifuge at 750–1,000 × g for 2 minutes.
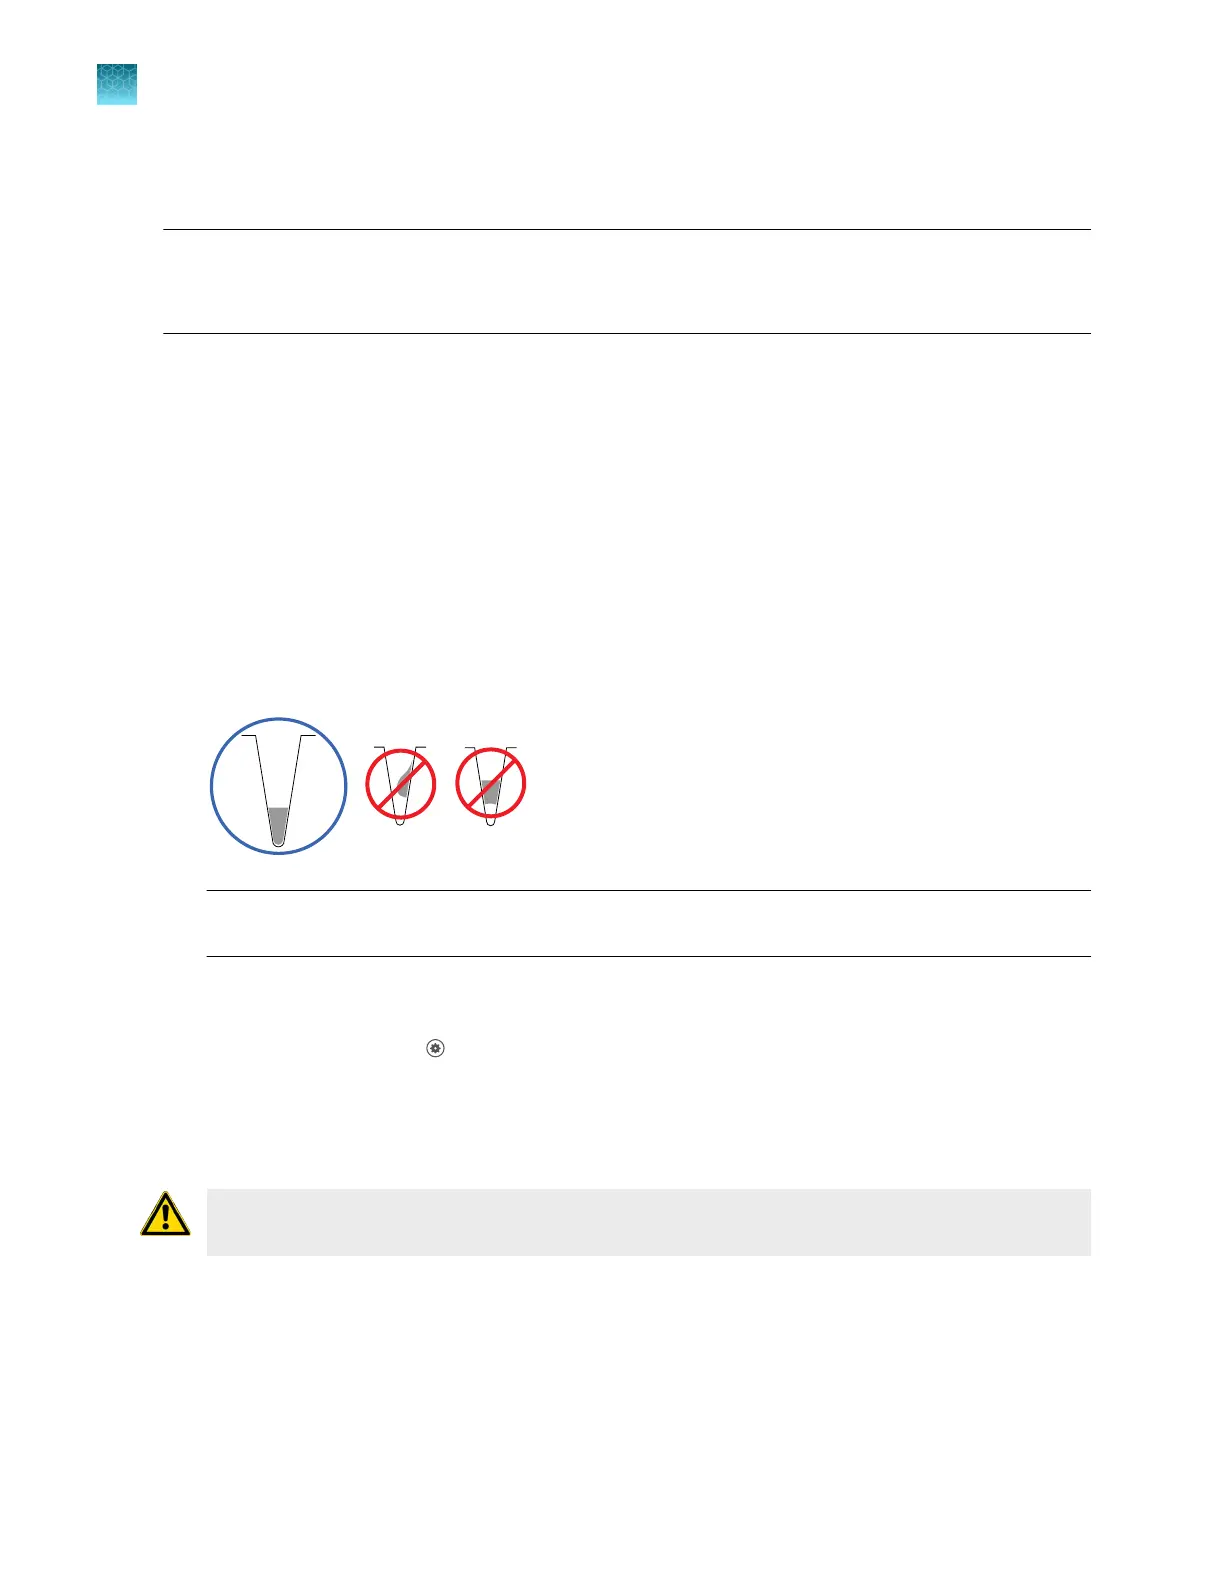
5.
Confirm that the liquid in each well is at the bottom of the well and free of bubbles. If it is not,
centrifuge the plate again.
IMPORTANT! K
eep the bottom of the plate clean. Fluids and other contaminants on the bottom
of the plate can contaminate the sample block and cause an abnormally high background signal.
Perform RNase P verification
1.
In the home scr
een, tap
(Settings)4Maint
enance and service4RNase P verification.
2.
Follow the instructions on the screen to start the verification.
3.
Load the plate into the instrument.
CAUTION! The instrument should be used by tr
ained operators who have been warned of the
moving parts hazard.
4.
T
ap Start.
Chapter 7 C
alibrate and verify instrument performance
Perform verification using RNase P plates
7
106
QuantStudio
™
6 Pro Real-Time PCR System and QuantStudio
™
7 Pro Real-Time PCR System User Guide