4.
Pipet 100 µL of each solution into the appropriate port of the array card.
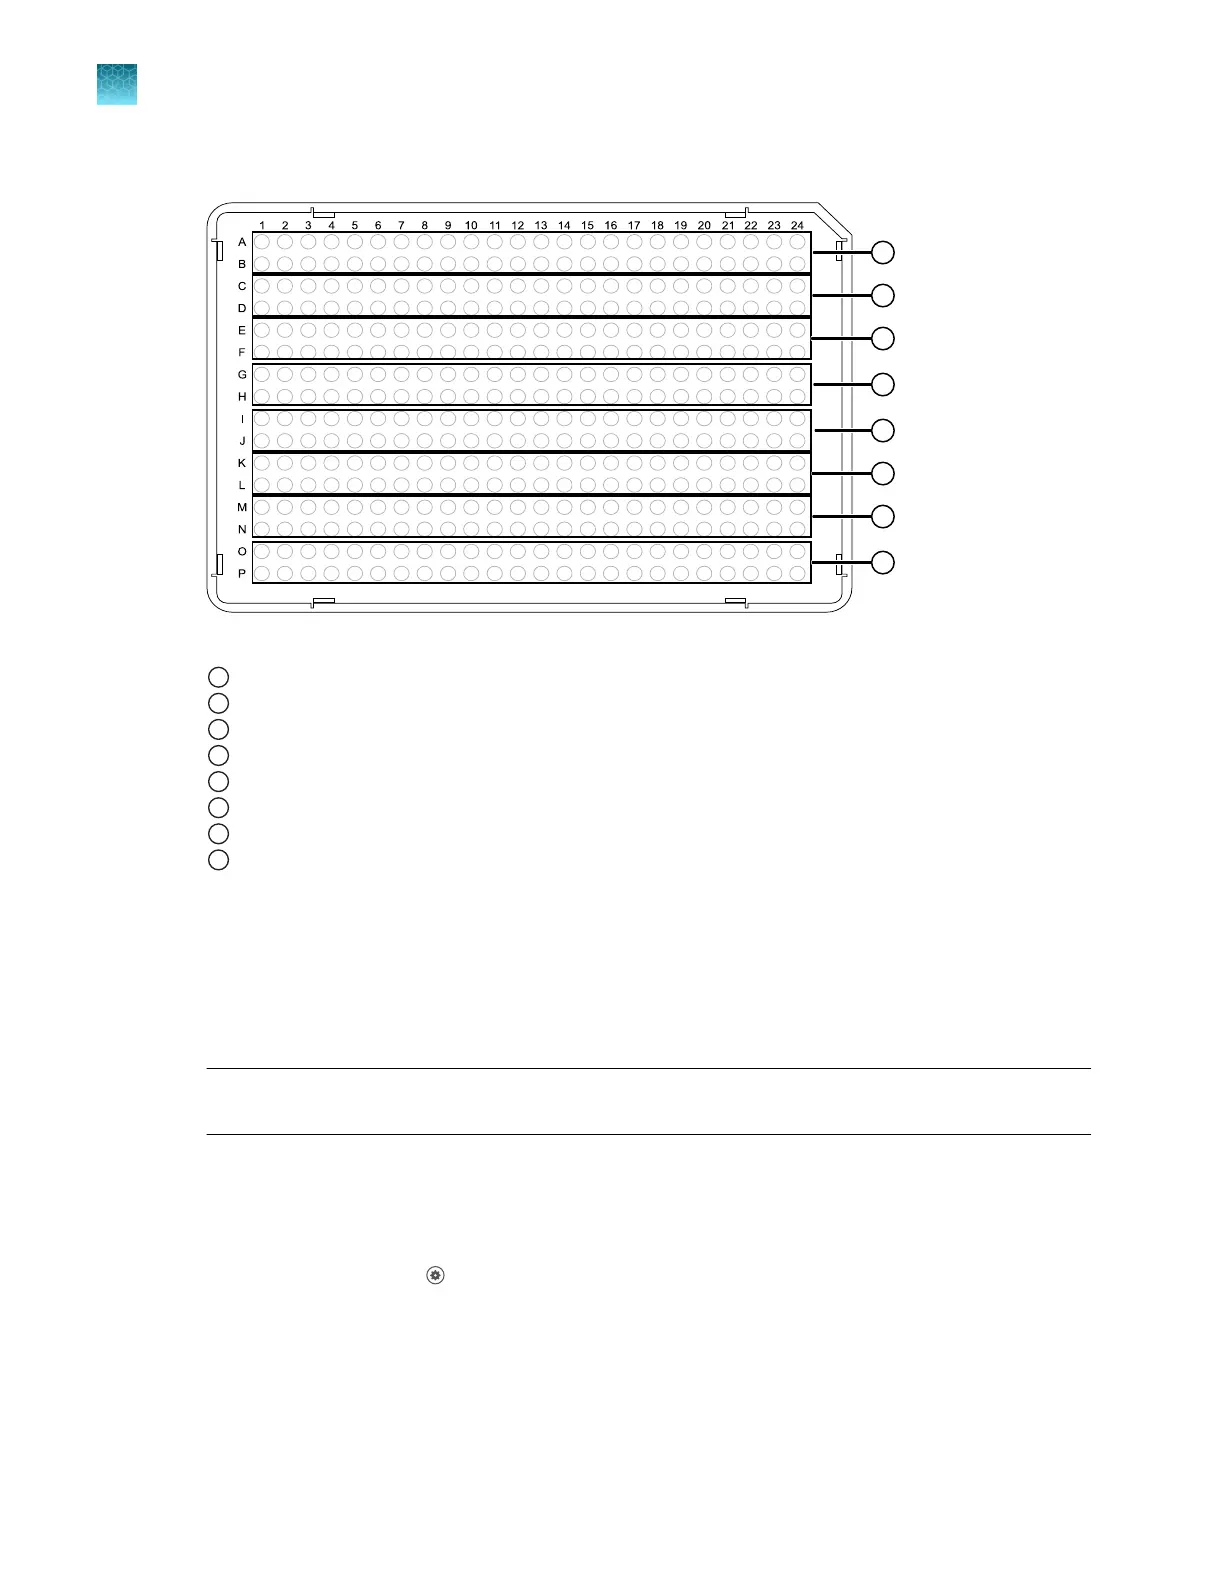
Figure 16 RNase P standards layout
1
Port 1, No Template Control
2
Port 2, Unknown A (800 copies)
3
Port 3, Unknown B (1,600 copies)
4
Port 4, Standard 200 copies
5
Port 5, Standard 400 copies
6
Port 6, Standard 800 copies
7
Port 7, Standard 1,600 copies
8
Port 8, Standard 3,200 copies
See “Load the PCR reaction mix” on page 204.
5.
Centrifuge the arr
ay card, then check the array card for the correct fill.
See “Centrifuge the card” on page 204.
6.
Seal the array card.
See “Seal the card” on page 206.
IMPORTANT! If an arr
ay card is sealed improperly, it can leak and contaminate the sample block
and/or it can cause the associated calibration or RNase P test to fail.
7.
Run the prepared array card as soon as possible after filling it.
Perform RNase P verification
1.
In the home screen, tap (Settings)4Maintenance and service4RNase P verification.
2.
Follow the instructions on the screen to start the verification.
Chapter 7 Calibrate and verify instrument performance
Perform verification using RNase P with a TaqMan
™
Array Card
7
112
QuantStudio
™
6 Pro Real-Time PCR System and QuantStudio
™
7 Pro Real-Time PCR System User Guide