19
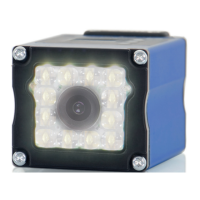
Smart Camera / Vision-Sensor / 1D-/2D-Code-Scanner / OCR Reader
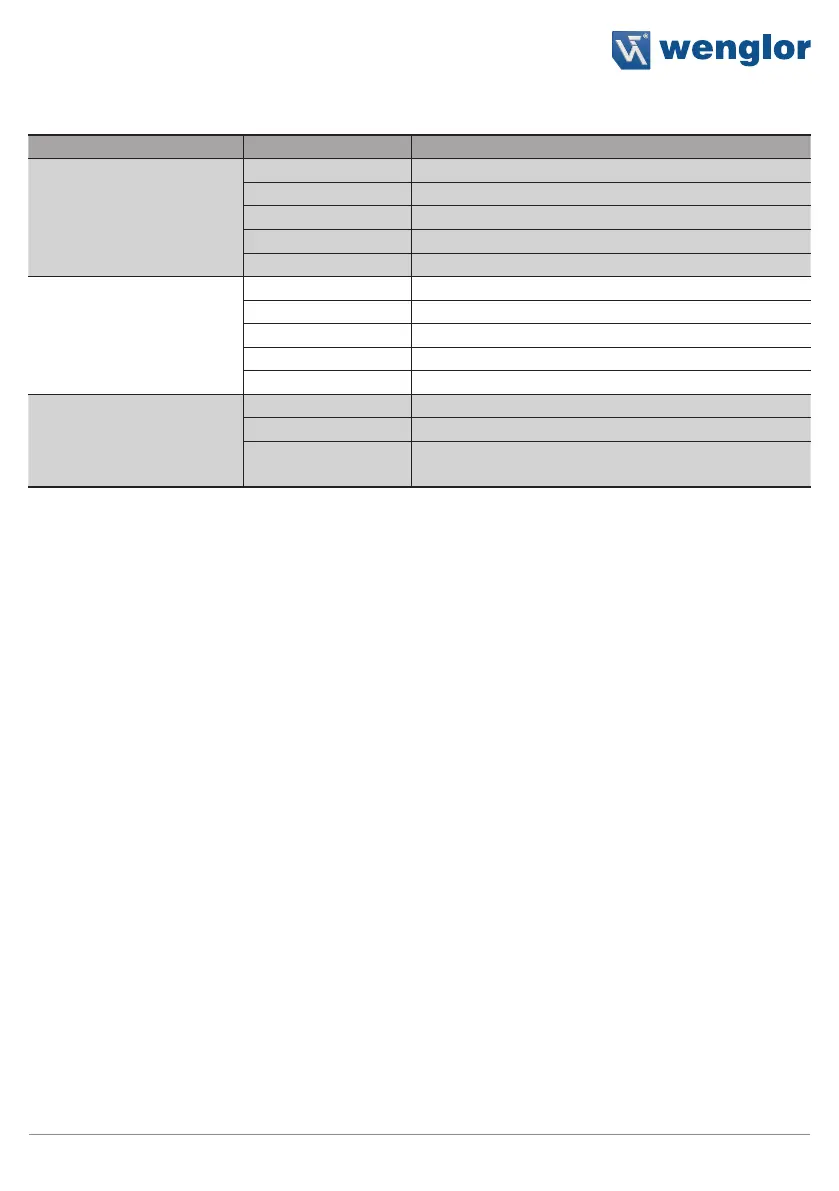
description Status Function
NS (Network status) Off No IP address
green CIP connection
Blinking green IP configured, no CIP connection
red Duplicate IP address
Blinking red CIP connection Timeout
MS (Module status) Off -
green Device works
Blinking green Standby
red Fatal error
Blinking red Device error
L/A Off No Ethernet device connected
green Link available
Blinking green communication
5.5. Initial Start-Up
5.5.1. Cable Connection
Connect the sensor (socket 2) to the Ethernet port at the PC or the controller and connect socket 1 to power
supply (see section 5.2). Power supply must be between 18 and 30 V DC.
Caution: Make sure that the cables have been correctly and securely connected, assuring good physical con-
tact. The sensor’s micro SD card may not be removed during operation. If the micro SD card will be replaced,
disconnect the sensor from power supply first.
5.5.2. Sensor Network Settings
Upon shipment from the factory, the weQube’s IP address is 192.168.100.1 and its subnet mask is
255.255.255.0.
The following options are available for establishing a connection with the sensor.
5.5.2.1. Adjusting Sensor Network Settings Manually
In order to be able to connect the sensor to your PC, you have to make sure that the sensor and your PC are
both within the same IP address range.
Ascertain your PC’s IP address and subnet mask to this end.