PTT cylinder
9-42
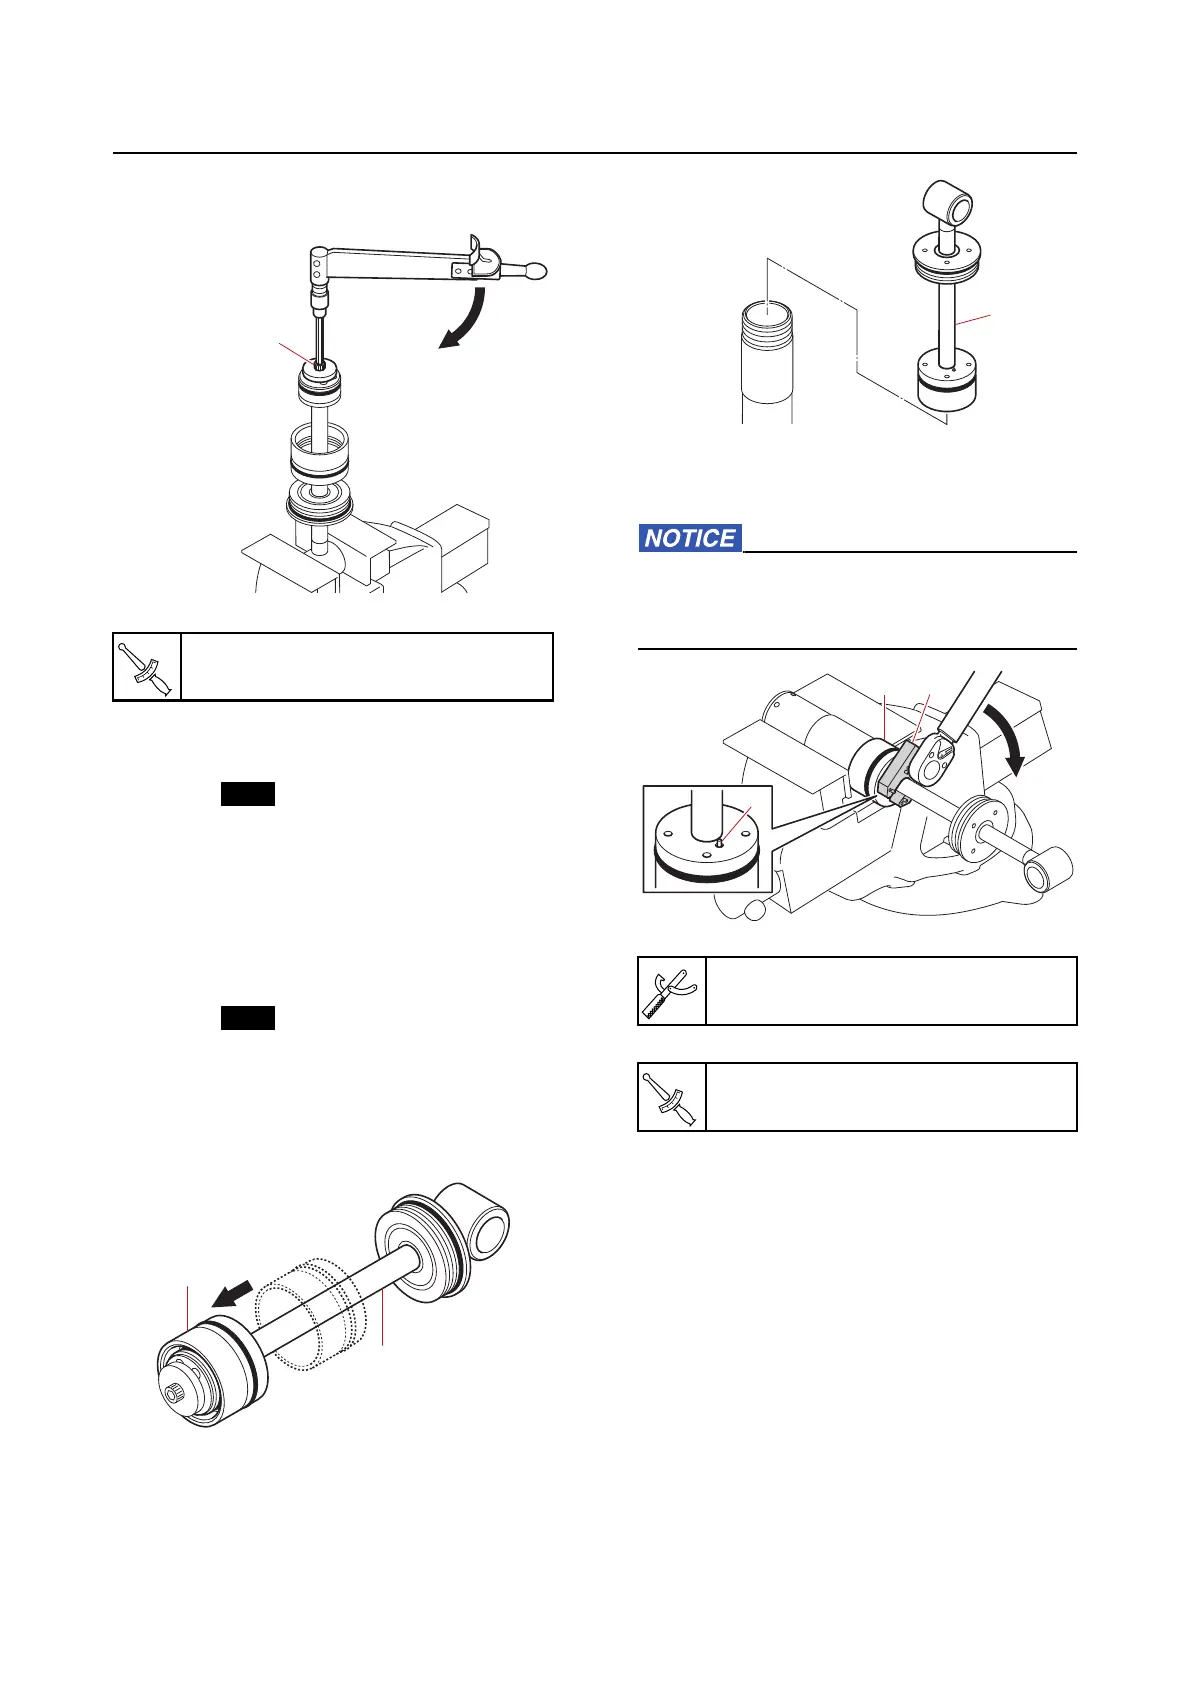
6. Tighten:
• Tilt piston bolt “1”
Assembling the tilt cylinder
1. Install:
• O-ring (to the free piston)
• Free piston
• Circlip
• Circlip
• Pla
te
• Spring
• Pla
te
• Circlip
• O-ring (to the tilt cylinder)
2. Install:
• Tilt piston assembly
a. Slide the tilt cylinder end screw “1” to
the bottom of the trim and tilt ram “2”.
b. Install the tilt piston assembly “1” onto
the tilt cylinder.
c. Tighten the tilt cylinder end screw “1”
to the specified torque.
When tightening the tilt cylinder end screw,
be careful not to damage the check valve
“3”.
Tilt piston bolt “1”
7 N·m (0.7 kgf·m, 5.2 lb·ft)
Cylinder end screw wrench “2”
90890-06591
Tilt cylinder end screw “1”
150 N·m (15 kgf·m, 111 lb·ft)