352 ZXP Series 9 Card Printer Service Manual P1086708-001
Replacement Procedures for the Laminator
Procedures:
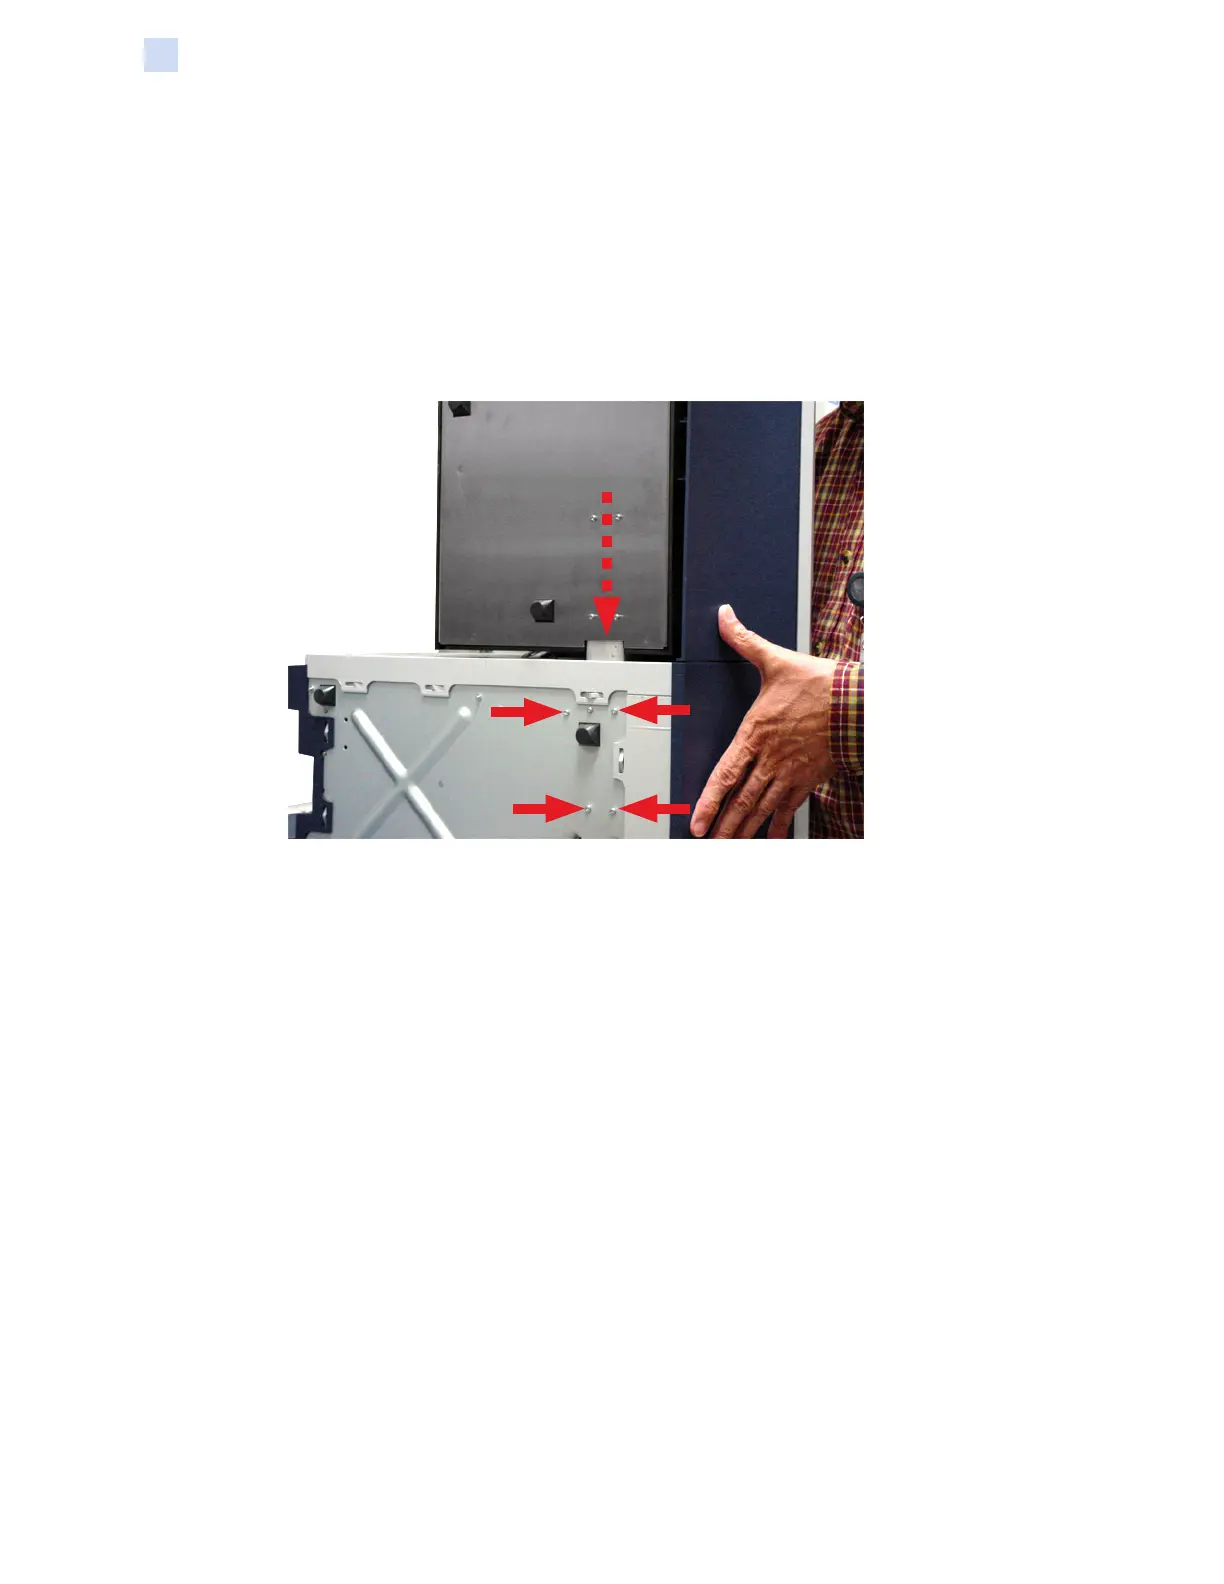
b. Slide the support attachment beam into the slot (dashed arrow above) on the
right side of the laminator.
c. Align the four mounting holes on the laminator (arrows above) with the four
mounting holes on the support attachment beam.
d. Using four machine screws, attach the support attachment beam to the laminator.
Step 3. Attach the laminator to the printer:
a. Set the Printer on its right side.
b. While supporting the printer, slide the support attachment beam and laminator
into the slot (dashed arrow above) on the left side of the printer.
c. Align the four mounting holes on the printer (arrows above) with the four
mounting holes on the support attachment beam.
d. Using four machine screws, attach the laminator (via the support attachment
beam) to the printer.
e. Check the t and alignment of the laminator to the printer.
 Loading...