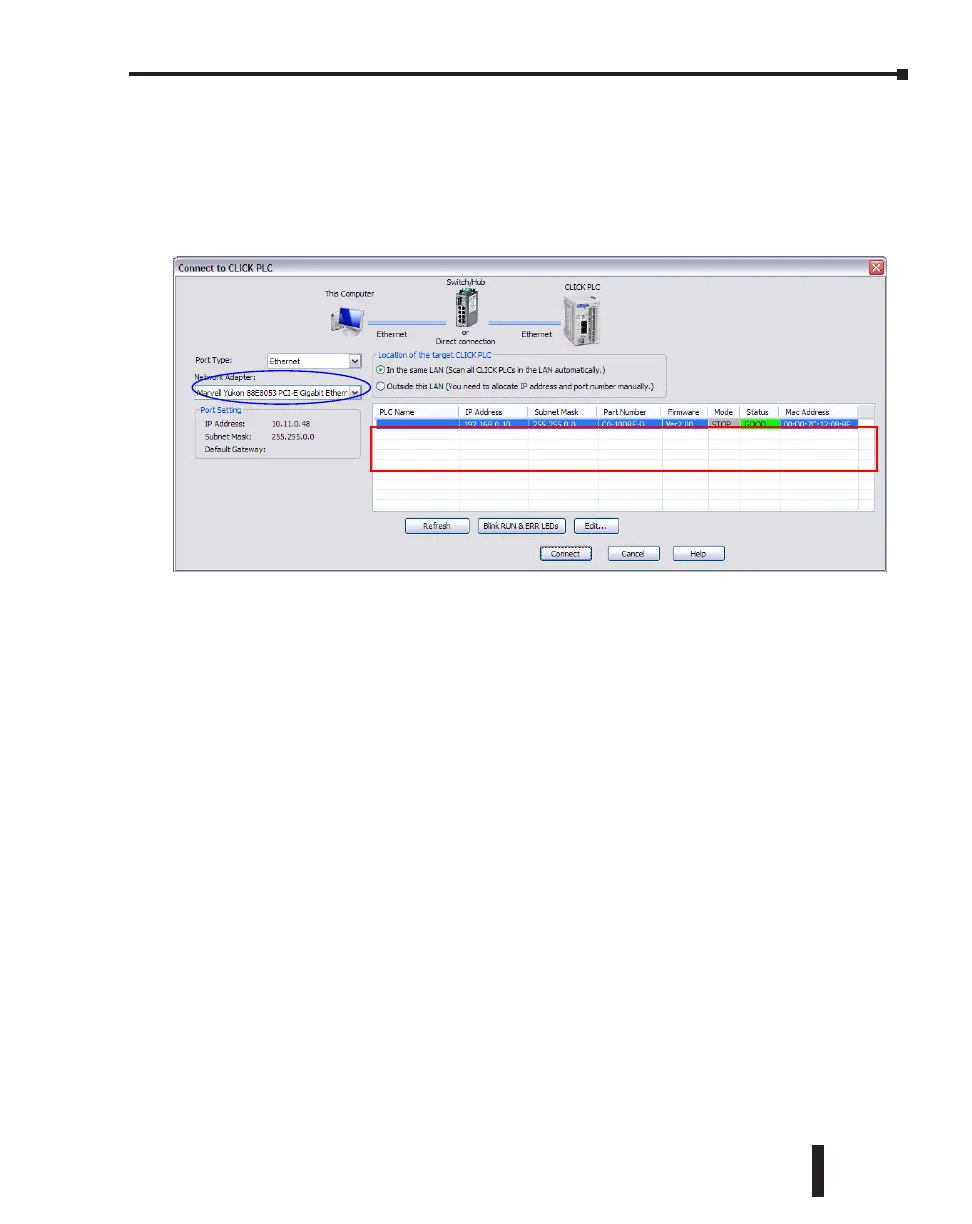
Step 6: Establish PC to PLC Communications, (cont’d)
Select Ethernet as the Port Type. Select the network adapter that you want to connect to
the CLICK PLC, if you have more than one network adapter on your PC. The CLICK
programming software automatically scans the CLICK PLC units in the LAN connected to
the network adapter and displays them in the list as shown below.
To connect the CLICK programming software to the CLICK PLC, both the PC and the
CLICK PLC must be in the same subnet. In the above Connect to CLICK PLC window,
the IP Address of the PC is ‘10.11.0.48’ and the Subnet Mask is ‘255.255.0.0’. You can
determine the subnet that your PC is located in by applying the AND operation between the
IP Address and the Subnet Mask.
Example:
IP Address = 10.11.0.48
Subnet Mask = 255.255.0.0
Subnet = 10.11.0.0
AND
||
CLICK PLC Hardware User Manual, 6th Edition, Rev. G – C0-USER-M
1–21
Chapter 1: Getting Started

 Loading...