2. Display Adjustment
Fast Zero Span Adjustments
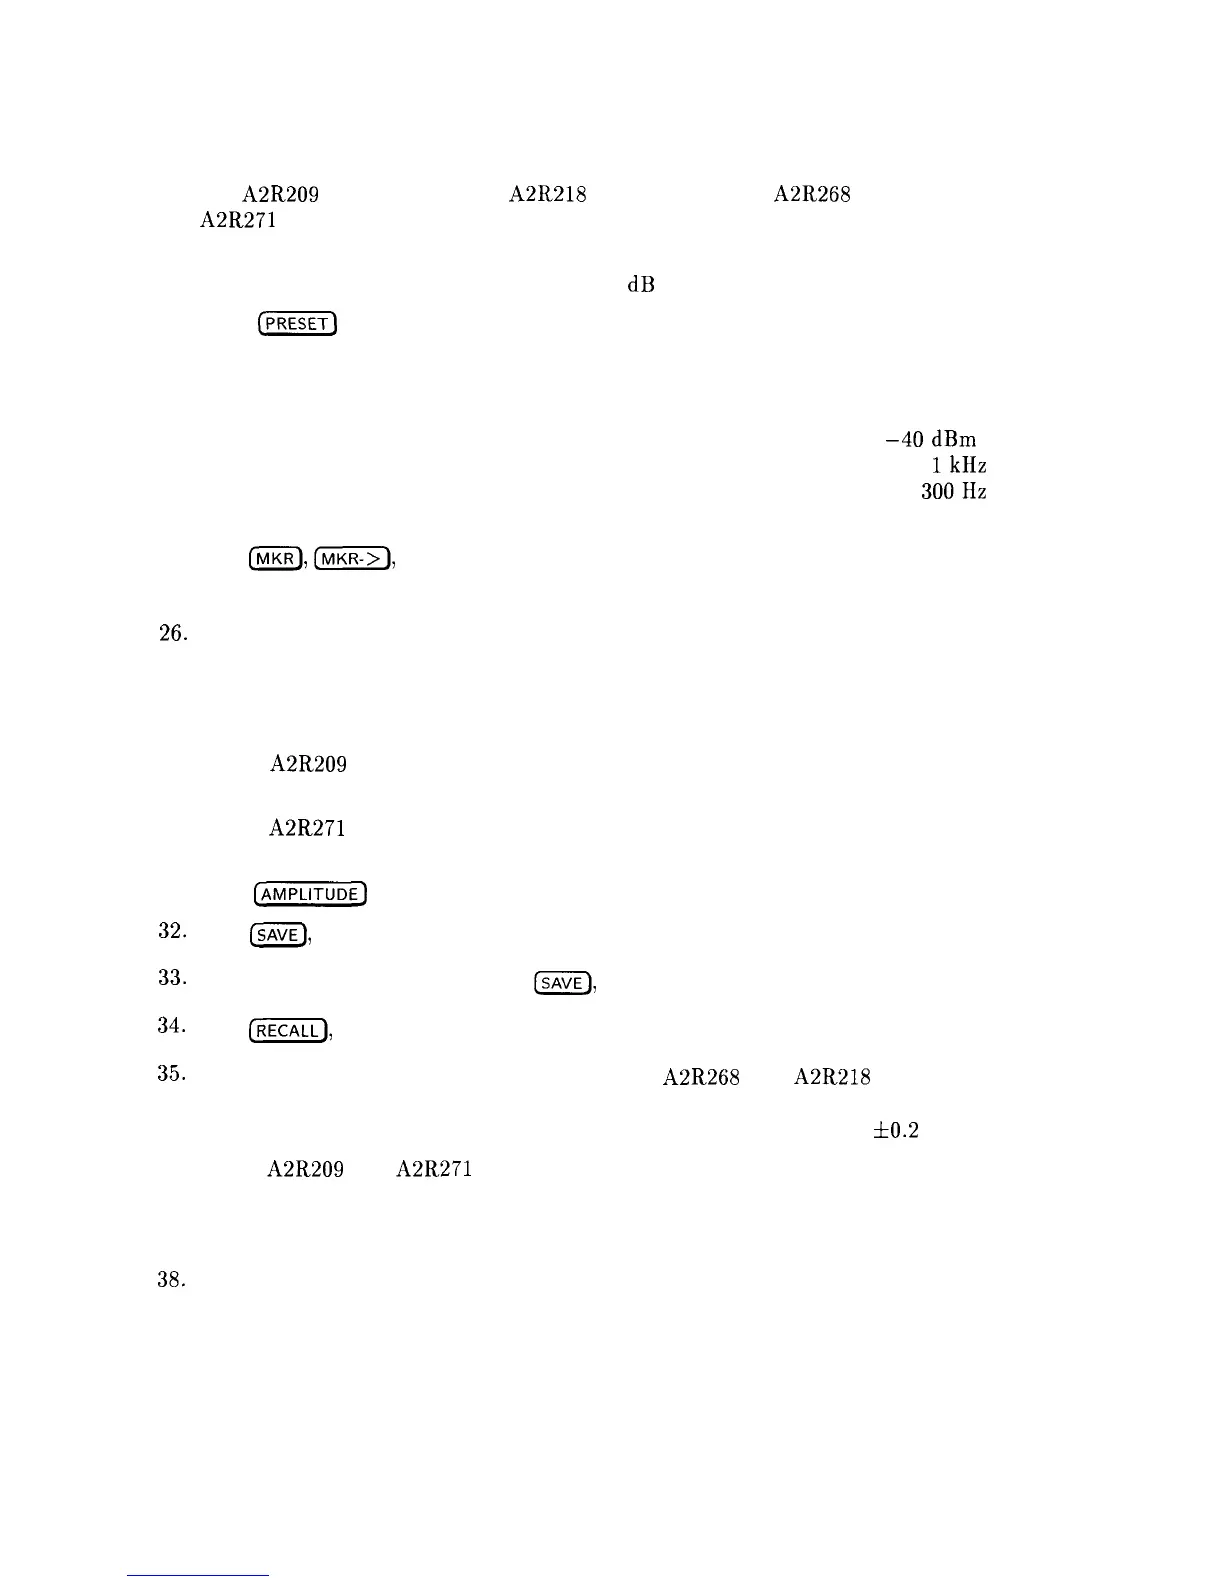
22. Set A2R209 SWEEP OFFSET, A2R218 VIDEO OFFSET, A2R268 VIDEO GAIN and
A2R271 SWEEP GAIN to midrange. Adjustment locations are shown in Figure 2-4 for
these A2 adjustments.
23. Set the HP 355D Attenuator to provide 30 dB attenuation.
24. Press
(-1
on the analyzer, and connect the equipment as shown in Figure 2-2. Set
the HP 8560A controls as follows:
CENTERFREQ. . . . . . . . . . . . . . . . . . . . . . . . . . . . . . . . . . . . . . . . . . . ...300 MHz
SPAN. . . . . . . . . . . . . . . . . . . . . . . . . . . . . . . . . . . . . . . . . . . . . . . . . . . . . . . . . . . 0 Hz
REF LVL . . . . . . . . . . . . . . . . . . . . . . . . . . . . . . . . . . . . . . . . . . . . . . . . . . . .
-4OdBm
RES BW. . . . . . . . . . . . . . . . . . . . . . . . . . . . . . . . . . . . . . . . . . . . . . . . . . . . . . .
1kHz
VIDEO BW . . . . . . . . . . . . . . . . . . . . . . . . . . . . . . . . . . . . . . . . . . . . . . . . . . .
300Hz
Sweep time. . . . . . . . . . . . . . . . . . . . . . . . . . . . . . . . . . . . . . . . . . . . . . . . . . . . . 50 ms
25. Press
(MKR),
(MKR->),
MARKER-> REF LVL .If the marker is not at the top graticule, press
MARKER-B REF LVL again.
26. Press (SAVE), SAVE STATE, and STATE 0.
27. Set sweeptime to 10 ms.
28. Press (SAVE), SAVE STATE, and STATE 1 .
29. Adjust A2R209 SWEEP OFFSET to place the beginning of the trace at the leftmost
vertical graticule line.
30. Adjust A2R271 SWEEP GAIN to place the end of the trace at the tenth vertical graticule
line (one division from the right edge of the graticule).
31. Press
[AMPLITUDE)
and press the (up) key seven times.
32. Press
(SAVE],
SAVE STATE , and STATE 2.
33.
Set the sweep time to 50 ms. Press
ISAVE),
SAVE STATE, and STATE 3 .
34. Press
(m),
RECALL STATE, and STATE 1 .
35.
Switch between STATE1 and STATE2. Adjusting A2R268 and A2R218 so that in STATE1
the trace is lined up with the top graticule and in STATE2 the trace is lined up with the
eighth graticule (from the top line). Repeat until they align to within
&0.2
divisions.
36. Adjust A2R209 and A2R271 until the start of sweep is aligned to the leftmost vertical
graticule line and the stop sweep is aligned with the right most vertical graticule line.
37. Press STATE2 and STATE3. The two traces should be aligned within +/-.l divisions.
38. Press STATE0 and STATE1 . The two traces should be aligned within +/-.l divisions.
Adjustment Procedures 2-19