17
OTHER FUNCTIONS
17-18
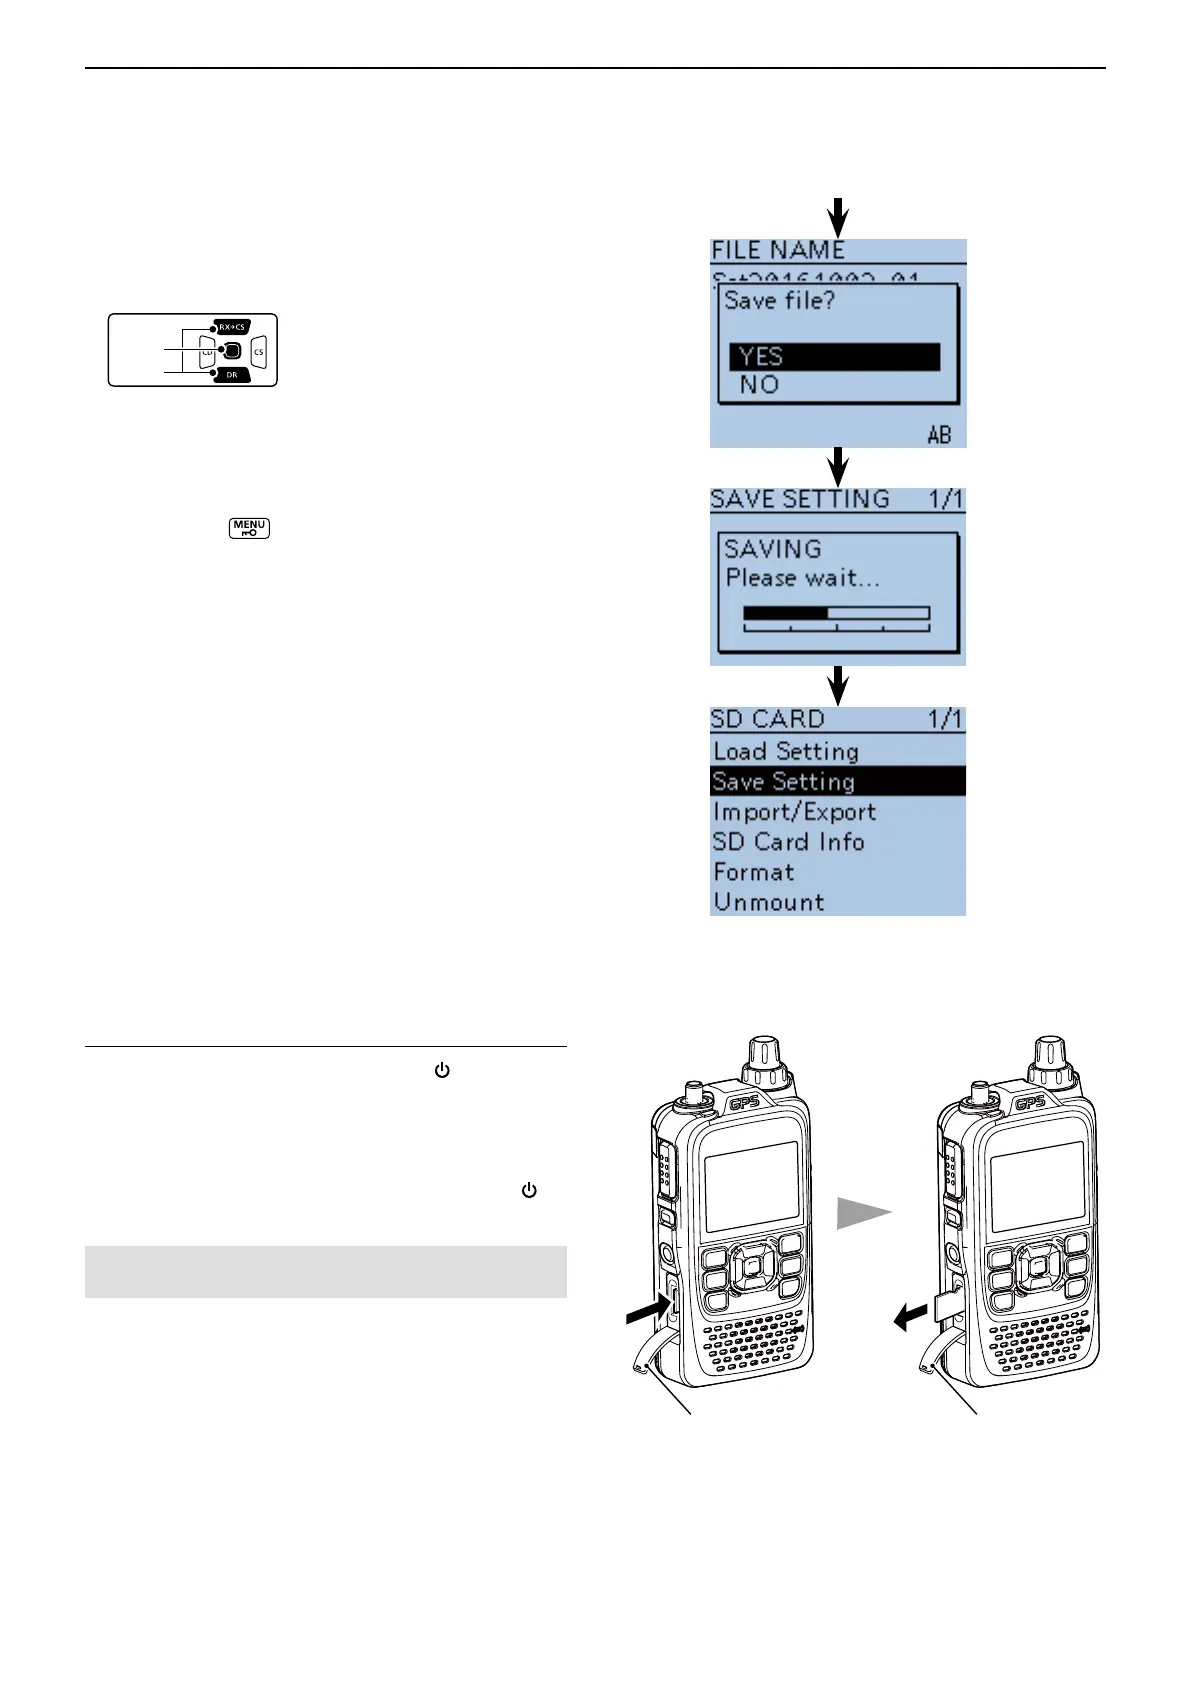
• Removing the microSD card
■ Cloning function
D Transceiver-to-Transceiver cloning using a microSD
card (Continued)
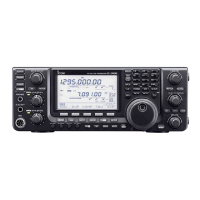
y Push D-pad(Ent) to set the file name.
The confirmation screen “Save file?” appears.
u Push D-pad() to select “YES,” and then push D-
pad(Ent) to save.
• While saving, a progress bar is displayed, then the “SD
CARD” screen is displayed after the save is completed.
i Push [MENU] to exit the MENU screen.
2. Remove the microSD card from the master trans-
ceiver, and then insert it into the sub transceiv-
er.
o Hold down the master transceiver’s [
] to turn OFF
the power.
!0 Remove the microSD card from the master trans-
ceiver as shown to the right.
!1 Attach the removed microSD card to the sub trans-
ceiver, then hold down the sub transceiver’s [ ] to
turn ON the power.
Slot cover Slot cover
Push the microSD card
until a click sounds.
Pull the microSD
card out.
NEVER forcibly or inversely insert the card.
It will damage the card and/or the slot.

 Loading...