• Make sure that the imaging kit and black imaging unit are properly installed.
1 Remove the imaging kit, and then remove the black imaging unit.
Warning—Potential Damage: Do not expose the imaging kit and black imaging unit to direct
light for more than 10 minutes. Extended exposure to light may cause print quality problems.
Warning—Potential Damage: Do not touch the photoconductor drum under the imaging kit
and black imaging unit. Doing so may aect the quality of future print jobs.
2 Insert the black imaging unit, and then insert the imaging kit.
If the problem persists, then contact
customer support.
Print crooked or skewed
Notes:
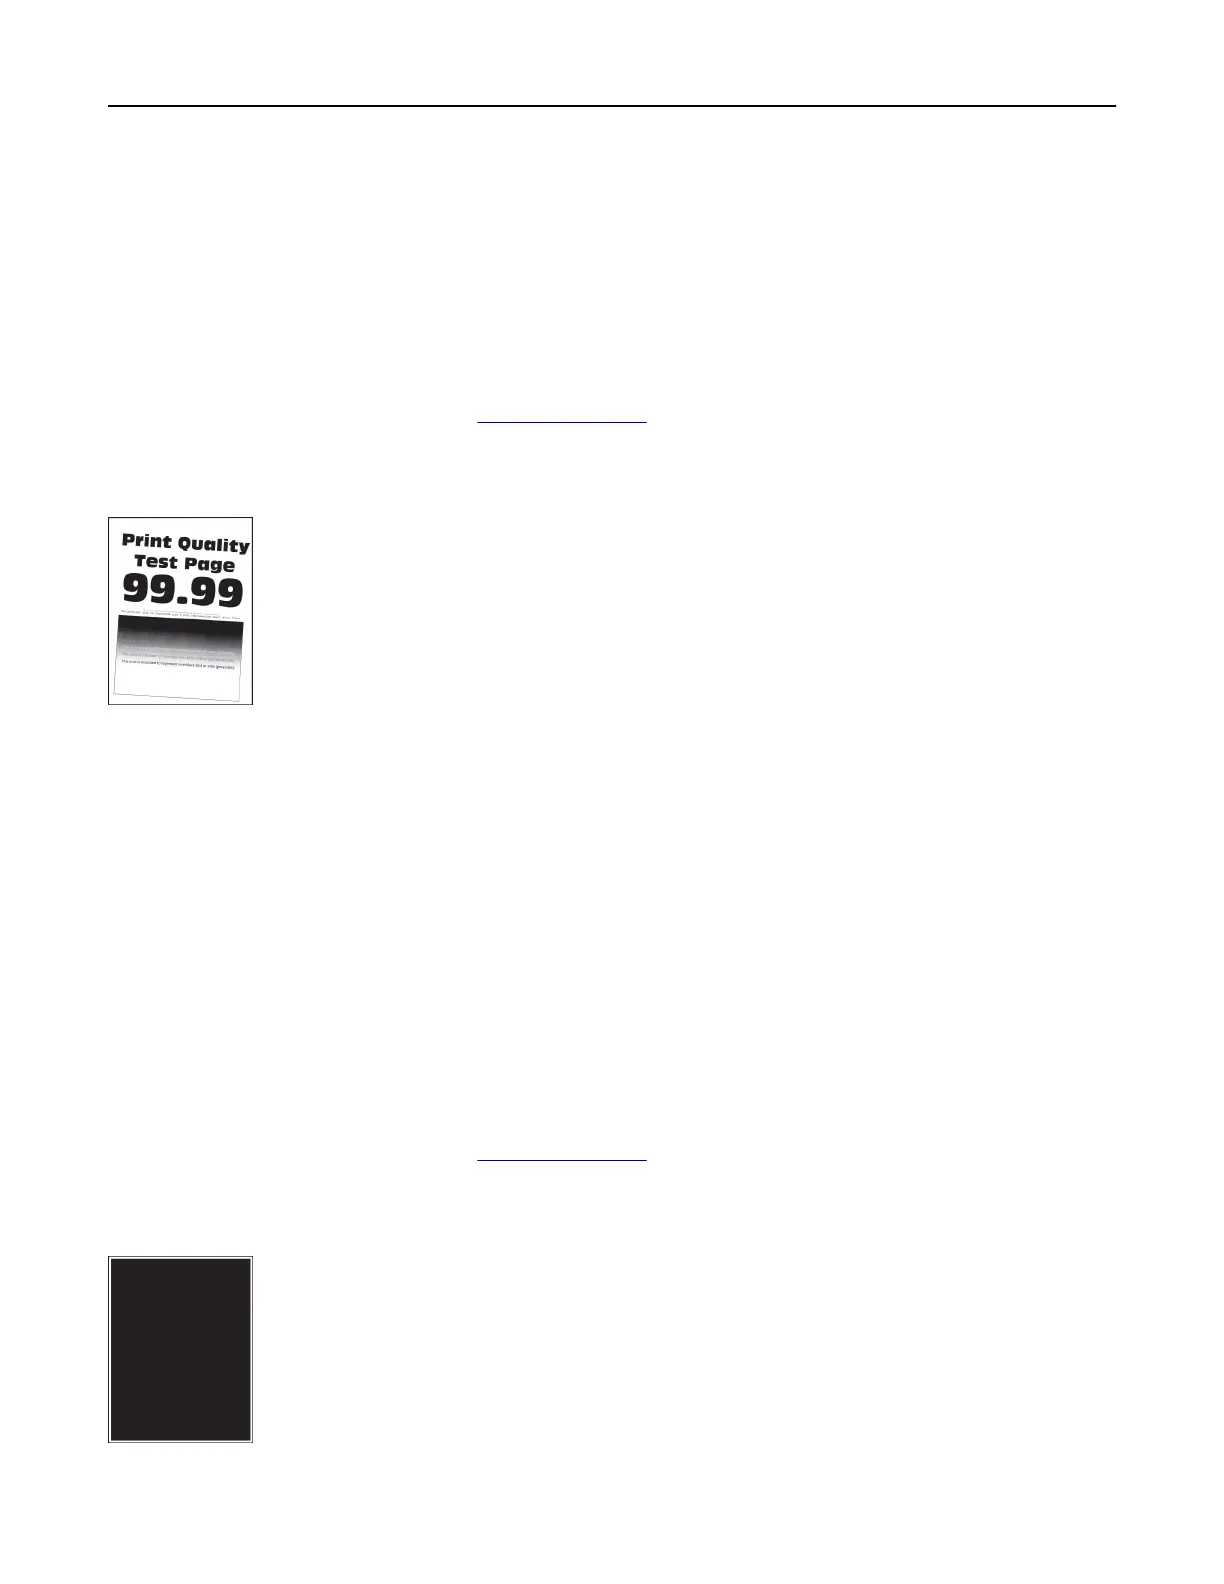
• Before solving the problem, print the Print Quality Test Pages. From the control panel, navigate to
Settings > Troubleshooting > Print Quality Test Pages.
• Use tray 1 to print the sample pages and make sure that the paper is loaded in the portrait orientation.
Try one or more of the following:
• Load paper from a fresh package.
1 Open the tray, and then remove the paper.
2 Load paper from a fresh package.
Note: Paper absorbs moisture due to high humidity. Store the paper in its original wrapper until
you are ready to use it.
3 Adjust the paper guides in the tray to the correct position for the paper loaded.
• Make sure that you are printing on a supported paper.
If the problem persists, then contact
customer support.
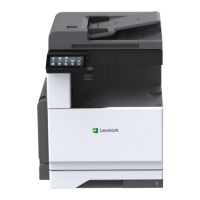
Solid color or black images
Troubleshoot a problem 461