• Make sure that the imaging kit and black imaging unit are properly installed.
1 Remove the imaging kit, and then remove the black imaging unit.
Warning—Potential Damage: Do not expose the imaging kit and black imaging unit to direct
light for more than 10 minutes. Extended exposure to light may cause print quality problems.
Warning—Potential Damage: Do not touch the photoconductor drum under the imaging kit
and black imaging unit. Doing so may aect the quality of future print jobs.
2 Insert the black imaging unit, and then insert the imaging kit.
If the problem persists, then contact
customer support.
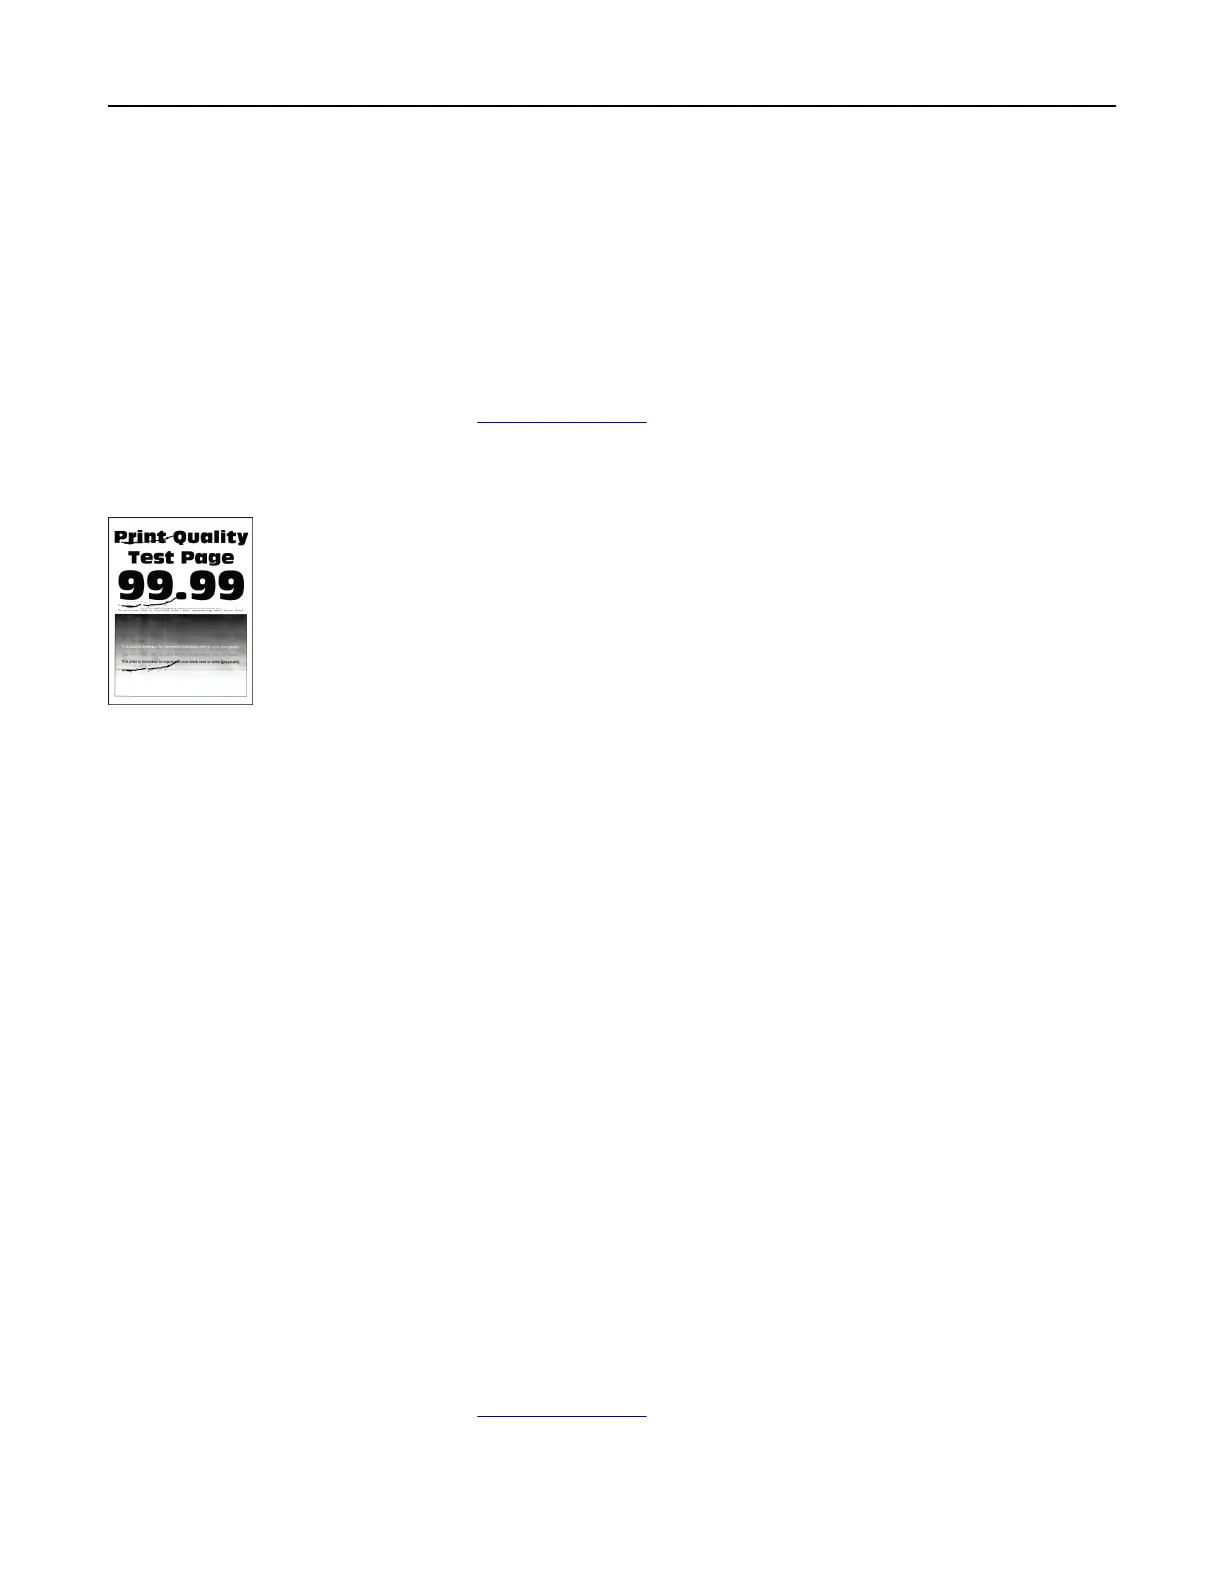
Repeating defects
Notes:
• Before solving the problem, print the Print Quality Test Pages. From the control panel, navigate to
Settings > Troubleshooting > Print Quality Test Pages.
• Use tray 1 to print the sample pages and make sure that paper is loaded in the portrait orientation.
• Determine how many colors have defects.
1 Measure the distance between the repeating defects on the aected color page. Using the
Maintenance Defect Ruler, measure the distance between the repeating defects on the aected color
page.
2 Replace the supply item or part that matches the measurement on the aected color page.
Color imaging kit or black imaging unit
• 94.5 mm (3.72 in.)
• 19.9 mm (1.18 in.)
• 23.2 mm (0.19 in.)
Developer unit
• 43.6 mm (1.72 in.)
• 45.0 mm (1.77 in.)
Fuser
• 95 mm (3.74 in.)
• 110 mm (4.33 in.)
If the problem persists, then contact
customer support.
Troubleshoot a problem 467