Enabling spoken passwords or personal identification numbers
1 From the control panel, navigate to Settings > Device > Accessibility > Speak Passwords/PINs.
2 Enable the setting.
Setting up the printer to fax
Setting up the fax function using analog fax
Setting up the fax function using analog fax
Notes:
• A fax card must be installed for the printer to use analog fax.
• Some connection methods are applicable only in some countries or regions.
• If the fax function is enabled and not fully set up, then the indicator light may blink red.
• If you do not have a TCP/IP environment, then use the control panel to set up fax.
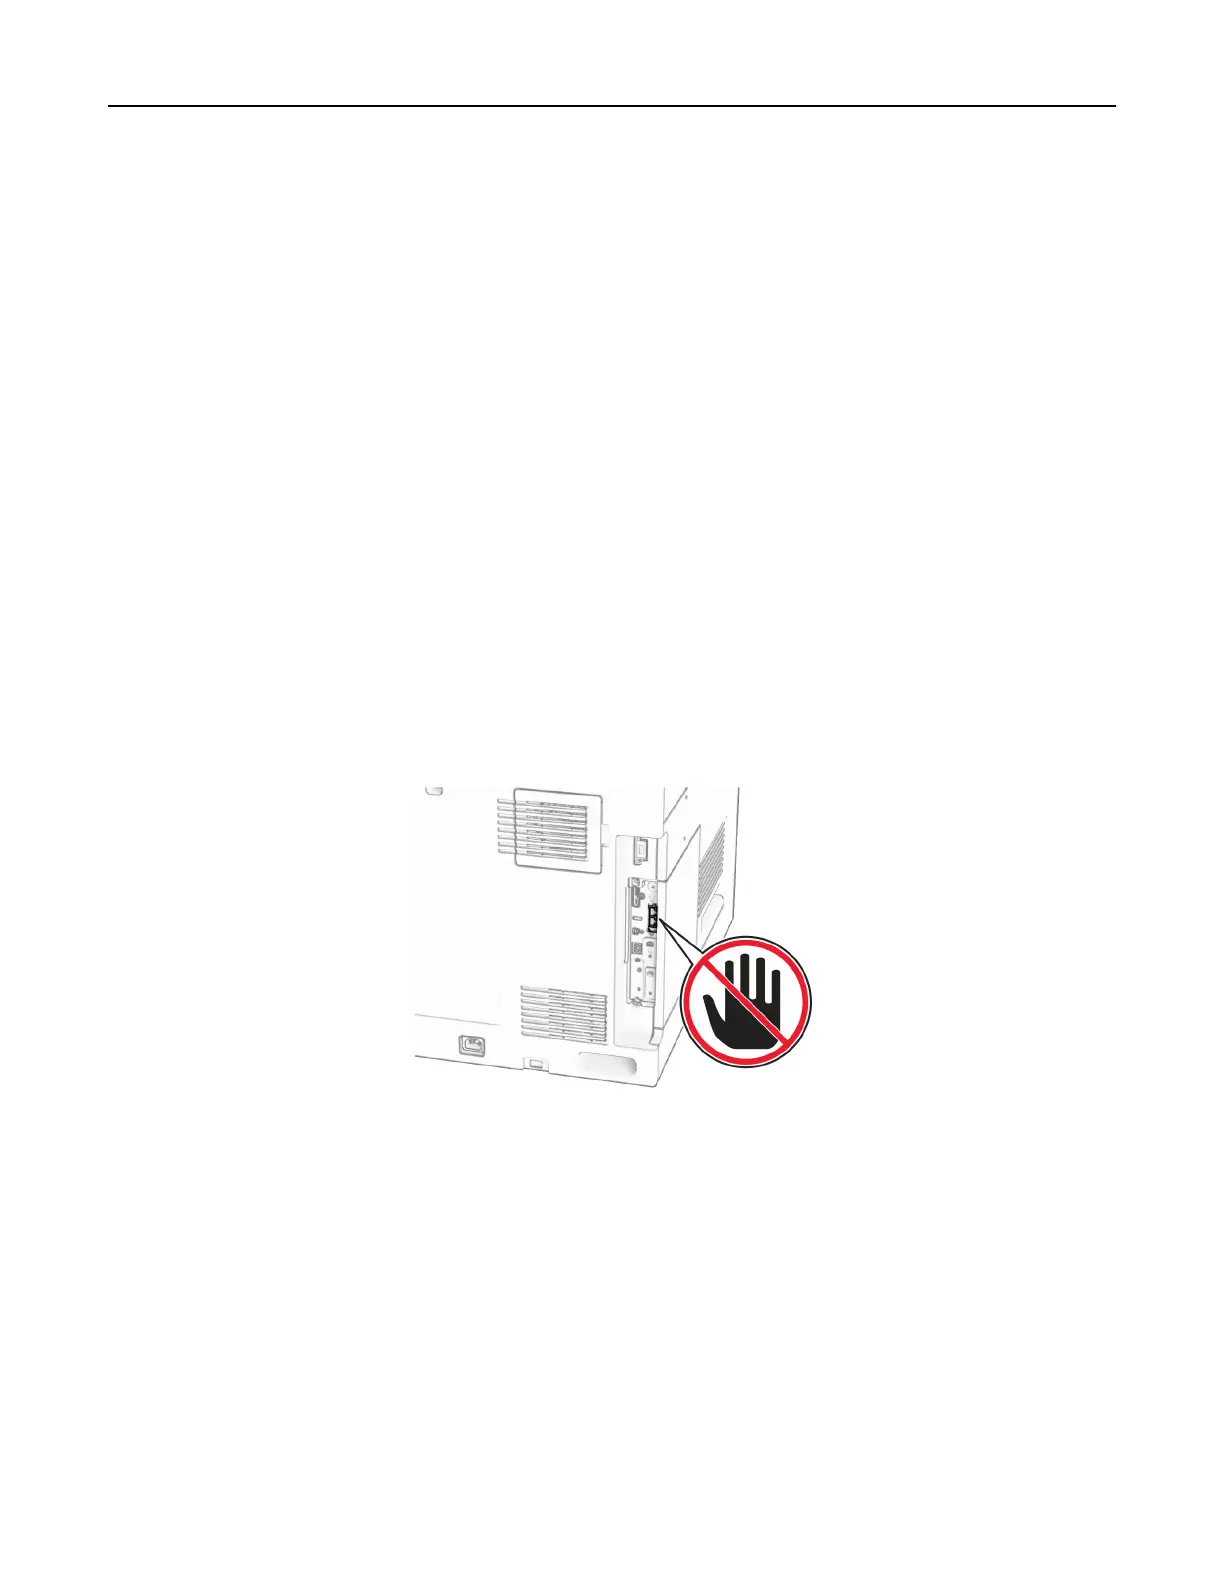
Warning—Potential Damage: To avoid loss of data or printer malfunction, do not touch cables or the printer
in the area shown while actively sending or receiving a fax.
Using the control panel
1
From the control panel, navigate to Settings > Fax > Fax Setup > General Fax Settings.
2 Configure the settings.
Using the Embedded Web Server
1
Open a web browser, and then type the printer IP address in the address field.
Notes:
• View the printer IP address on the control panel. The IP address appears as four sets of numbers
separated by periods, such as 123.123.123.123.
Set up, install, and configure 73