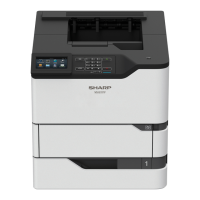
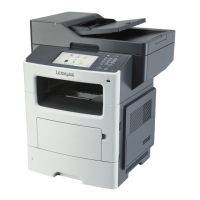
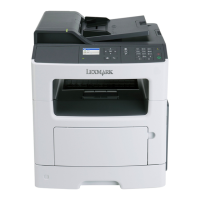
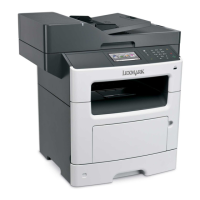
MX81x
11
10
9
8
7
6
5
3
4
1
2
Area name Printer control panel message What to do
1 Stapler doors [x]‑page jam, remove paper, open
stapler door. Leave paper in
bin. [455–457]
Remove paper from the stapler bin, and then open the
stapler outer and inner doors. Then remove the staple
cartridge, and then remove the jammed staples.
2 Duplex area [x]‑page jam, remove tray 1 to clear
duplex. [235–239]
Pull out tray 1 completely, then push the front duplex
flap down, and then remove the jammed paper.
3 Trays [x]‑page jam, open tray [x]. [24x] Remove all paper from the standard bin, and then
remove the jammed paper.
4 Staple finisher rear
door
[x]‑page jam, remove paper, open
finisher rear door. Leave paper in
bin. [451]
Open the rear door of the staple finisher, and then
remove the jammed paper.
5 Upper door and rear
duplex area
[x]‑page jam, open upper and lower
rear door. [231–234]
Open the rear door of the printer and the rear duplex
area, and then remove the jammed paper.
6 Upper rear door [x]‑page jam, open upper rear
door. [202]
Open the upper rear door of the printer, and then
remove the jammed paper.
7 Mailbox [x]‑page jam, open mailbox rear
door. Leave paper in bin. [4yy.xx]
Open the rear door of the mailbox, and then remove
the jammed paper.
8 Multipurpose feeder [x]‑page jam, clear manual
feeder. [250]
Remove all paper from the multipurpose feeder, and
then remove the jammed paper.
9 Inside the printer [x]‑page jam, lift front cover to
remove cartridge. [200–201]
Open the front cover and the multipurpose feeder,
then remove the toner cartridge and the imaging unit,
and then remove the jammed paper.
7463
Diagnostic information
79
 Loading...


