MAINTENANCE AN D SERVICING
4.7.3 Servici
ng Red Brake/Tail Lights
Replacing Re
d Brake/Tail Light Bulb
1. Remove two Phillip s screws from fixture, and remove
the pla stic lens.
2. Replace bulb, and reinstall plastic lens and screws.
Bulb—Trade #1157.
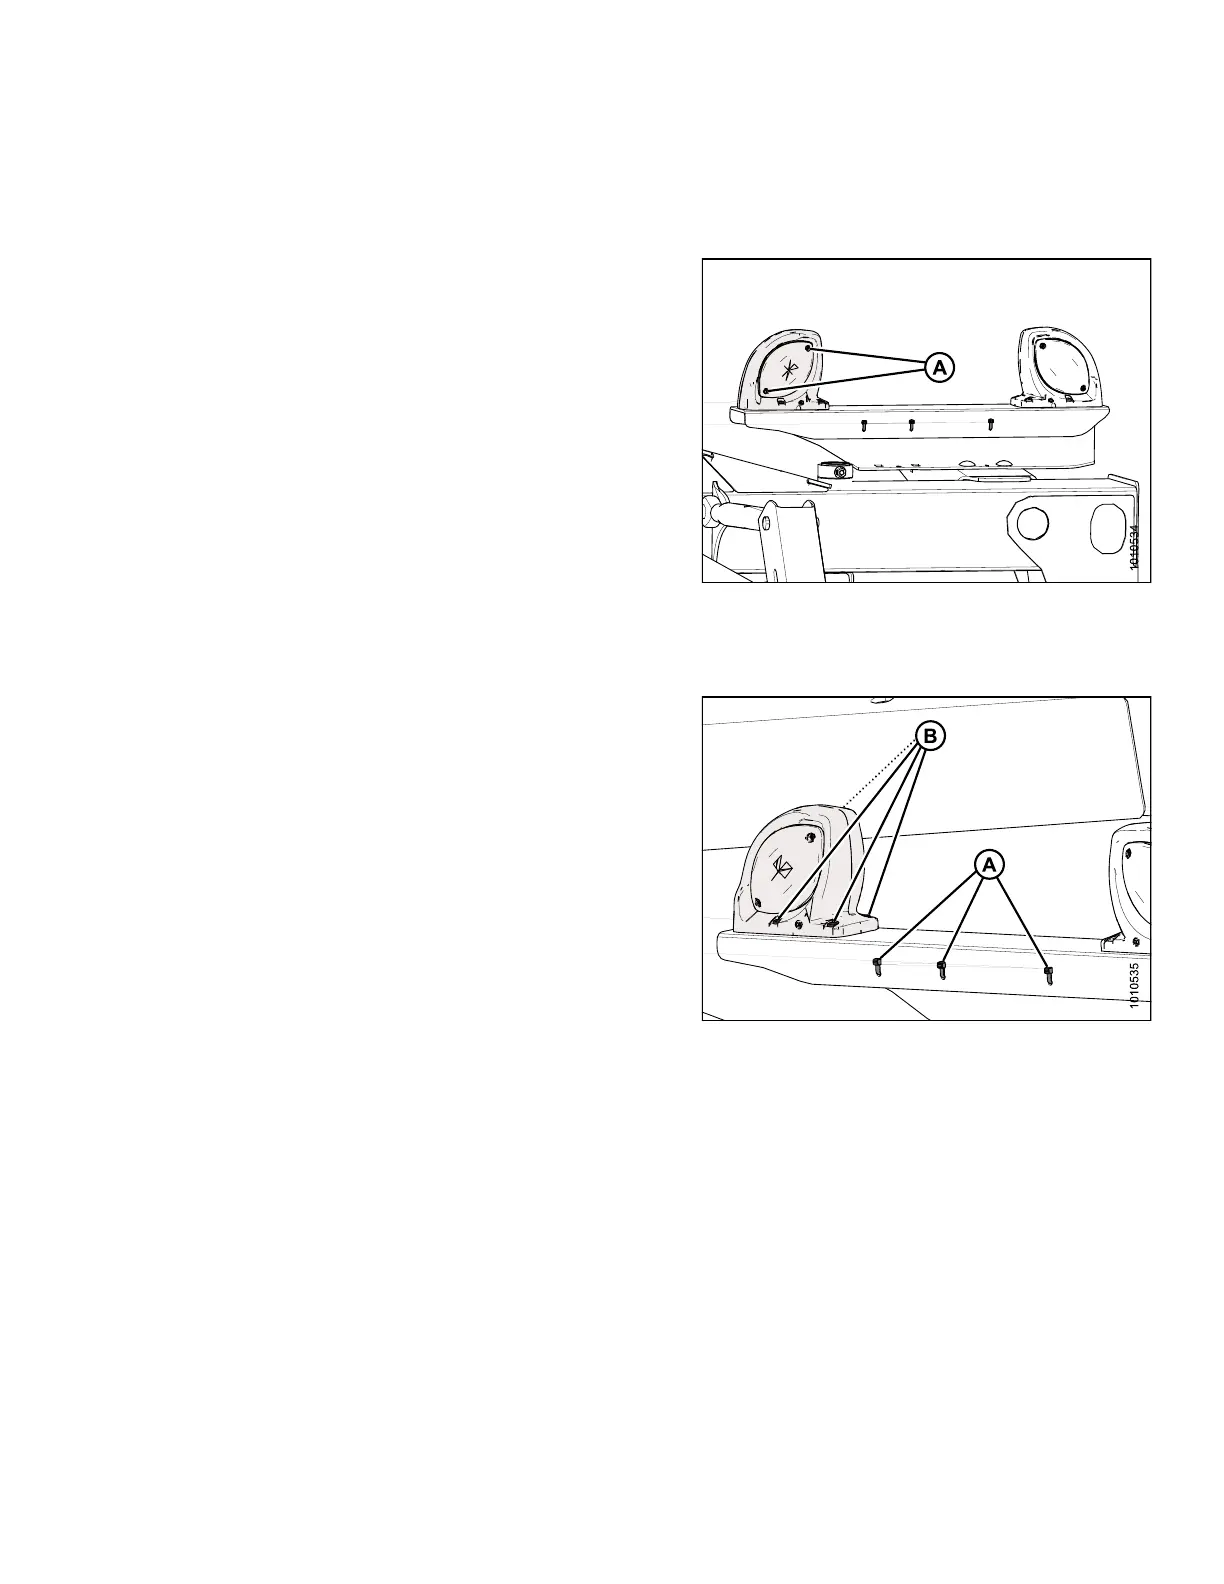
Figure 4.238: Plastic Lens and Screws
Replacing Red Brake/Ta il Lig ht Fixture
1. Cut plas
tic cable ties (A) securing harness covering
to light.
2. Retrieve
connections from inside harness covering
(approx
imately 6 in. [150 mm] from ligh t) a nd
disconn
ect wires (not shown). If necessary,
remove t
ape.
3. Remove t
he four nuts (B) securing light to bracket and
remove
light. Pull wires through hole in bracket.
4. Feed co
nnectors of new light (not shown) through hole
in brac
ket, and position light onto bracket.
5. Instal
l four nuts (B) and tighten.
6. Conne
ct wires to connectors in harness, and re-secure
harne
ss covering with tape and plastic cable ties (A)
as req
uired.
Figure 4.239: Red Hazard Light and
Mounting Bracket
147910 223 Revision A