INTAKE-AIR SYSTEM
F2–37
F2
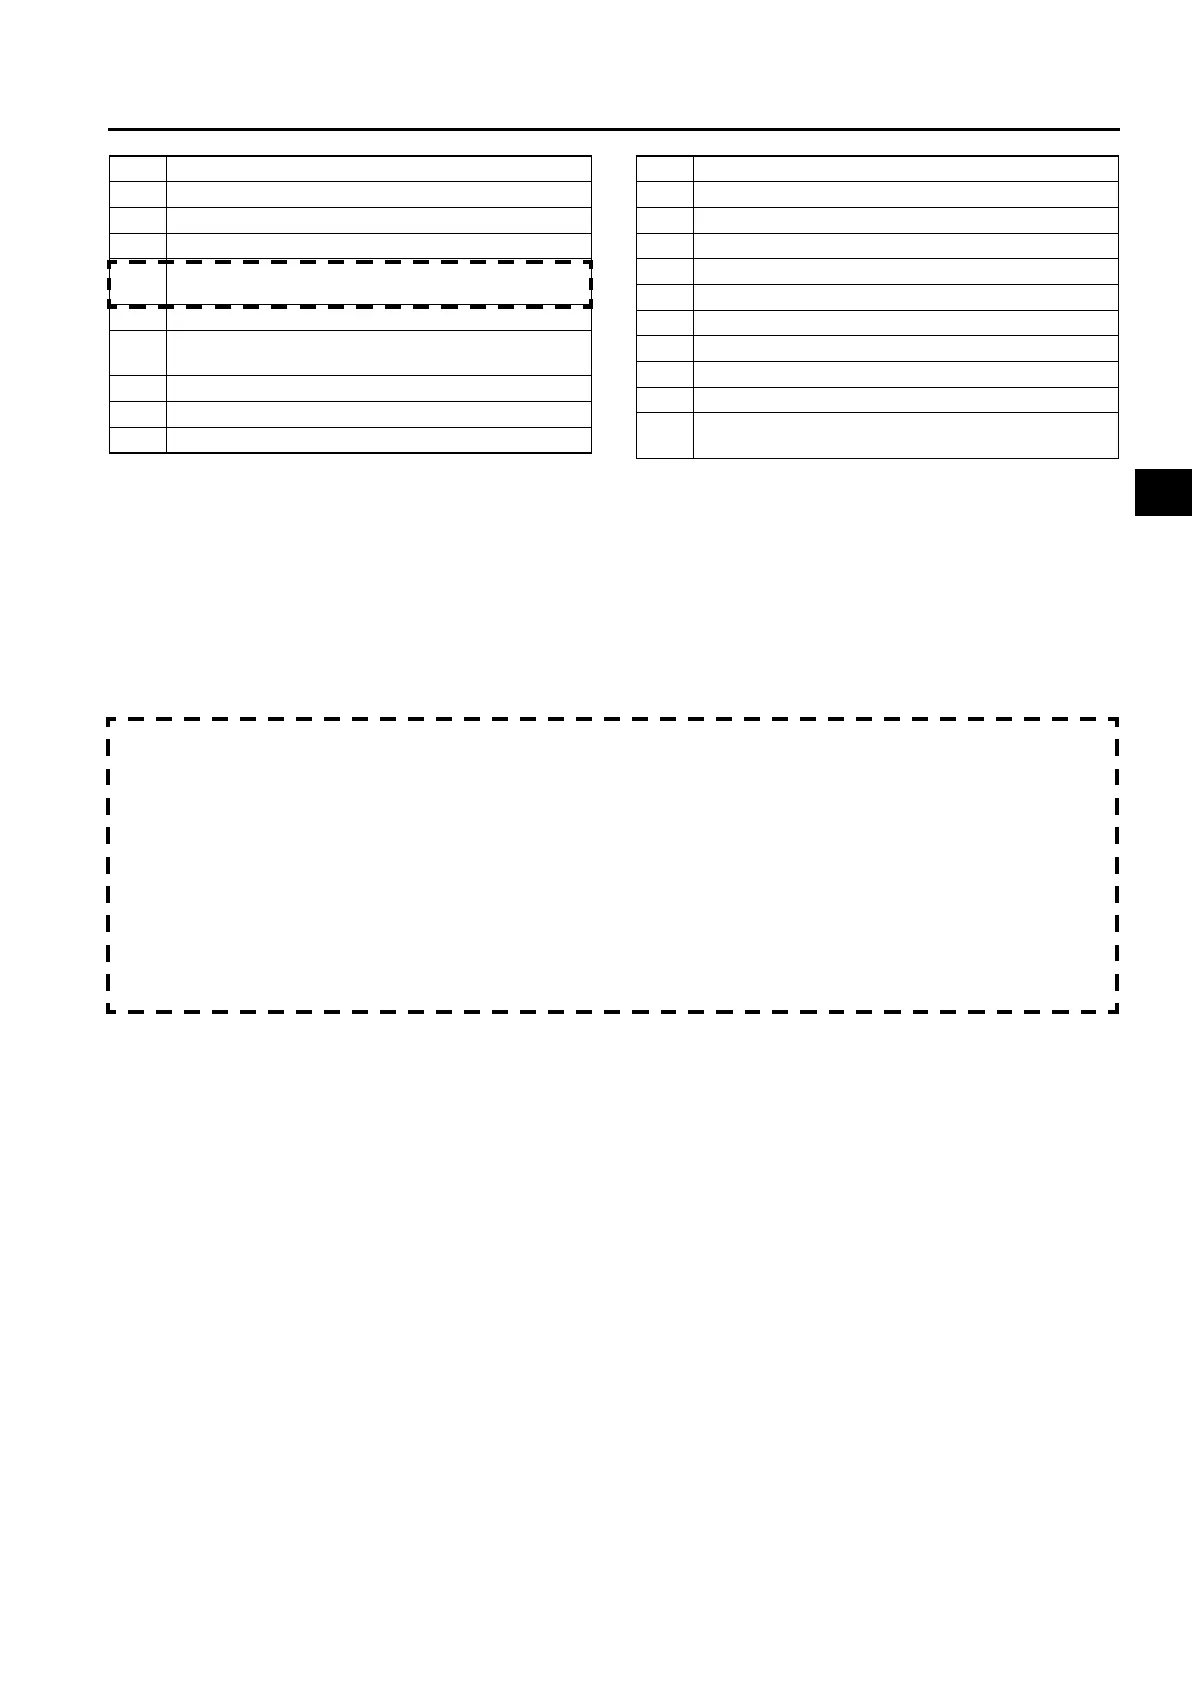
Air Pipe Removal Note
1. Remove the battery and the battery tray before removing the air pipe. (See G–5 BATTERY REMOVAL/
INSTALLATION.)
Intake Manifold Removal Note
1. Remove the supply pump before removing the intake manifold. (See F2–53 SUPPLY PUMP REMOVAL/
INSTALLATION.)
2. Remove the EGR valve before removing the intake manifold. (See F2–59 EGR VALVE REMOVAL/
INSTALLATION.)
Air Cleaner Case Installation Note
Note
• Before assembling the air cleaner, verify that the rubber mounts have not fallen off from the air cleaner
bracket (3 locations).
• Always install the air cleaner case using the following procedure.
• When inserting the rubber mounts into the air cleaner case, soapy water can be applied.
1. Verify that the rubber mounts are set in the air cleaner bracket (3 locations).
2. Install the projections on the frame side (2 locations).
3. Verify that the projections on the frame side are installed securely.
4. Install the projection on the engine side (remaining location).
5. Verify that the projection on the engine side installed securely.
End Of Sie
AIR CLEANER ELEMENT INSPECTION
A6E401001005204
1. Remove the air cleaner element. (See F2–36 INTAKE-AIR SYSTEM REMOVAL/INSTALLATION.)
2. Verify that the air cleaner element surface is free of dirt.
• If there is dirt present, use an air gun or similar tool to clean the element.
• If the replacement time limit has passed, replace the element.
End Of Sie
1 Vacuum hose
2 Air hose
3 Air cleaner cover
4 Air cleaner element
5
Air cleaner case
(See F2–37 Air Cleaner Case Installation Note)
6 MAF/IAT sensor
7
Air pipe
(See F2–37 Air Pipe Removal Note)
8 Vacuum pipe
9 Air hose
10 Air pipe
11 Air hose
12 Air pipe
13 Boost sensor
14 IAT sensor No. 2
15 Air pipe
16 Air hose
17 Air duct
18 Charge air cooler
19 Vacuum hose (Intake shutter valve actuator)
20 Vacuum hose (VSC shutter valve actuator)
21
Intake manifold
(See F2–37 Intake Manifold Removal Note)
 Loading...