AUTOMATIC TRANSAXLE
K2–81
K2
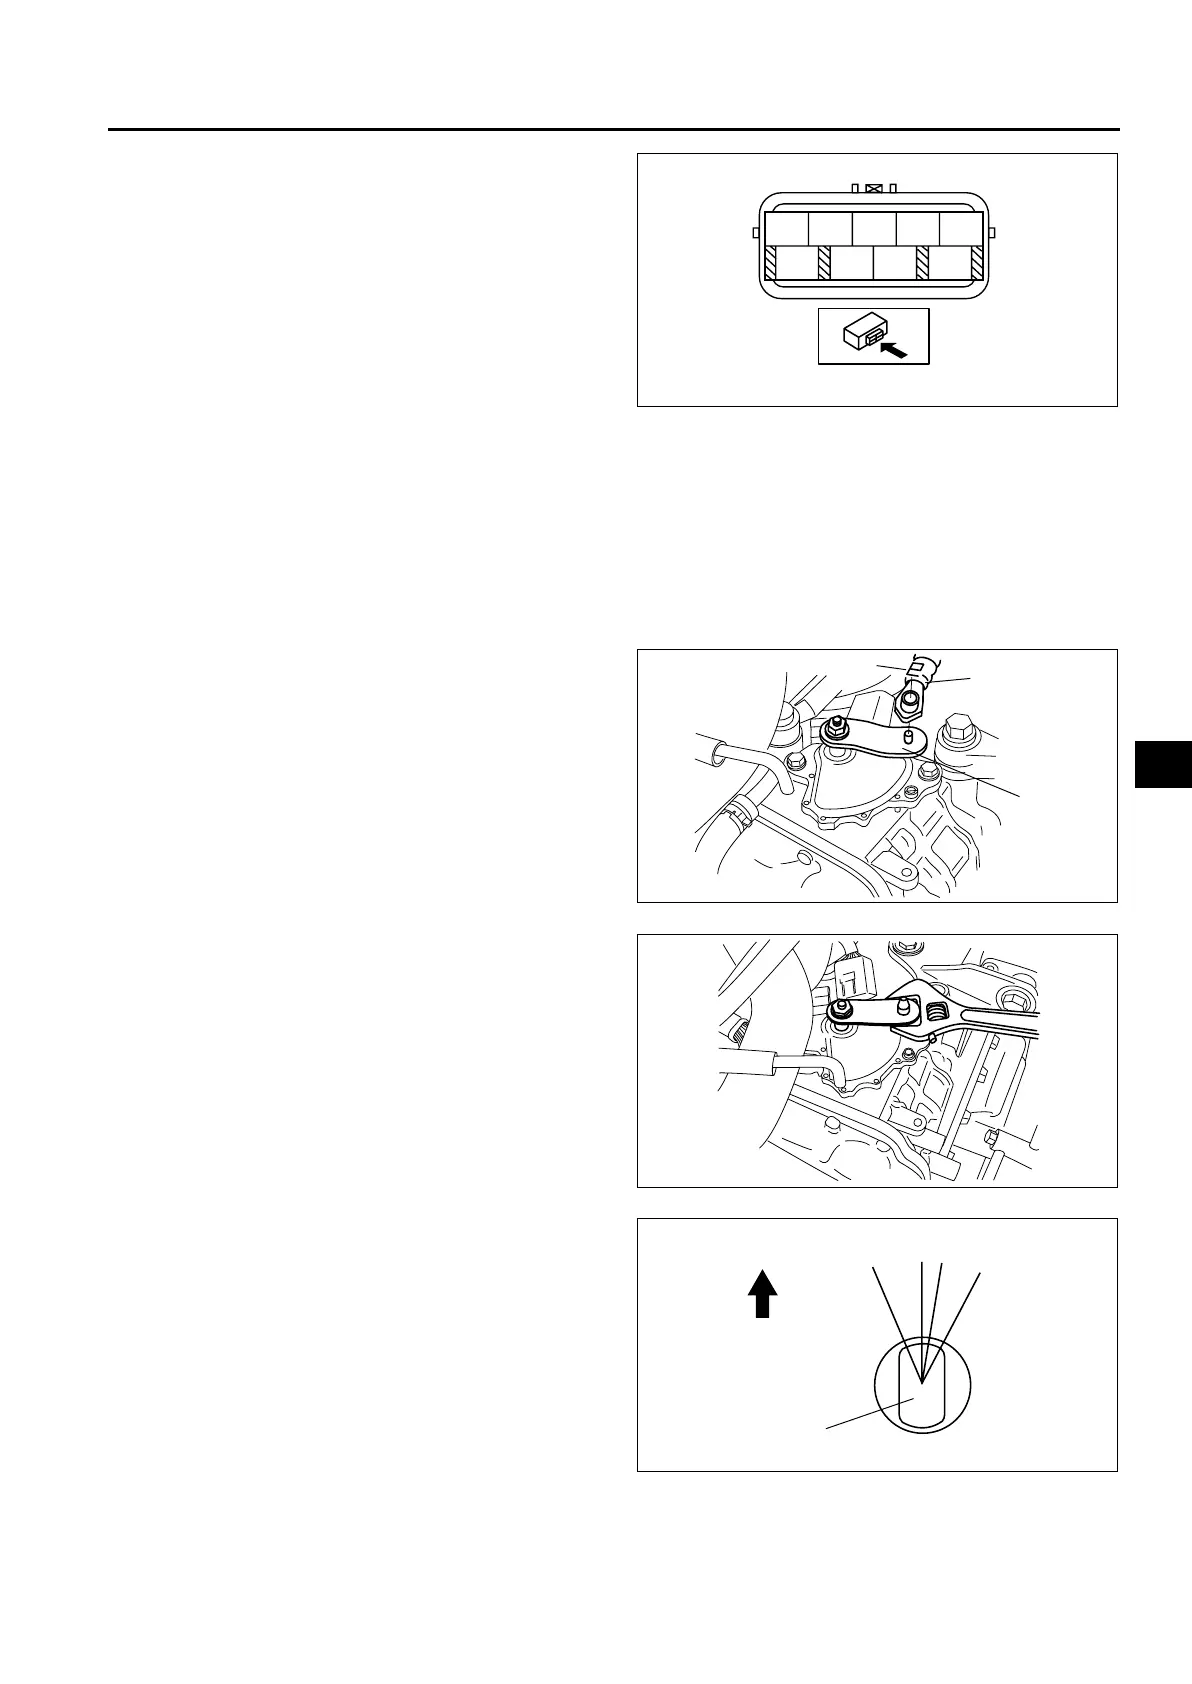
3. Connect the TR switch connector.
End Of Sie
TRANSAXLE RANGE (TR) SWITCH REMOVAL/INSTALLATION
A6E571419440202
1. Disconnect the negative battery cable.
2. Remove the air cleaner component. (See Section F.)
Caution
• Water or foreign objects entering the connector can cause a poor connection or corrosion. Be
sure not to drop water or foreign objects on the connector when disconnecting it.
3. Disconnect the TR switch connector.
4. Remove the spring and disconnect the selector
cable.
5. Rotate the manual shaft to the N position.
Caution
• Do not use an impact wrench. Hold the
manual shaft lever when removing the
manual shaft nut, or the transaxle may be
damaged.
6. Set the adjustable wrench as shown to hold the
manual shaft lever.
7. Remove the manual shaft nut and washer.
8. Remove the manual shaft lever.
9. Remove the TR switch.
10. Rotate the manual shaft to the right fully, them
return 2 notches to set the N position.
Caution
• Improper adjustment of the TR switch will
cause abnormal operation of the
automatic transaxle. Be sure to use the
SST to adjust the TR switch correctly.
B
CA
E
D
G
I
FH
A6E5714W109
SPRING
SELECTOR
CABLE
MANUAL
SHAFT
LEVER
A6E5714W110
A6E5714W111
TO VEHICLE FRONT
MANUAL SHAFT
D, M
N
R
P
A6E5714W112











 To Next Page