AUTOMATIC TRANSAXLE
K2–113
K2
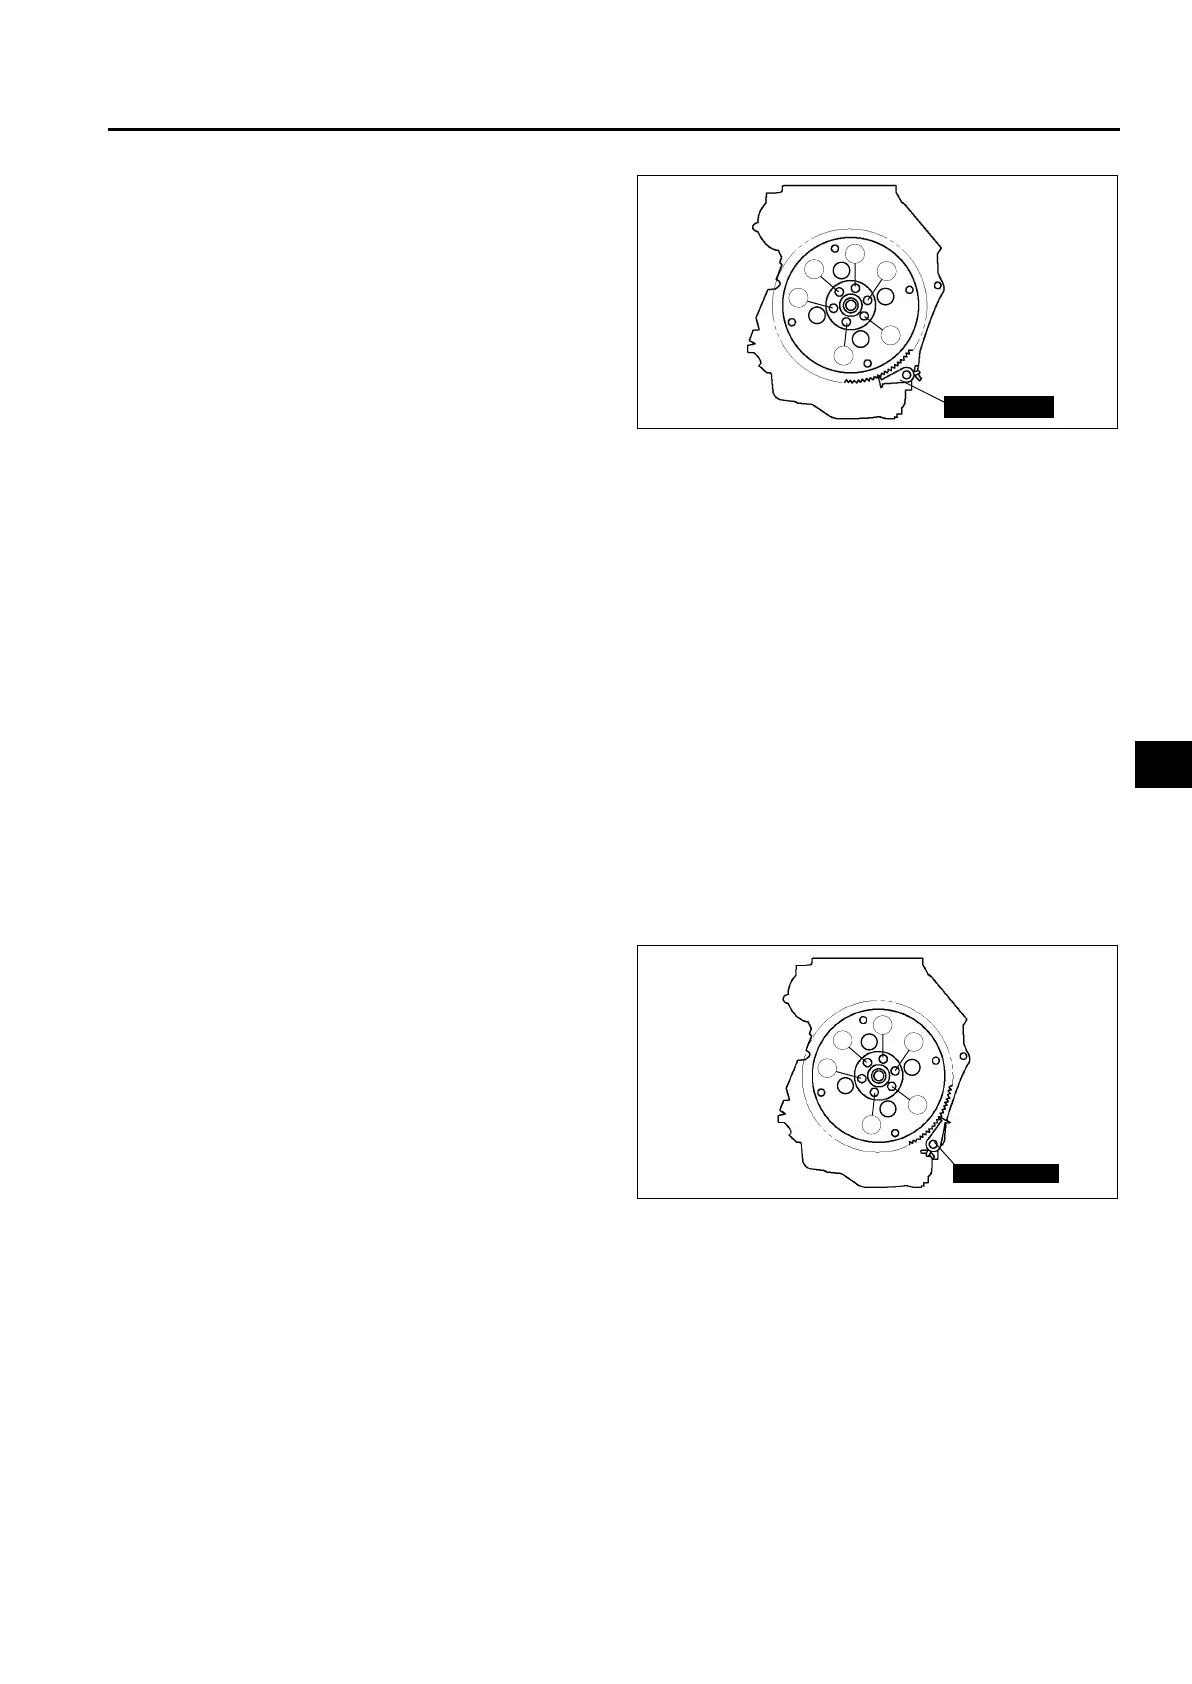
Drive Plate Mounting Bolts Removal Note
1. Set the SST or equivalent against the drive plate.
2. Remove the bolts and the drive plate.
Drive Plate Installation Note
Caution
• If the bolts are reused, remove the oil sealant from the bolt threads. Tightening a bolt that has old
sealant on it can cause thread damage.
1. Remove the sealant from the bolts hole in the crankshaft and from the drive plate mounting bolts.
Note
• If all the previous sealant cannot be removed from a bolt, replace the bolts.
• Do not apply sealant if a new bolts is used.
2. Install the drive plate.
3. Install the adapter.
4. Apply sealant to the drive plate mounting bolts and install them.
5. Set the SST or equivalent against the drive plate.
Caution
• When installing sealant covered bolts, tighten them immediately. Leaving these bolts in a half
installed condition could cause them to be stuck that way, due to the natural hardening or the
sealant.
6. Tighten the drive plate mounting bolts in two or
three steps in the order shown.
Tightening torque
108—1116 N·m
{11.0—11.8 kgf·m, 80—85 ft·lbf}
7. Install the transaxle. (See K2–99 AUTOMATIC
TRANSAXLE AND TRANSFER REMOVAL/
INSTALLATION.)
End Of Sie
5
4
3
6
1
2
49 E011 1A0
A6E5614W079
49 E011 1A0
5
4
3
6
1
2
A6E5614W081












 To Next Page