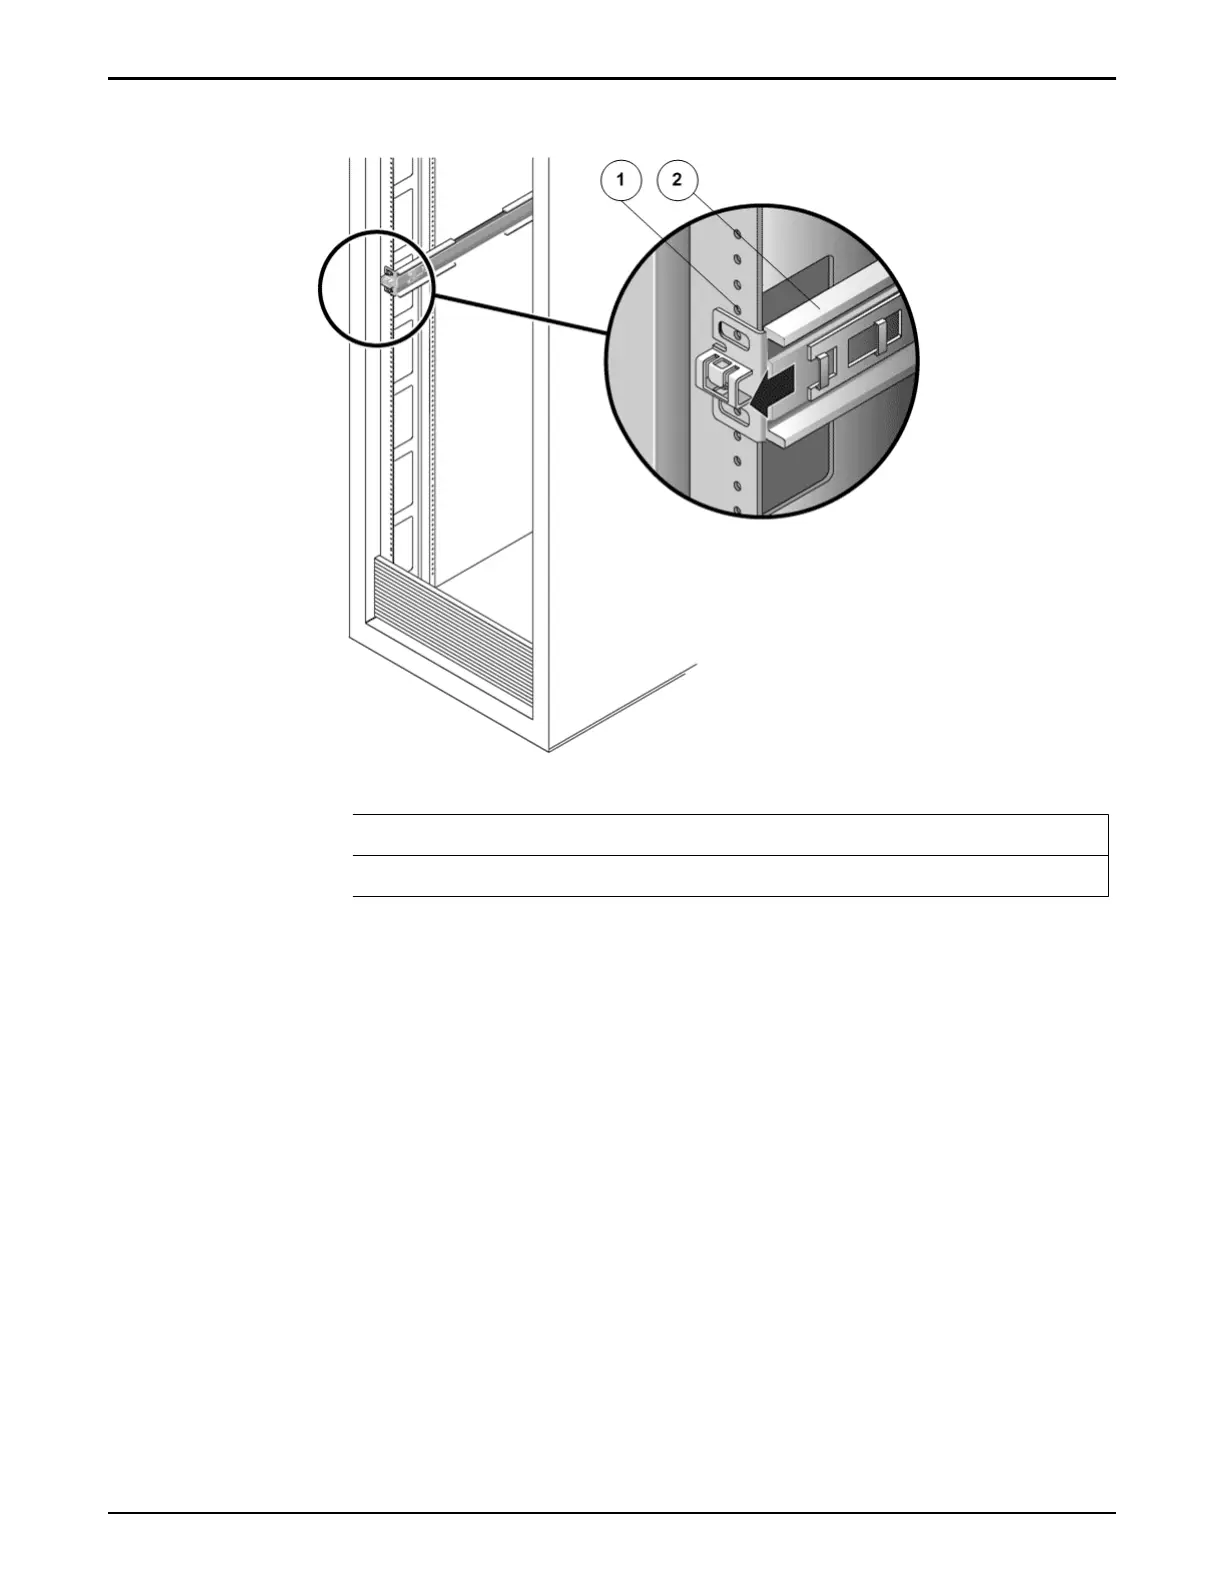
Figure 13: Controller rack mount location
Legend
1 Rack mount holes
2 Left rail
4 Use a Phillips Number 2 screwdriver to insert and tighten two 8-32
panhead screws to secure the left rail to the front of the rack.
Note: Each Controller requires two standard mounting units (2U) of
vertical space in the rack. Each standard mounting unit (U) has three
mounting holes in the left and right rack rails.
Note: Insert the screws into the lowest holes in the top two mounting units
of the 2U slot in which the chassis is to be mounted. These screws pass
through the rack rail holes and screw into threaded holes in the left rail.
Install Component Rails
49

 Loading...


