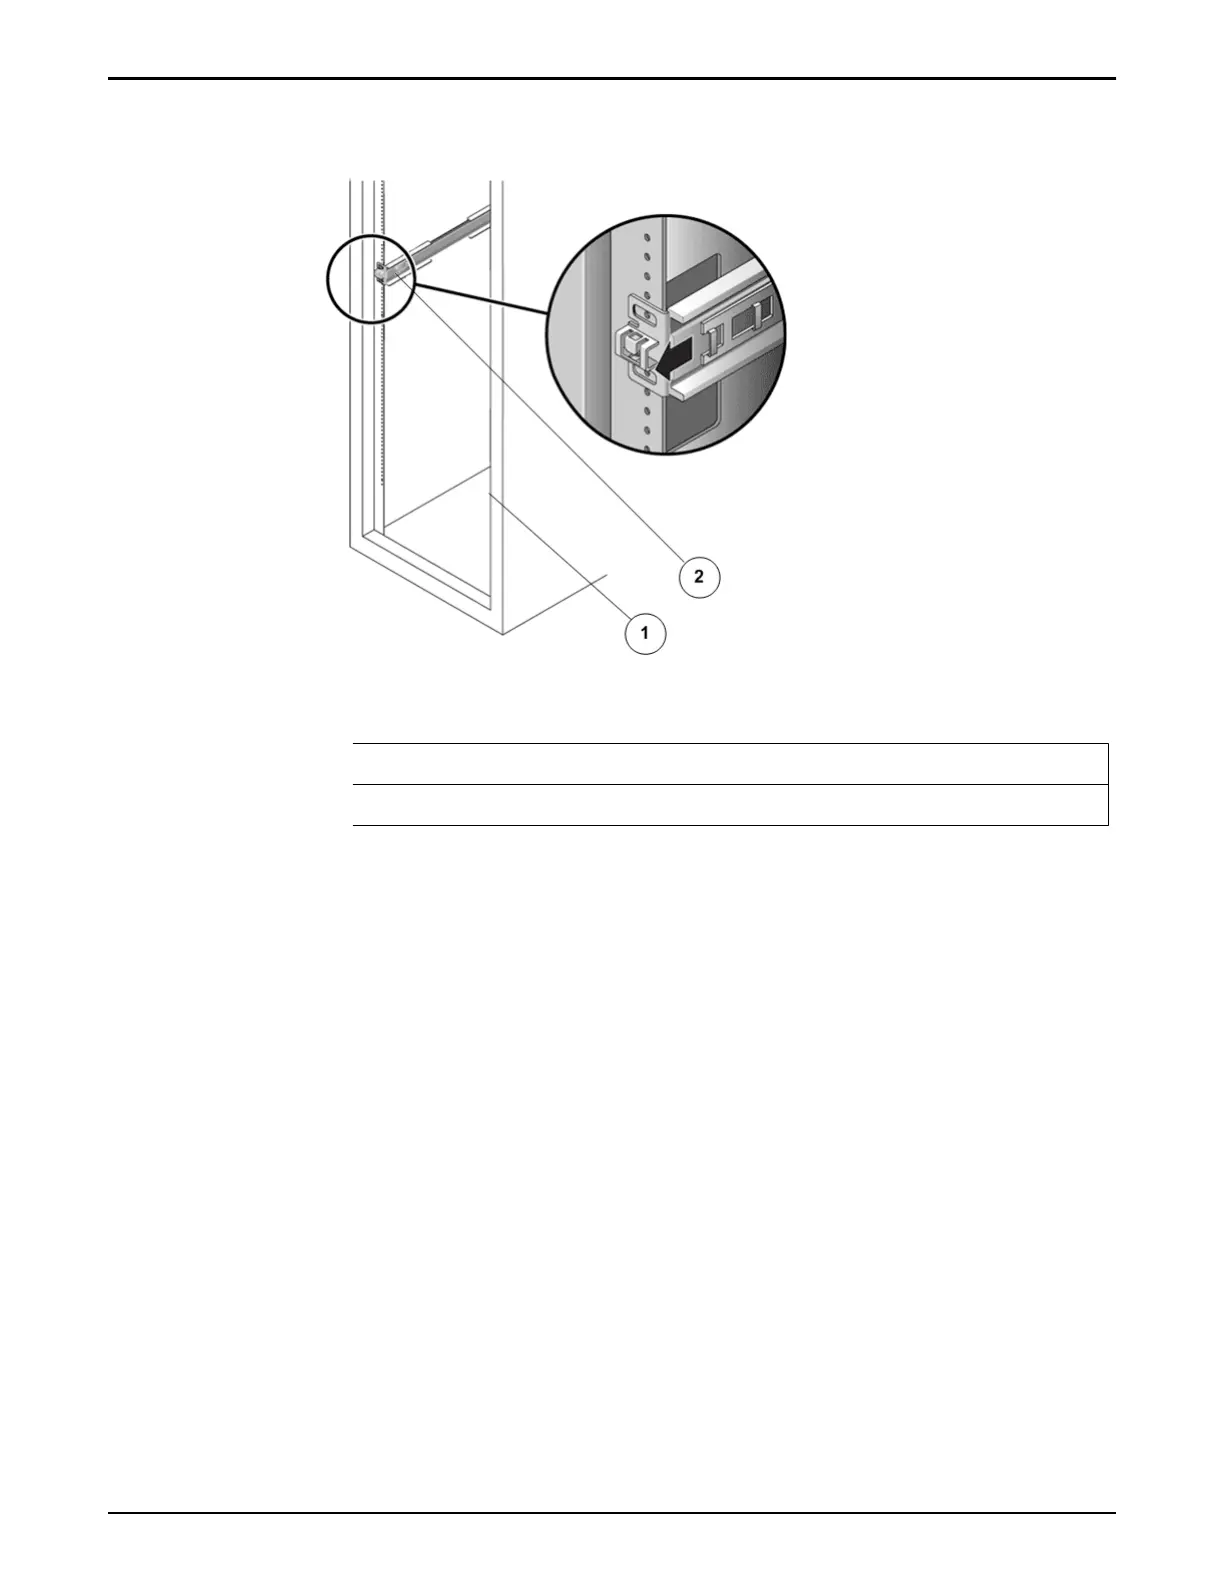
Figure 15: Left rail adjusted at the back of the rack
Legend
1 Back of the rack
2 Left rail
7 Align the rail ange so that the mounting holes correspond to those at the
front of the rack.
8 Use a Phillips screwdriver to insert and tighten four metric M6 screws (two
on each side) at the back of the rail.
9 Repeat the above three steps for the right rail.
10 Using a Phillips Number 2 screwdriver, tighten the eight 10-32 panhead
adjustment screws (four on each side) toward the back of each rail.
Install the Slide Rails for the Controller
1 Extend the mounting brackets completely out of their respective slide rails.
Tip: To extend the mounting brackets out of the slide rails, simultaneously
press and hold the upper and lower lock buons of the slide rail lock.
Then, pull the mounting bracket out until it locks in the extended position.
Install Component Rails
51

 Loading...


