Uplink Configuration
26.5 Uplink Preferences and Switching
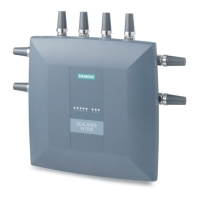
SCALANCE W1750D UI
Configuration Manual, 02/2018, C79000-G8976-C451-02
435
Setting an Uplink Priority
You can set an uplink priority by using the SCALANCE W UI or the CLI.
Setting an uplink priority:
1. Click System > show advanced settings > Uplink .
2. Under Uplink Priority List, select the uplink, and click the icons in the Uplink Priority List
section, to increase or decrease the priority. By default, the Eth0 uplink is set as a high-
priority uplink.
3. Click OK. The selected uplink is prioritized over other uplinks.
Setting an uplink priority:
(scalance)(config)# uplink
(scalance)(uplink)# uplink-priority {cellular <priority> | ethernet <priority> |
[port <Interface-number> <priority>] | wifi <priority>}
(scalance)(uplink)# end
(scalance)# commit apply
Setting an Ethernet uplink priority :
(scalance)(uplink)# uplink-priority ethernet port 0 1
(scalance)(uplink)# end
(scalance)# commit apply
Enabling Uplink Preemption
The following configuration conditions apply to uplink preemption:
● Preemption can be enabled only when no uplink is enforced.
● When preemption is disabled and the current uplink goes down, the AP tries to find an
available uplink based on the uplink priority configuration.
● When preemption is enabled and if the current uplink is active, the AP periodically tries to
use a higher- priority uplink, and switches to a higher-priority uplink even if the current
uplink is active.
You can enable uplink preemption by using SCALANCE W UI or the CLI.
To enable uplink preemption:
1. Click
System > show advanced settings > Uplink
. The
tab contents are displayed.
2. Under
, ensure that the
is set to none.
3. Select
from the
drop-down list.
4. Click
.
 Loading...