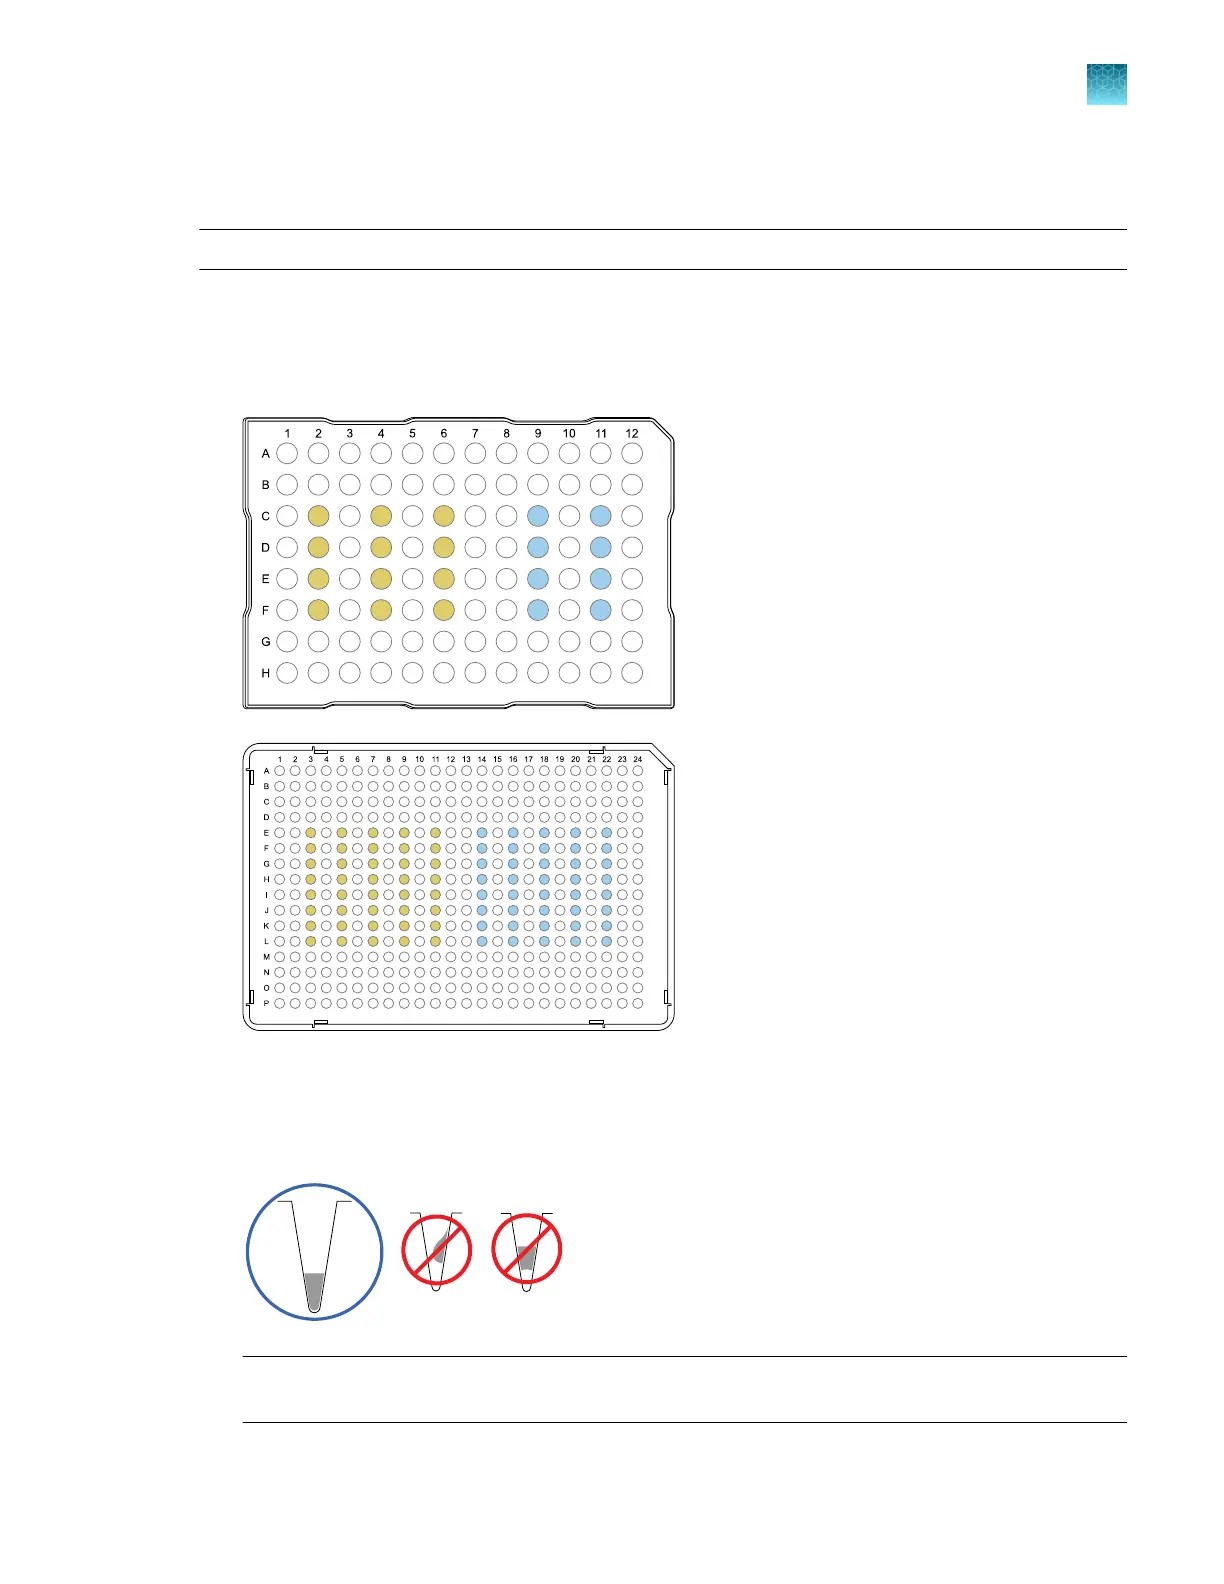
Prepare a custom dye dilution plate
IMPORTANT! Wear powder-free gloves throughout the procedure.
1.
P
repare a 2- or 3-fold dilution series of the custom dye.
2.
Dispense aliquots of each dilution into the center of a reaction plate, then seal the plate.
A full plate is not needed.
100 nM
200 nM
400 nM
800 nM
1600 nM
100 nM
200 nM
400 nM
800 nM
1600 nM
100 nM
200 nM
400 nM
800 nM
1600 nM
3.
V
ortex the plate for 5 seconds, then centrifuge at 750–1,000 × g for 2 minutes.
4.
Confirm that the liquid in each well is at the bottom of the well and free of bubbles. If it is not,
centrifuge the plate again.
IMPORTANT! K
eep the bottom of the plate clean. Fluids and other contaminants on the bottom
of the plate can contaminate the sample block and cause an abnormally high background signal.
Chapter 7 Calibrate and verify instrument performance
Calibrate custom dyes
7
QuantStudio
™
6 Pro Real-Time PCR System and QuantStudio
™
7 Pro Real-Time PCR System User Guide
115