Scratch Testing E
Agilent Nano Indenter G200 User’s Guide E-2
Quick Start Guide
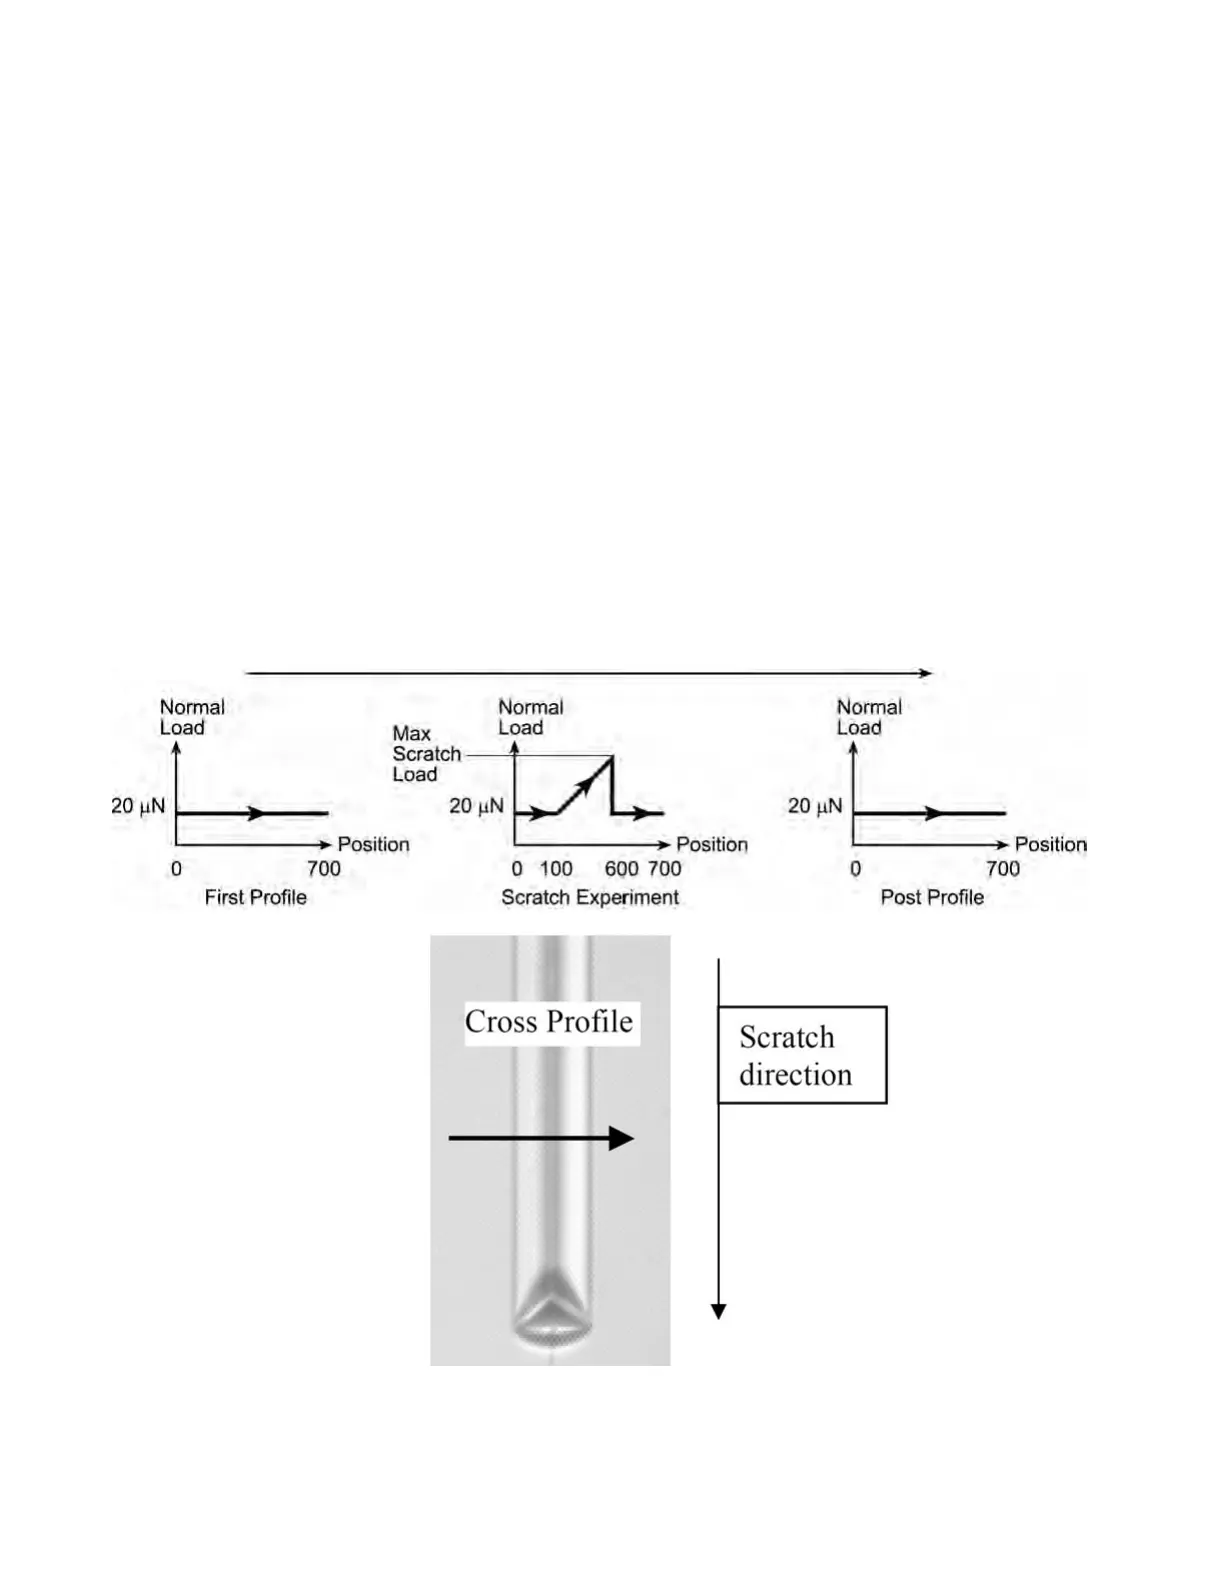
There are four phases in the standard scratch test. The first three are
shown across the top of
Figure E-1:
1 A first profile of the surface is realized by applying a very small load
(20
mN, for example), in order to have the original morphology of
the surface before the scratch.
2 Then, along the same path, the normal load is increased from the
starting scratch load (0
mN, for example) to the maximum scratch
load (200
mN, for example).
3 A last profile is realized by applying a very small load to measure the
residual deformation in the groove.
4 Finally, a profile across the residual scratch gives the shape of the
section of the groove and helps in evaluating the plastic deformation,
as shown on the bottom of
Figure E-1.
Figure E-1First 3 steps for standard scratch test (top) and residual
scratch cross profile (bottom)

 Loading...