1 689 989 300 2020-03-24| Robert Bosch GmbH
68 | EPS 118 | Product descriptionen
6.3 Connection of compressed air
! Always connect EPS 118 to a clean, water-free
and oil-free compressed-air supply conforming to
ISO8573–1:2010 [3:4:4]. In case of poor com-
pressed-air quality, the air filter in the maintenance
unit must be changed sooner. If the air filter is
changed too late, the life cycle of EPS 118 will be
reduced. The specifications on the compressed air
hose assemblies and distance from the compressed
air supply are described in the chapter "Technical
data" (see sec. 10.1).
! Compressed air that is too humid may cause mal-
functions and damage. In case of excessive humi-
dity, an air dryer must be installed in front of the
maintenance unit.
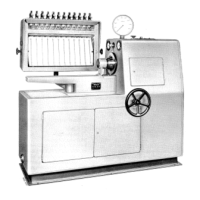
i A transparent bag is attached to the maintenance
unit that has a plug-in hose nipple for a quick lock
connection. Use this plug-in hose nipple for con-
necting to the compressed air supply.
1. Attach the plug-in hose nipple (Fig. 2, item 3) to
the maintenance unit (Fig. 2, item 2).
2. Connect the compressed air supply to the mainte-
nance unit of the EPS 118 (Fig. 2, item2).
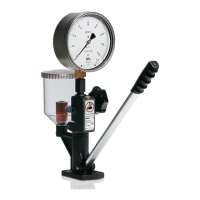
6.4 Filling the tank with test oil
1. Remove the screwed drain plug from the test oil
filler port (Fig. 3, item9).
! If the test oil is poured in too quickly, it may run
out at the filler port. Immediately clean up test oil
spills with a cloth.
! Only fill the EPS 118 with test oil according to
ISO4113. Never use diesel fuel.
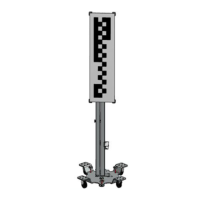
! The test oil level must be both above the mark of
the oil level indicator (Fig. 1, item 4) and within
the sight glass. If the test oil level cannot be seen
in the within the sight glass, too much test oil has
been filled, which will distort the measured values.
2. Pour test oil (ISO4113) through the funnel very
slowly and carefully into the test oil filler port
(Fig. 3, item9). Pour in test oil until it is above
the mark on the oil level indicator (Fig. 11, item4)
(approximately 4,5l test oil).
3. Screw the screwed drain plug on to the test oil filler
port (Fig. 3, item9) and tighten by hand.
 Loading...