2
-34
Apr. 2007
DSC48
12
12
15
11
14
18
134
8 1
3
2
7
6
10
5
9
A
417W252A
417W250A
417W251A
► CYLINDER HEAD
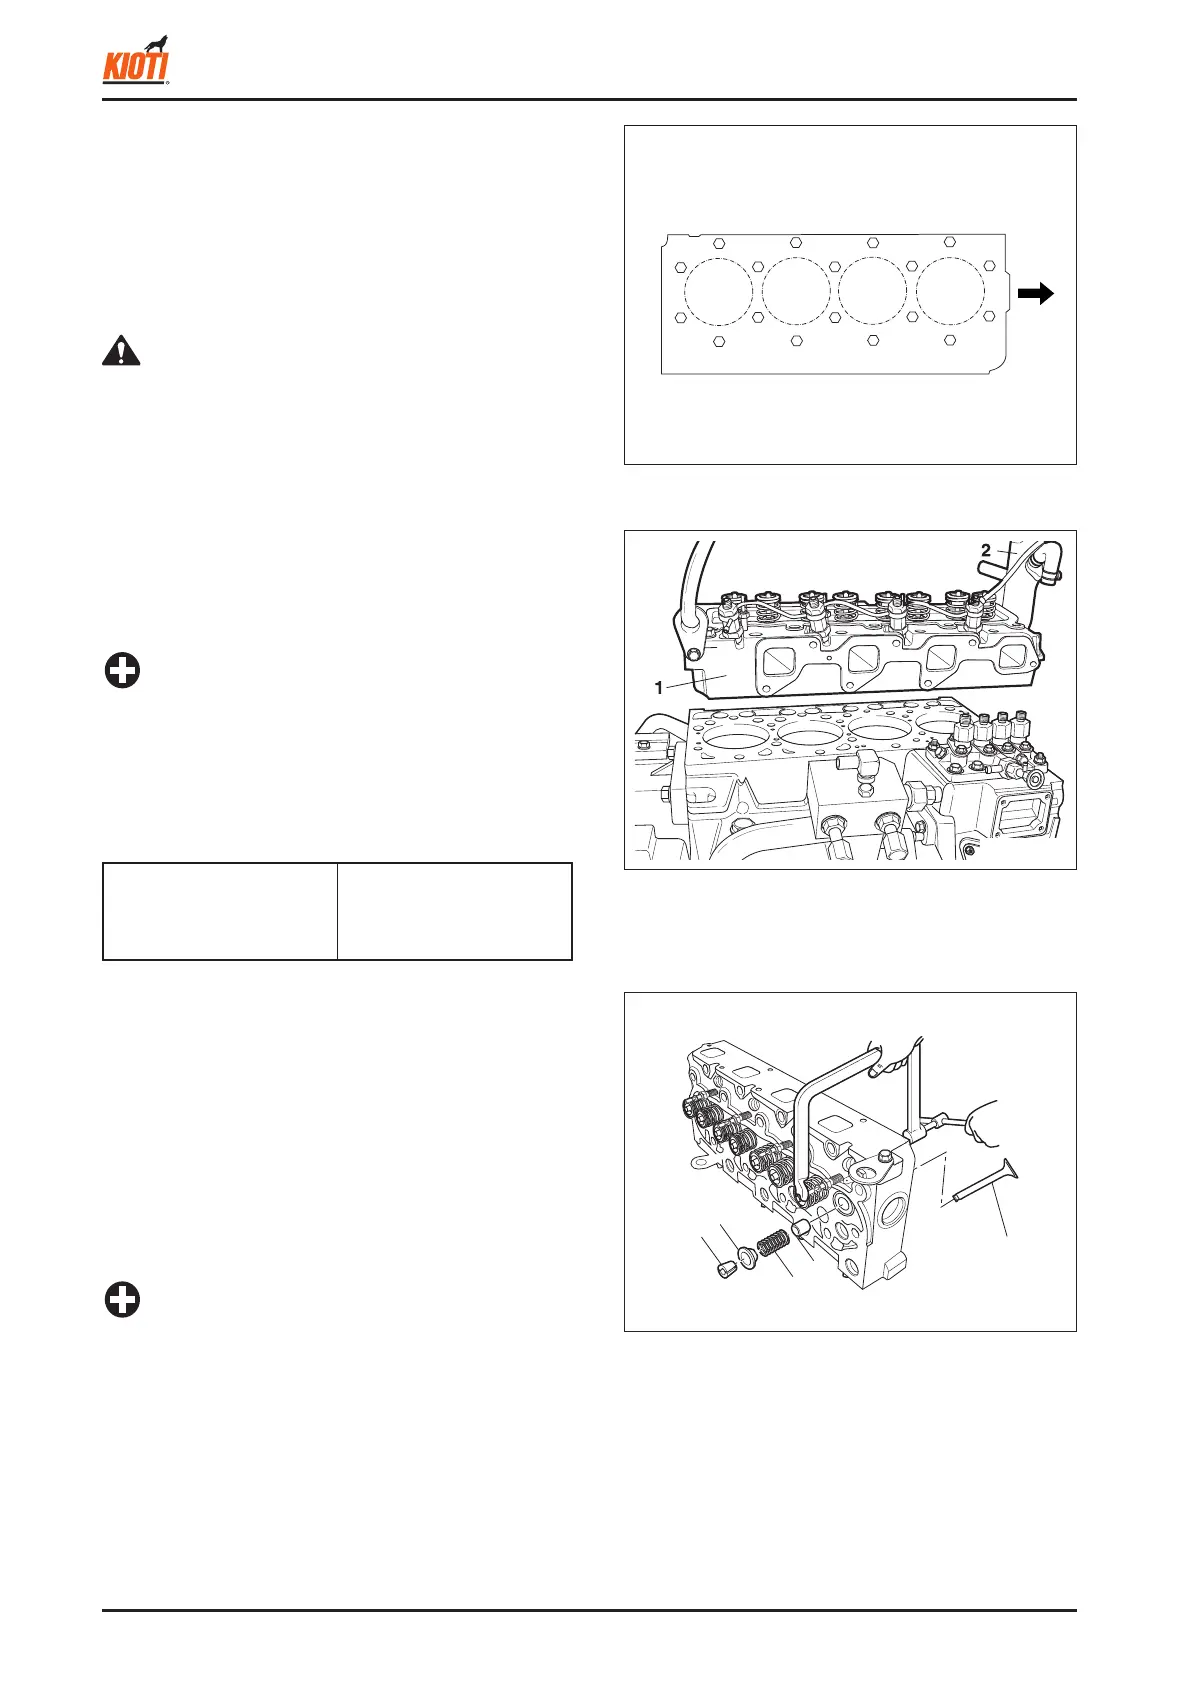
1. Remove the bolts in the specifi ed sequence as shown in
the fi gure. Remove the cylinder head (1) and head gas-
ket.
• To loosen: (18) to (1), To tighten: (1) to (18)
2. Remove the water fl ange (2).
3. Take out the tappets from the cylinder block.
(1) Cylinder head (3) Water fl ange
(2) Head gasket
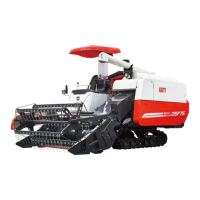
► VALVES
1. Compress the valve spring with the valve spring replac-
ing tool and remove the collet (2).
2. Remove the valve spring retainer (3), valve spring (4),
valve stem seal (5), and valve (1).
<When reassembling>
• Apply oil to the valve's stem and install it in the cylinder
head.
• Lubricate the valve and its parts after reassembling.
1
2
3
4
5
(1) Valve (4) Valve spring
(2) Valve spring collet (5) Valve stem seal
(3) Valve spring retainer
• Mark the cylinder number to the tappets to prevent
interchanging.
CAUTION
<When reassembling>
• Apply a liquid gasket to both sides of the water fl ange
gasket.
• Replace the head gasket with new one and place it on
the cylinder block. Be careful of its correct direction and
side.
• Before installing the tappets, apply engine oil to them.
• Apply oil to the threads of the bolts and nuts, and
tighten them step by step in the specifi ed sequences to
the specifi ed torque as shown in the fi gure.
• Check the torque again after running the engine for
approx. 30 minutes after installing the engine. Also,
adjust the valve clearance.
IMPORTANT
• Do not interchange valves and their parts. Mark the
cylinder number on each valve and its parts to prevent
interchanging.
IMPORTANT
(A) Gear case
Tightening torque
103.0 ~ 107.9 Nm
10.5 ~ 11.0 kgf-m
76.0 ~ 79.6 lb-ft