72A-1589 Rev. C 02/01 3-1
D
DD
D
R
RR
R
A
AA
A
F
FF
F
T
TT
T
3
33
3
/
//
/
5
55
5
/
//
/0
00
0
1
11
1
3. Setup and Configuration
This chapter explains how to set up the F6000 Instrument and how to
establish communications between the instrument and the software used
to control it. It also explains briefly how to configure the voltage and
current sources on the front panel of the instrument.
Getting Started
To set up the F6000 power system simulator:
1. Unpack the instrument and inspect it for completeness and
transportation damage. Verify that all system components are present:
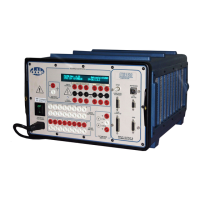
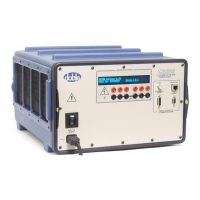
• F6150 Instrument
• Brown cable bag, containing the following:
• 1 F6000 User Guide
• 1 F6150 Marketing Release Notice
• 1 Power Cord
• 1 RS-232 Cable
• 3 I Output Cables
• 1 V Output Cable
• 9 Logic I/O Cables
• 2 #4 R Lug 3 x 4 mm F Adapter Cables
• Coaxial Ethernet Cable
• 2 Ring Lug to 3 x 4 mm Adapters
• 15 Spade Lug 4 mm Red Adapters
• 9 Spade Lug 4 mm White Adapters
• 2 In-line 50 Ohm BNC Terminators
2. Connect the power cord to the power connection socket in the lower
left-hand corner of the instrument front panel and plug it into a
standard wall outlet.
3. Turn the instrument on with the On/Off switch located above the
power connection socket.