Chapter 5 - Preuse Checkout Checking the Workstation According to the Check List
62 Apollo Operator’s Manual
Part Number: 90 38 237, 6th edition
10. Verify that the scavenger system is ready for
use:
a. Check that the scavenger hose between the
scavenger and the scavenger connection on
back of the machine is securely connected.
b. Check that the hose between the output
connector on the scavenger and the hospital
waste gas disposal system is securely
connected.
c. On the AGS scavenger, make sure the float
is in between the two marks in the sight
glass on the scavenger.
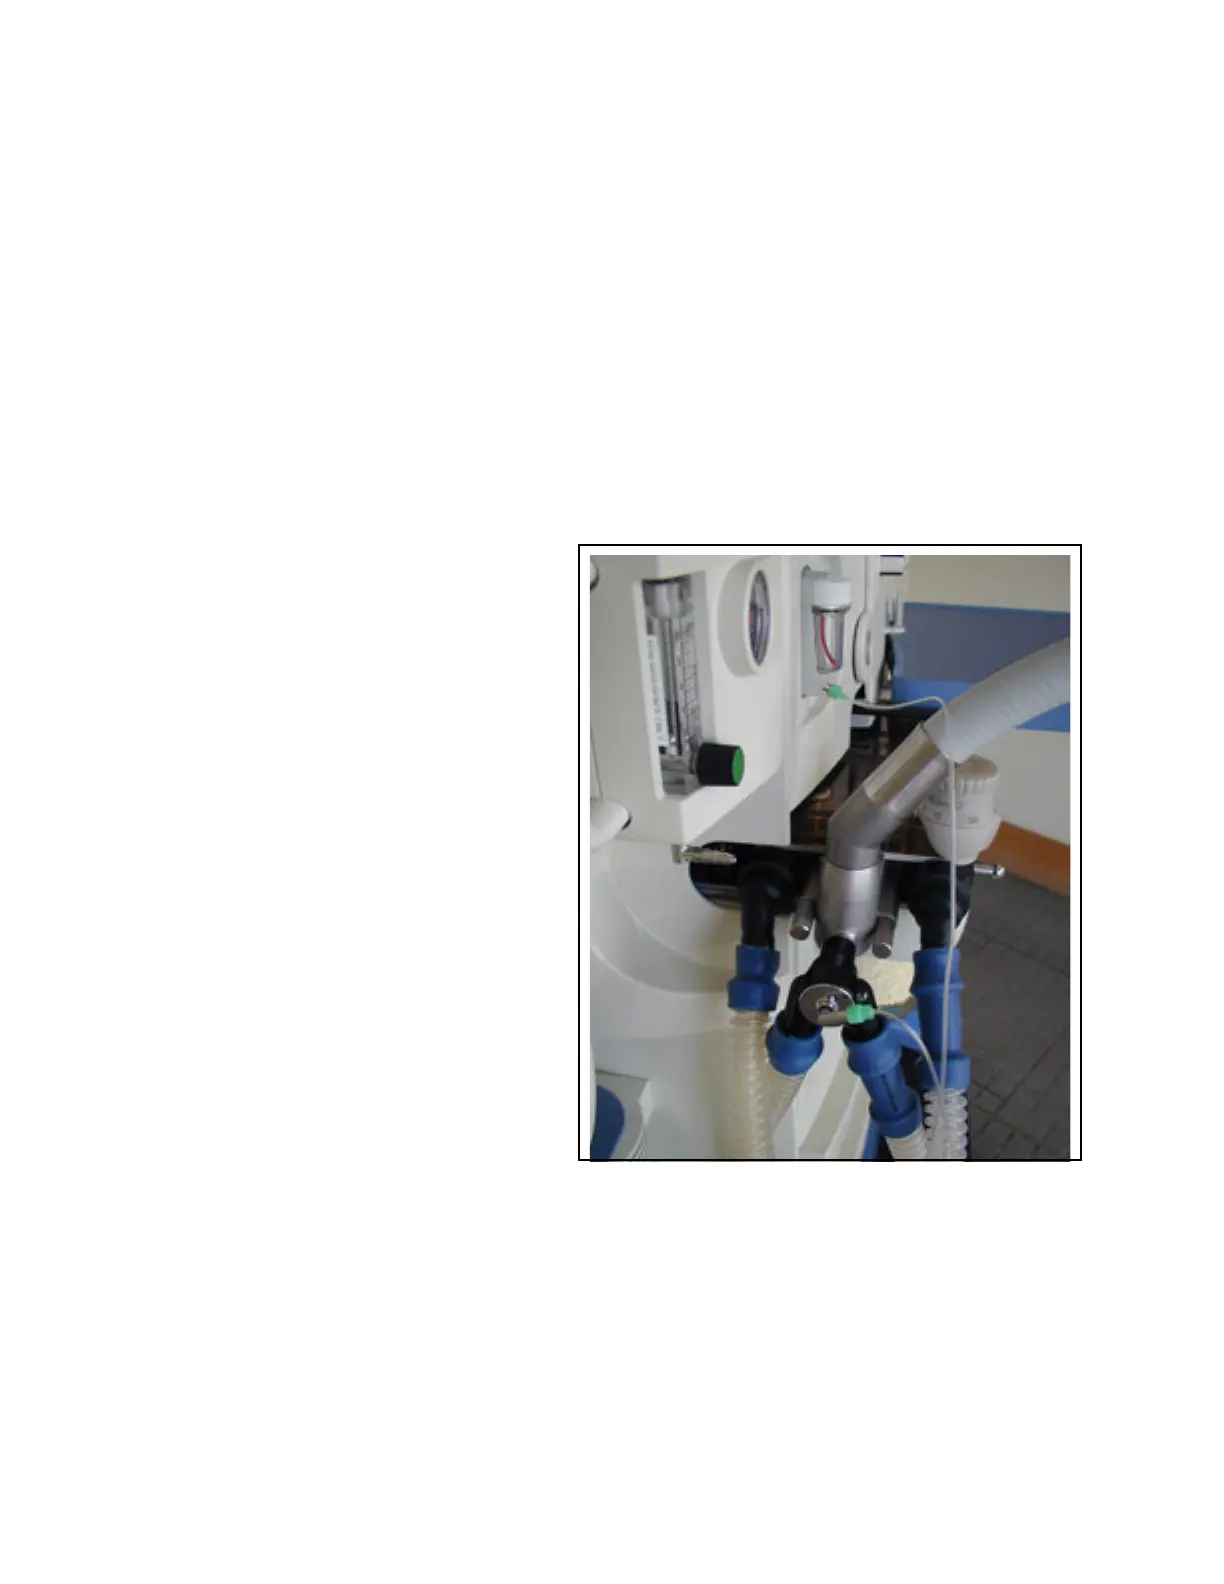
Figure 43. Preparing for the Self Test
11. Prepare the Apollo for the self test as follows:
a. Ensure all flow controls are closed.
b. Occlude the Y-piece by inserting it onto the
plug on the bag arm assembly (1 in Figure
43).
c. Ensure the sample line is connected
between the water trap and the Y-piece (2 in
Figure 43).
Note: If the water trap needs to be drained
or replaced, follow the instructions
provided in the Cleaning and
Routine Maintenance section of this
manual.
12. Check the function of the APL valve (3 in Figure
43):
a. Set the APL valve to 30.
b. Press the O
2
flush button until system
pressure stabilizes; it should not exceed 45.
c. Release the O
2
flush button.
d. Verify that pressure does not fall below 15.
1
2
2
3