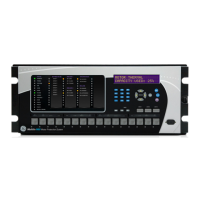
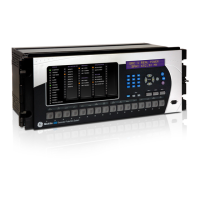
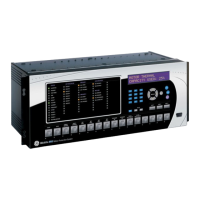
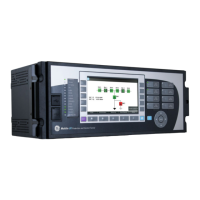
2.2 REPLACING THE DEVICE
If your product should develop a fault while in service, depending on the nature of the fault, the watchdog
contacts will change state and an alarm condition will be flagged. In the case of a fault, you can replace
either the complete device or just the faulty PCB, identified by the in-built diagnostic software.
If possible you should replace the complete device, as this reduces the chance of damage due to
electrostatic discharge and also eliminates the risk of fitting an incompatible replacement PCB. However, we
understand it may be difficult to remove an installed product and you may be forced to replace the faulty
PCB on-site. The case and rear terminal blocks are designed to allow removal of the complete device,
without disconnecting the scheme wiring
Caution:
Replacing PCBs requires the correct on-site environment (clean and dry) as well
as suitably trained personnel.
Caution:
If the repair is not performed by an approved service centre, the warranty will be
invalidated.
Caution:
Before carrying out any work on the equipment, you should be familiar with the
contents of the Safety Information section of this guide or the Safety Guide
SFTY/4LM, as well as the ratings on the equipment’s rating label. This should
ensure that no damage is caused by incorrect handling of the electronic
components.
Warning:
Before working at the rear of the device, isolate all voltage and current
supplying it.
Note:
The current transformer inputs are equipped with integral shorting switches which will close for safety reasons, when
the terminal block is removed
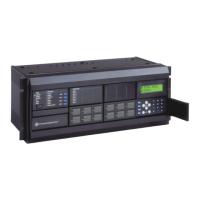
To replace the complete device:
1. Carefully disconnect the cables not connected to the terminal blocks (e.g. IRIG-B, fibre optic cables,
earth), as appropriate, from the rear of the device.
2. Remove the terminal block screws using a magnetic screwdriver to minimise the risk of losing the
screws or leaving them in the terminal block.
3. Without exerting excessive force or damaging the scheme wiring, pull the terminal blocks away from
their internal connectors.
MiCOM P747 Chapter 15 - Maintenance and Troubleshooting
P747-TM-EN-1 371
 Loading...