D
IRECTION FR091521, REVISION 1 VIVID S60N/VIVID S70N BASIC SERVICE MANUAL
8-180 Section 8-6 - Mechanical Platform Components - Replacement Procedures
PRELIMINARY
Note:
At this stage, the Vivid™ S60/Vivid™ S70 ultrasound
scanner has an operating system - but no application
software has been loaded yet.
The buttons in the Start Application dialog box will
remain grayed-out until the Software Installation Media
containing the Vivid™ S60/Vivid™ S70 software
application is inserted into the scanner USB port.
The Windows installation continues automatically.
A series of progress bars and status messages are displayed in sequence.
For example:
Configuring system registry
Tuning system registry
Configuring Windows updates
Installing Intel MEI driver
Optimizing boot performance (it may take 5-10 mins)
Optimizing system layout (it may take 5-10 mins)
Configuring archive
Configuring monitors etc.
Finalizing
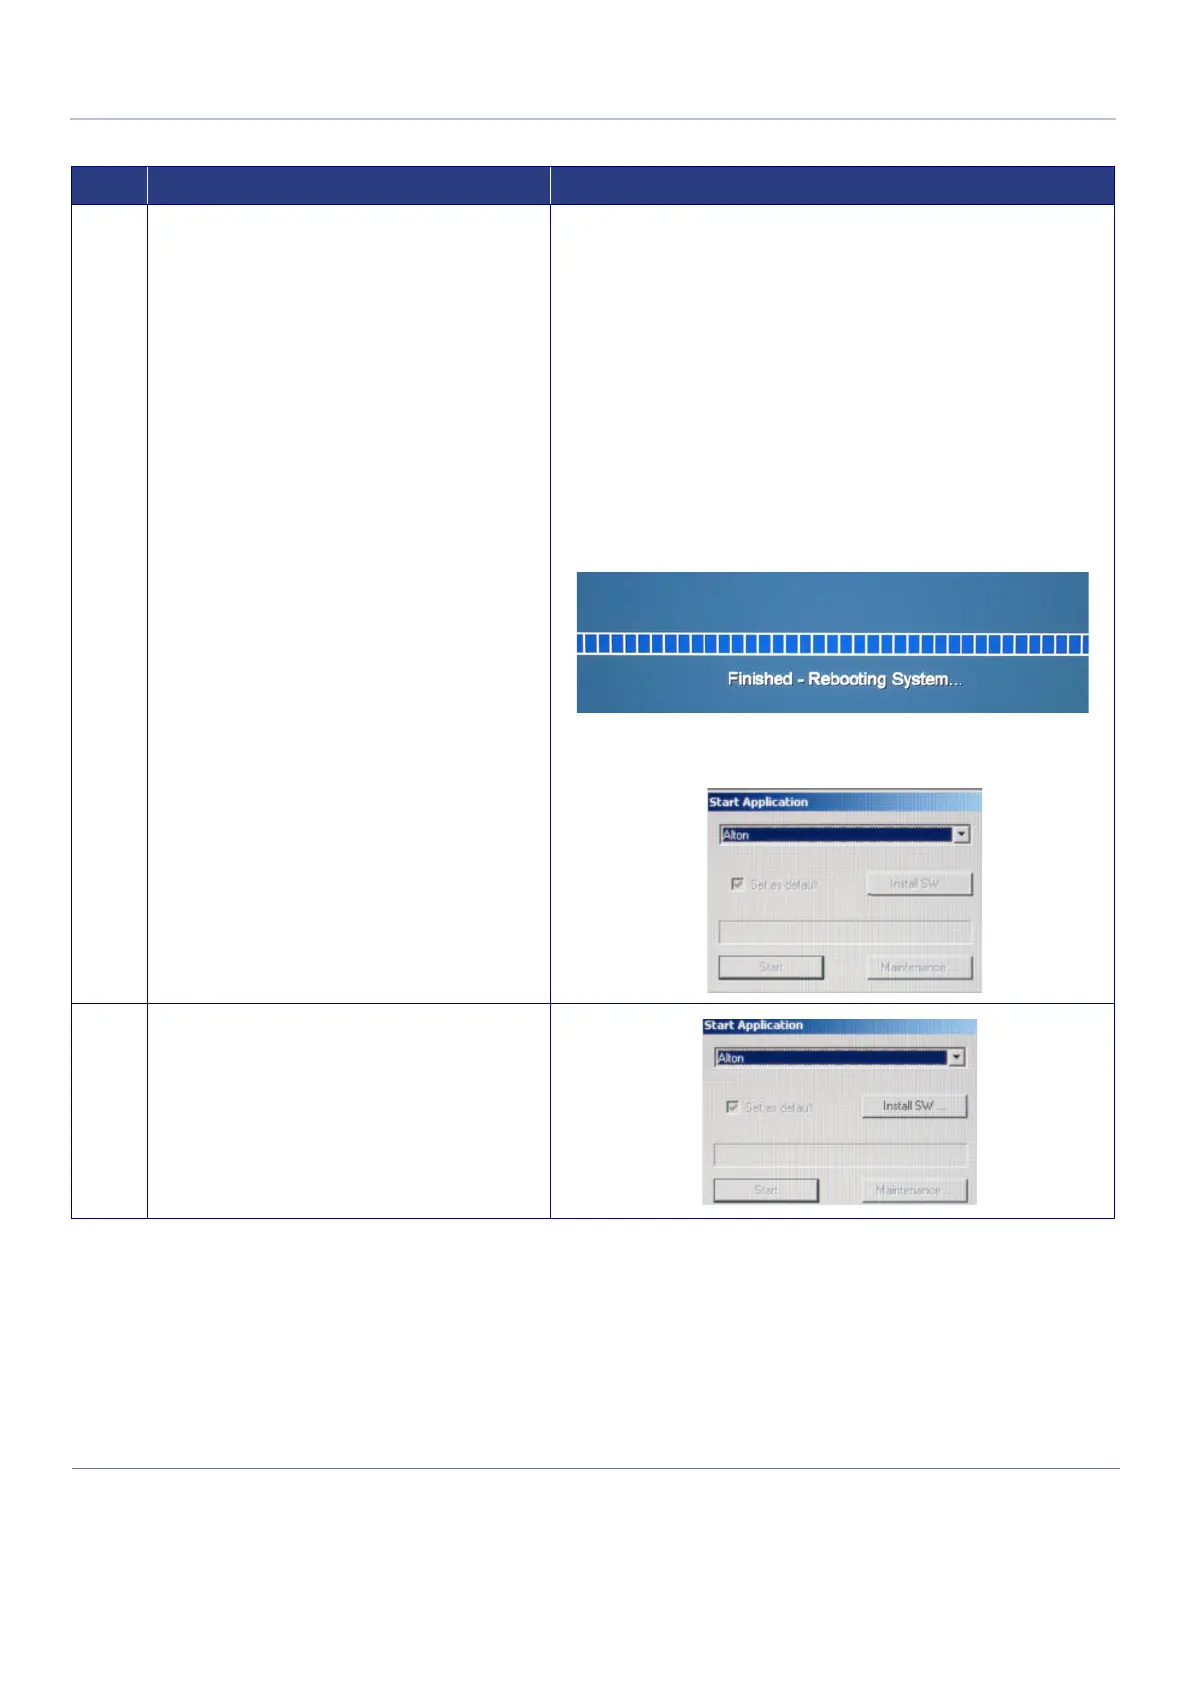
When the Windows operating system installation is complete, the system
performs automatic shutdown, then reboots.
The following status message/progress bar is displayed:
When done, the Starting Windows message appears on the Touch Screen;
thereafter the Windows OS version logo is displayed on the Monitor.
The Start Application dialog box now opens:
11.
Insert the Software Installation Media containing the
Vivid™ S60/Vivid™ S70 software application into the
USB port on the front of the scanner.
Note:
In the dialog box, the Install SW button has now become
enabled.
Table 8-4 Windows Operating System and Vivid™ S60/Vivid™ S70 Software Installation Procedures
Step Instruction Expected Result

 Loading...


