D
IRECTION FR091521, REVISION 1 VIVID S60N/VIVID S70N BASIC SERVICE MANUAL
Chapter 8 - Replacement Procedures 8-91
PRELIMINARY
8-5-3 Hard Disk Replacement Procedure
NOTE: When replacing the BEP or Hard Disk, one must either obtain new access codes that will fit the
system ID which is programmed on the BEP, or program the BEP system ID to fit the access codes
already registered in the Hard Disk. Only qualified personnel should perform these tasks.
8-5-3-1 Tools
Appropriate flat and Phillips-type screwdrivers, and Hard Disk Duplicator.
8-5-3-2 Time Required
10 minutes
8-5-3-3 Preparation
Shut down the Vivid™ S60/Vivid™ S70 ultrasound unit, as described in Power Shut Down on page 4 - 7.
8-5-3-4 Hard Disk Removal Procedure
1) Lock the wheels, then remove the following covers: left side, right side, DVD, front.
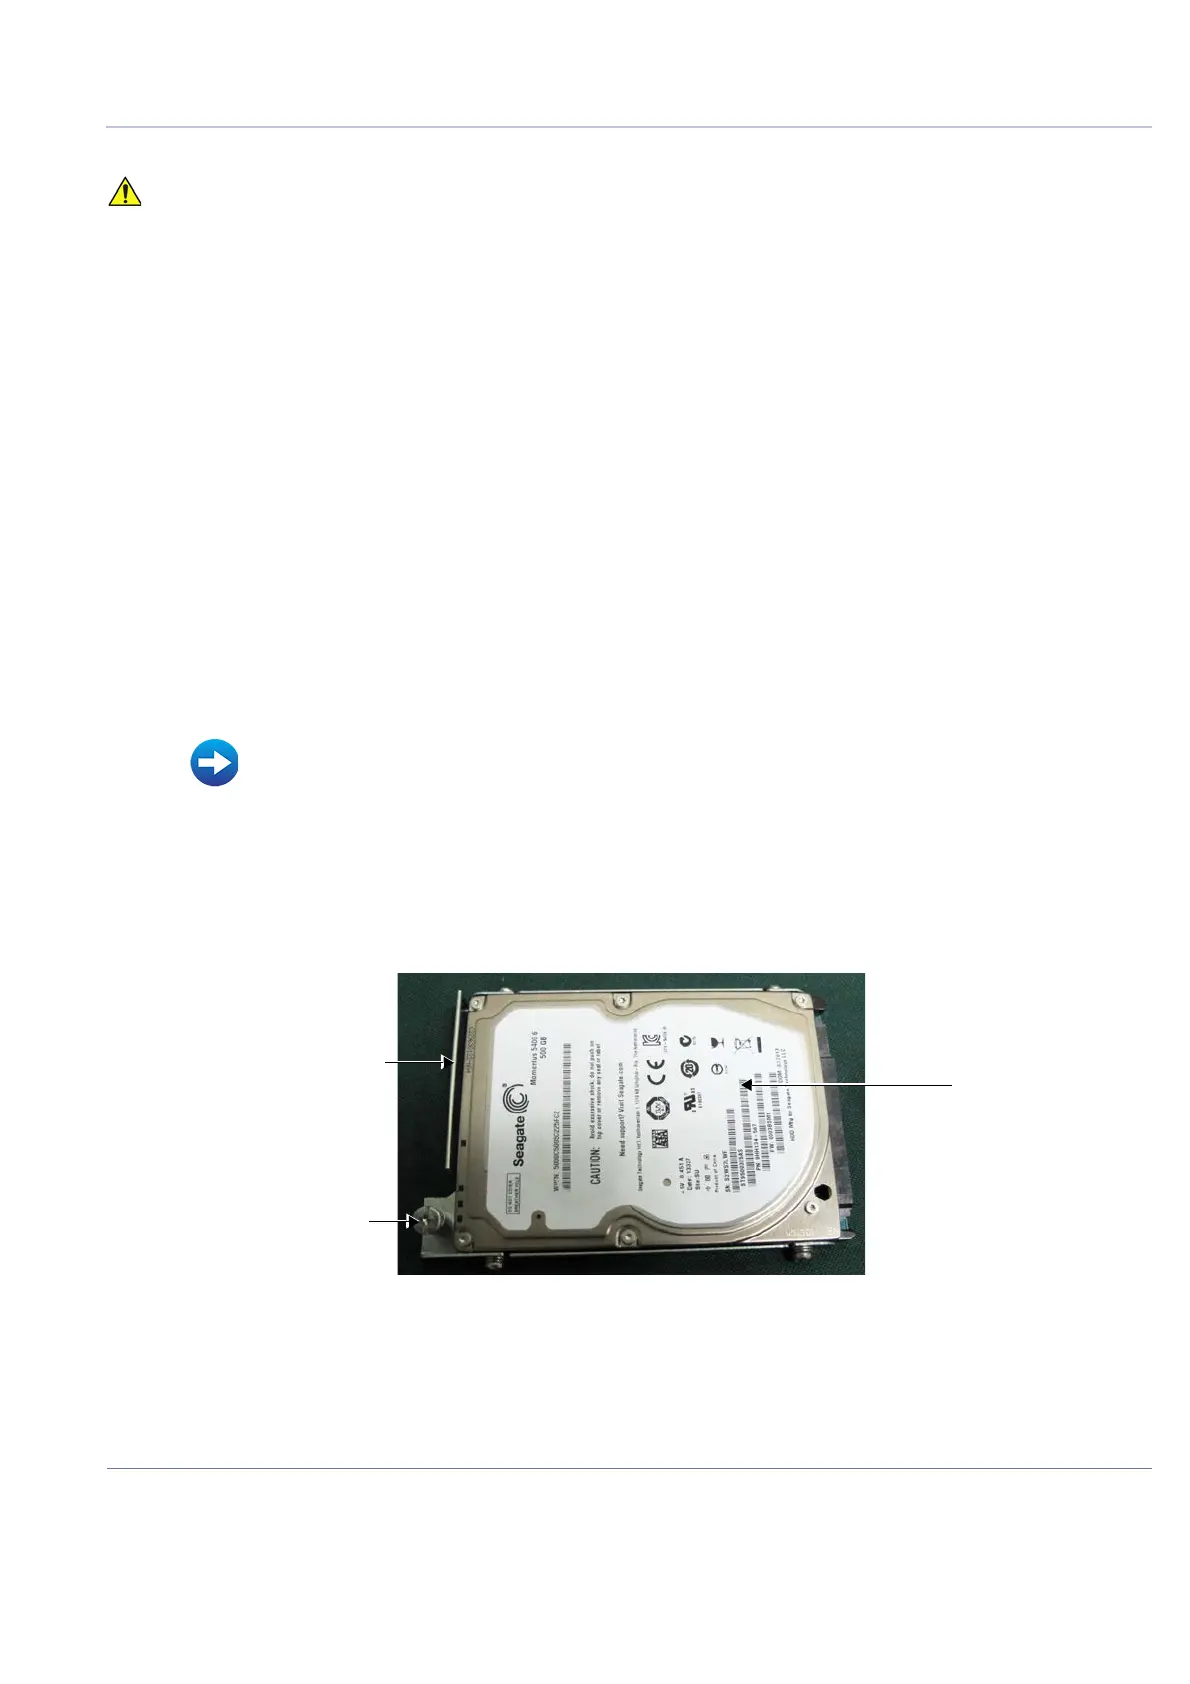
Note: A metal plate holder secures the hard disk as shown in Figure 8-114. The plate is used to
secure the hard disk firmly in position on the Back End and also serves as a useful hand
grip when removing/inserting the hard disk, as described in the following steps.
WHILE THE SOFTWARE INSTALL PROCEDURE IS DESIGNED TO PRESERVE DATA,
YOU SHOULD SAVE ANY PATIENT DATA, IMAGES, SYSTEM SETUPS TO A DVD OR
HARDCOPY BEFORE DOING A SOFTWARE UPGRADE.
Refer to Table 9-14 on page 9-13.
• Air Inlet (Left Side) Cover Removal Procedure on page 8 - 7
• Right Side Cover Removal Procedure on page 8 - 10
• DVD Cover Removal Procedure on page 8 - 11
• Front Cover Removal Procedure on page 8 - 16
Figure 8-114 Hard Disk with Metal Securing Plate Attached
Hard Disk
Metal Securing Plate
Hard Disk retaining
screw
Metal Securing Plate
attached to Hard Disk

 Loading...


