79
────────────────────────────────────────────────────
6.5 Changing Settings
────────────────────────────────────────────────────
Start Time Setting
.5.3 Integration Stop Method
Integration Stop Method
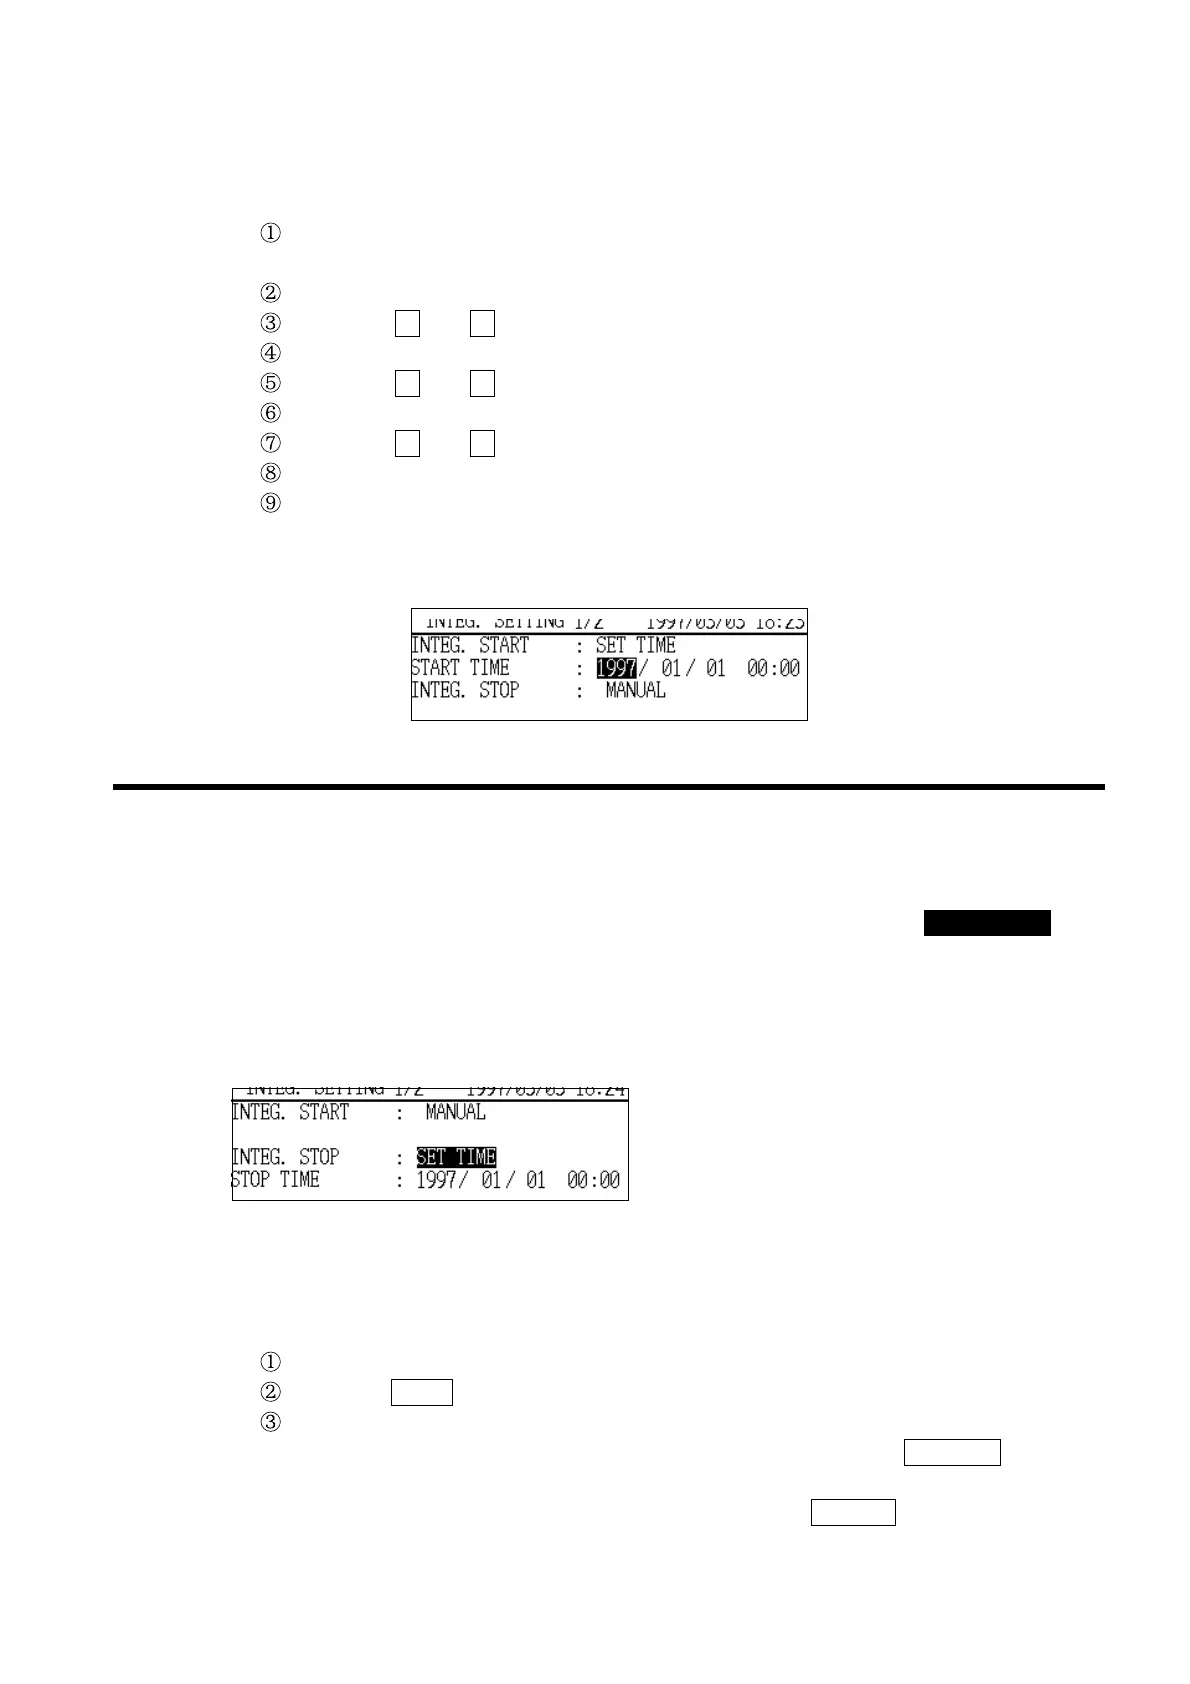
Example Setting the start time to January 7, 1997, 8:30 a.m.
Assume that the current setting is the factory setting, "1997/01/01 00:00".
Position the cursor at "Start time (START TIME)." The cursor will appear at
the first digit in the "year" field.
Position the cursor at the one’s digit in the "day" field.
Using the + and − "function keys, set the digit to "7".
Position the cursor at the one’s digit in the "hours" field.
Using the + and − function keys, set the digit to "8".
Position the cursor at the ten’s digit in the "minutes" field.
Using the + and − function keys, set the digit to "30".
The start time is now set to "1997/01/07 08:30".
Before the start of integration, confirm that the time displayed in the upper
right corner of the setting screen is the actual time. If the time is incorrect,
correct the power meter’s clock setting.
This item sets the integrated measurement stop method.
If "MANUAL" is selected, integration is stopped by using the START/STOP key
or in response to external control signal input. If "SET
−
TIME" is selected,
integration can be stopped at any specified date and time.
If "TIMER" is selected, integrated measurement stops once the specified
integration time has elapsed since the start of measurement.
Options: SET
−
TIME/TIMER/MANUAL
*MANUAL
Example Stopping integration with the timer
Position the cursor at "Integration stop method(INTEG.STOP)."
Press the TIMER function key.
"Timer" is set and is displayed in the "Integration stop method" field.
If integration is to be stopped at a specified time, press the
SET
−
TIME function
key.
If integration is to be stopped manually, press the
MANUAL function key.