78
────────────────────────────────────────────────────
6.5 Changing Settings
────────────────────────────────────────────────────
.5.1 Integration Start Method
Integration Start Method Setting
.5.2 Start Time
NOTE
.5 Changing Settings
The asterisk ("*") is used in this section to indicate initial values (initial
settings when the power meter is shipped from the factory).
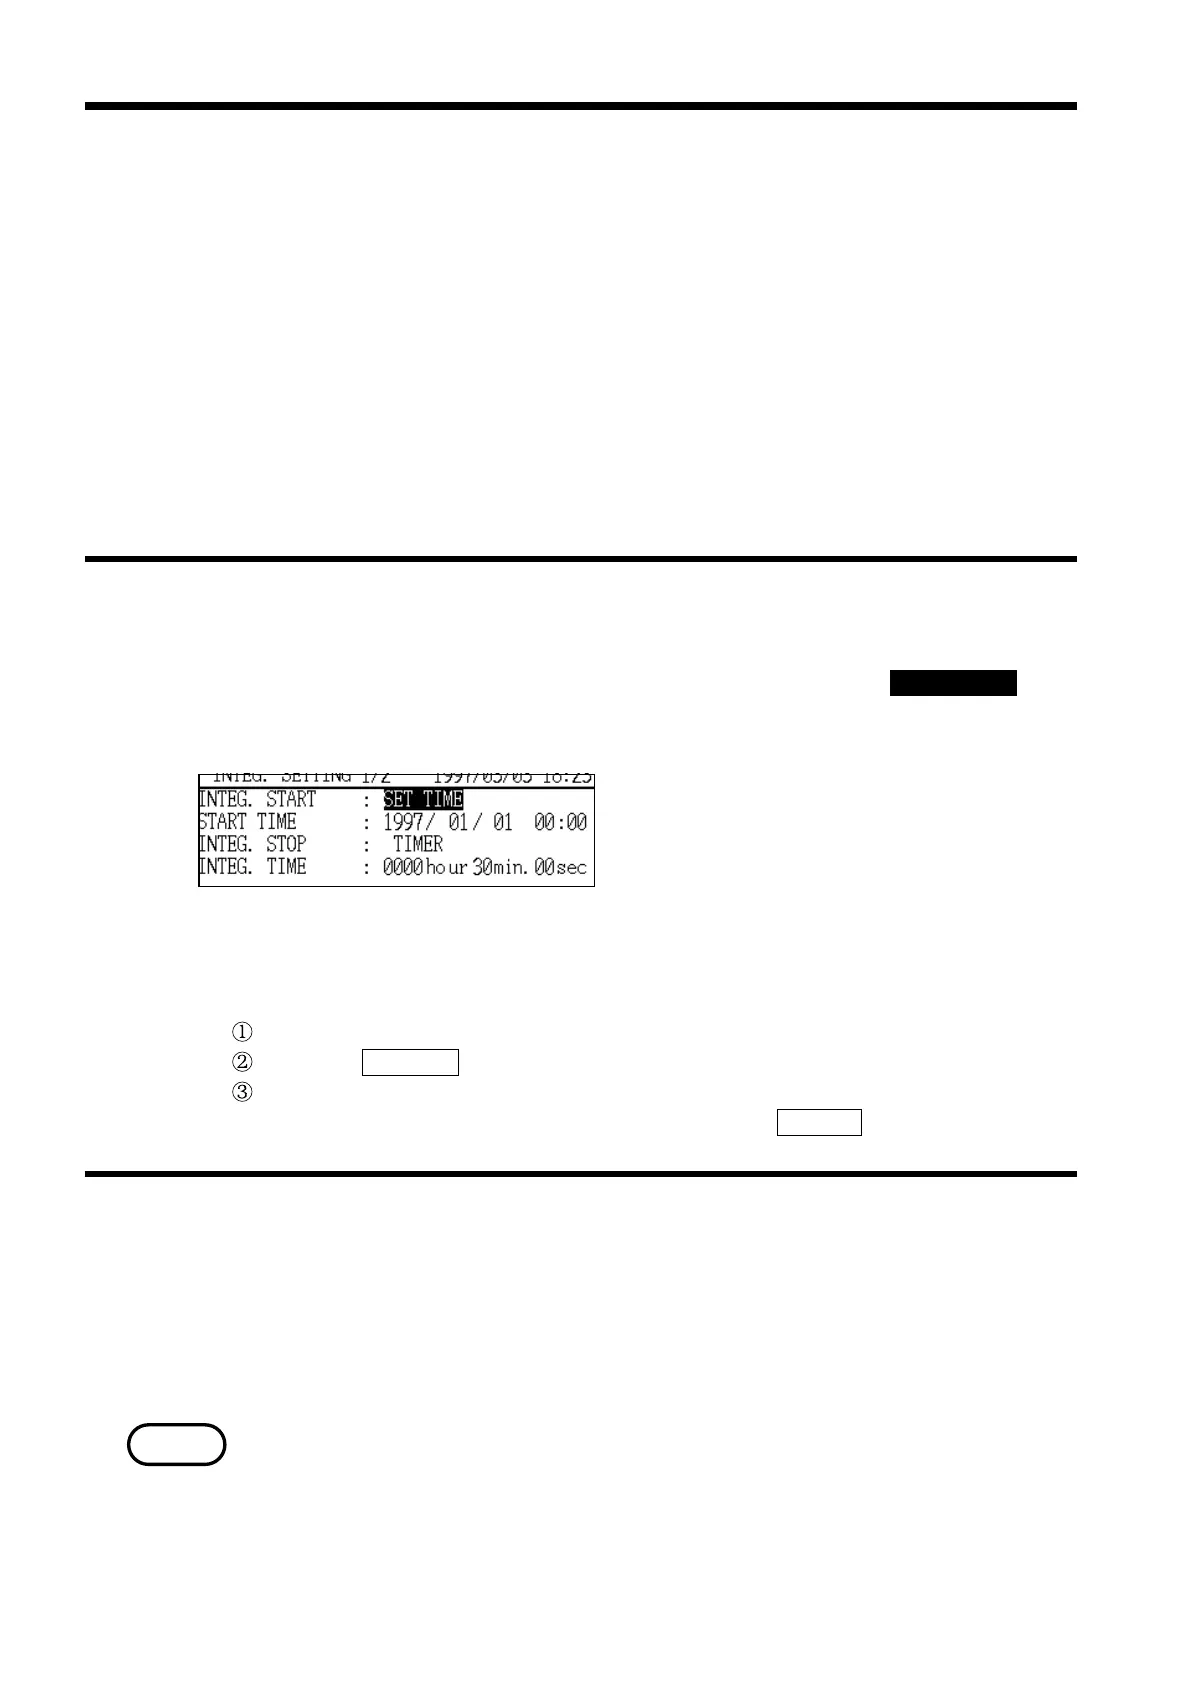
●To display the integrated measurement setting screen, press the
CHECK key in the integration mode, and move the cursor to the
"Move to Setup" on the Check screen, and then press the EXEC.
function key.
●Items that can be changed when the "Integrated Measurement
Settings" screen (page 1/2) is displayed
This item sets the integrated measurement start method.
If "MANUAL" is selected, integration is started by using the START/STOP key
or in response to external control signal input. If "SET
−
TIME" is selected,
integration can be started at any specified date and time.
Options: MANUAL/SET
−
TIME
* MANUAL
Example Starting integration by time specification
Position the cursor at "Integration Start method (INTEG.START)."
Press the SET
−
TIME function key.
"SET
−
TIME" is set and is displayed in the "Integration start method" field.
If integration is to be started manually, press the
MANUAL function key.
This item sets the starting date and time for integration when "SET
−
TIME" is
set for the integrated measurement start method.
Setting format: YYYY/MM/DD HH:MM (24-hour time)
* 1997/01/01 00:00
・The setting range extends to 2079/12/31 23:57.
・If a time in the past is specified, integrated measurement operation does not
begin.
・When "MANUAL" is set for the integrated measurement start method, the
start time is not displayed.