67
────────────────────────────────────────────────────
6.3 Preparations for Measurement
────────────────────────────────────────────────────
1
2
3
4
5
6
7
8
9
10
11
12
13
14
A
NOTE
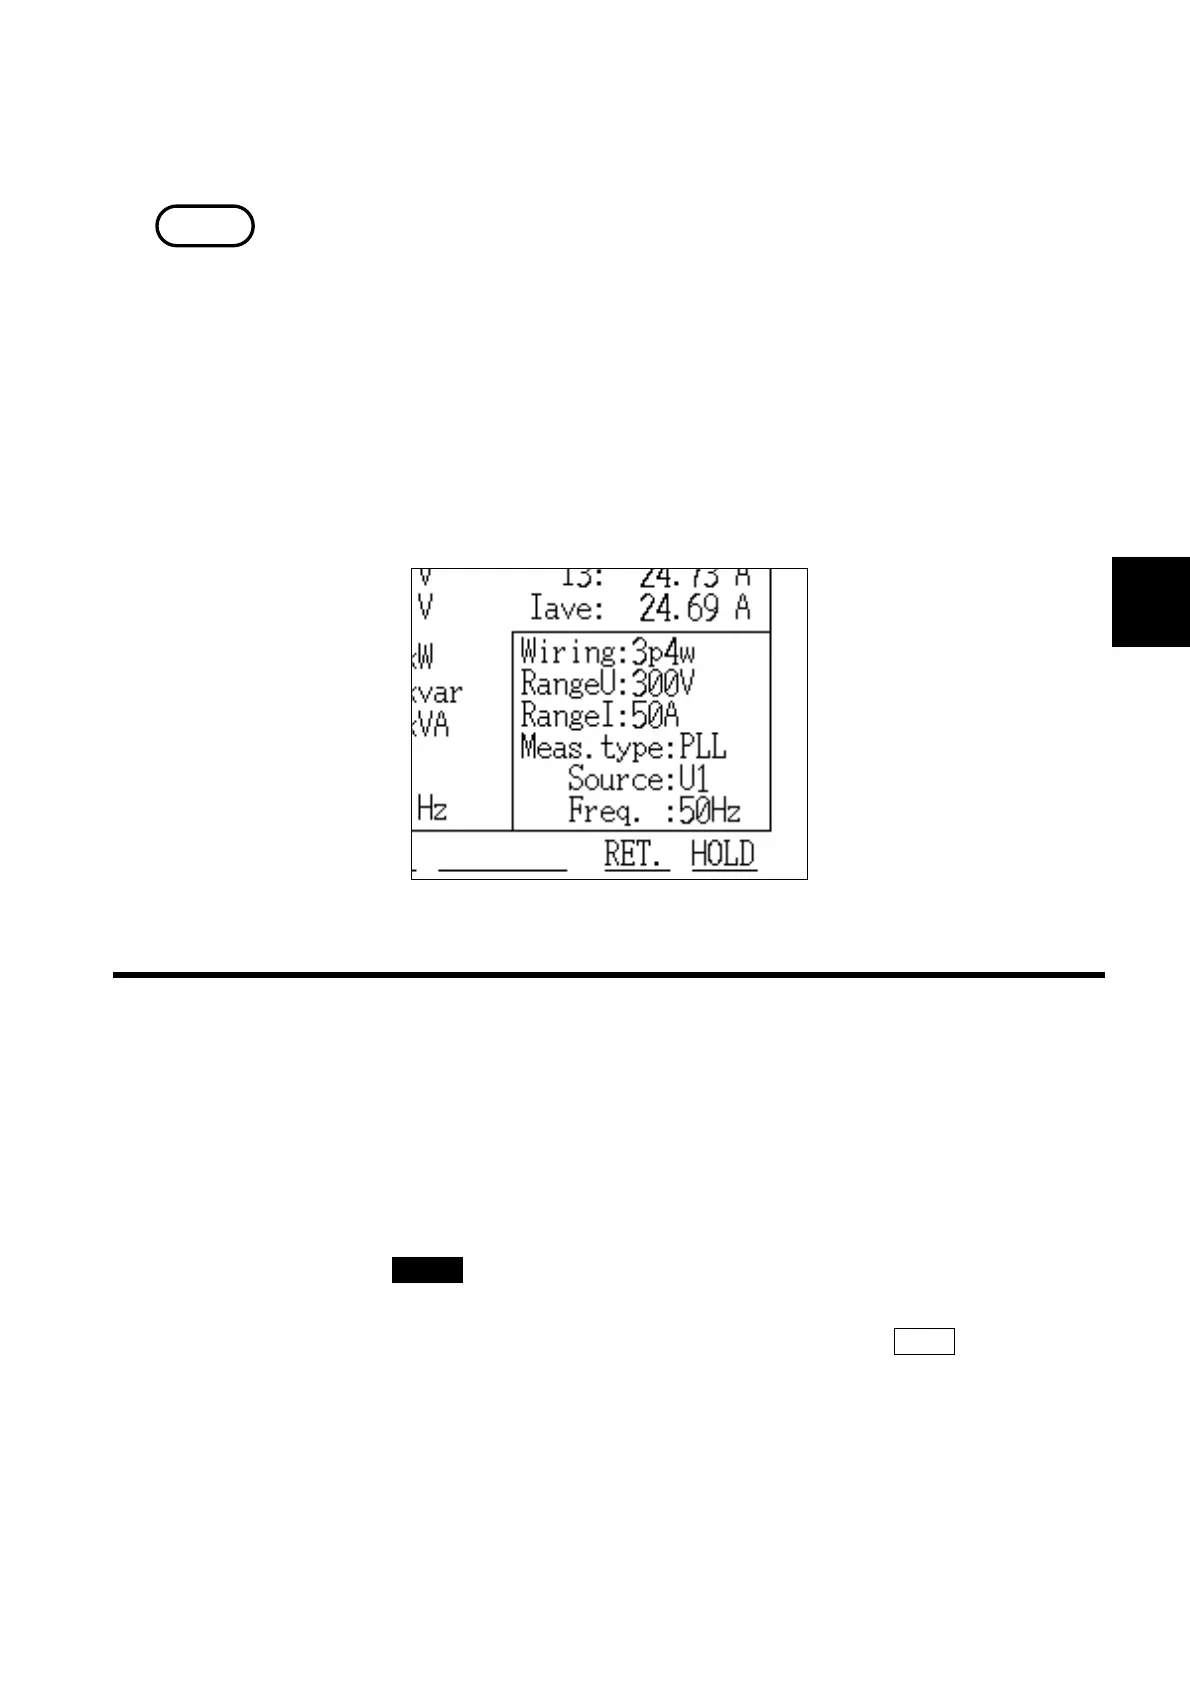
Display of Basic Settings
.3.2 Special Settings for Integrated Measurement
(3) Checking for incorrect wiring
Perform incorrect wiring checks as necessary. (Refer to section 4.5, "Checking
for Incorrect Wiring.")
A incorrect wiring may not be detected properly if more than one incorrect
wiring occurs at once; if the voltage and current levels are low; or if the power
factor is close to zero.
(4) Checking the basic setting conditions
The basic settings (wiring, voltage range, current range, measurement method,
source, and line frequency) are displayed in the lower right corner of the
measurement screen.
If this setting necessary, the setting can be changed on the "Integrated
Measurement Settings" screen (page 2/2).
Before starting the measurement process, open the integrated measurement
setting screen and make settings for the start/stop of integration, the
integration time, measurement data processing, etc.
For details on the setting methods, refer to section 6.5, "Changing Settings."
(1) Opening the integrated measurement settings screen
1. Press the CHECK key.
2. The "Check" screen is displayed.
3. Position the cursor on "Move to Setup" and then press the EXEC. function key.
4. The " Integrated Measurement Settings" screen (page 1/2) is displayed.