Procedure 2. Al Front Frame/Al8 CRT
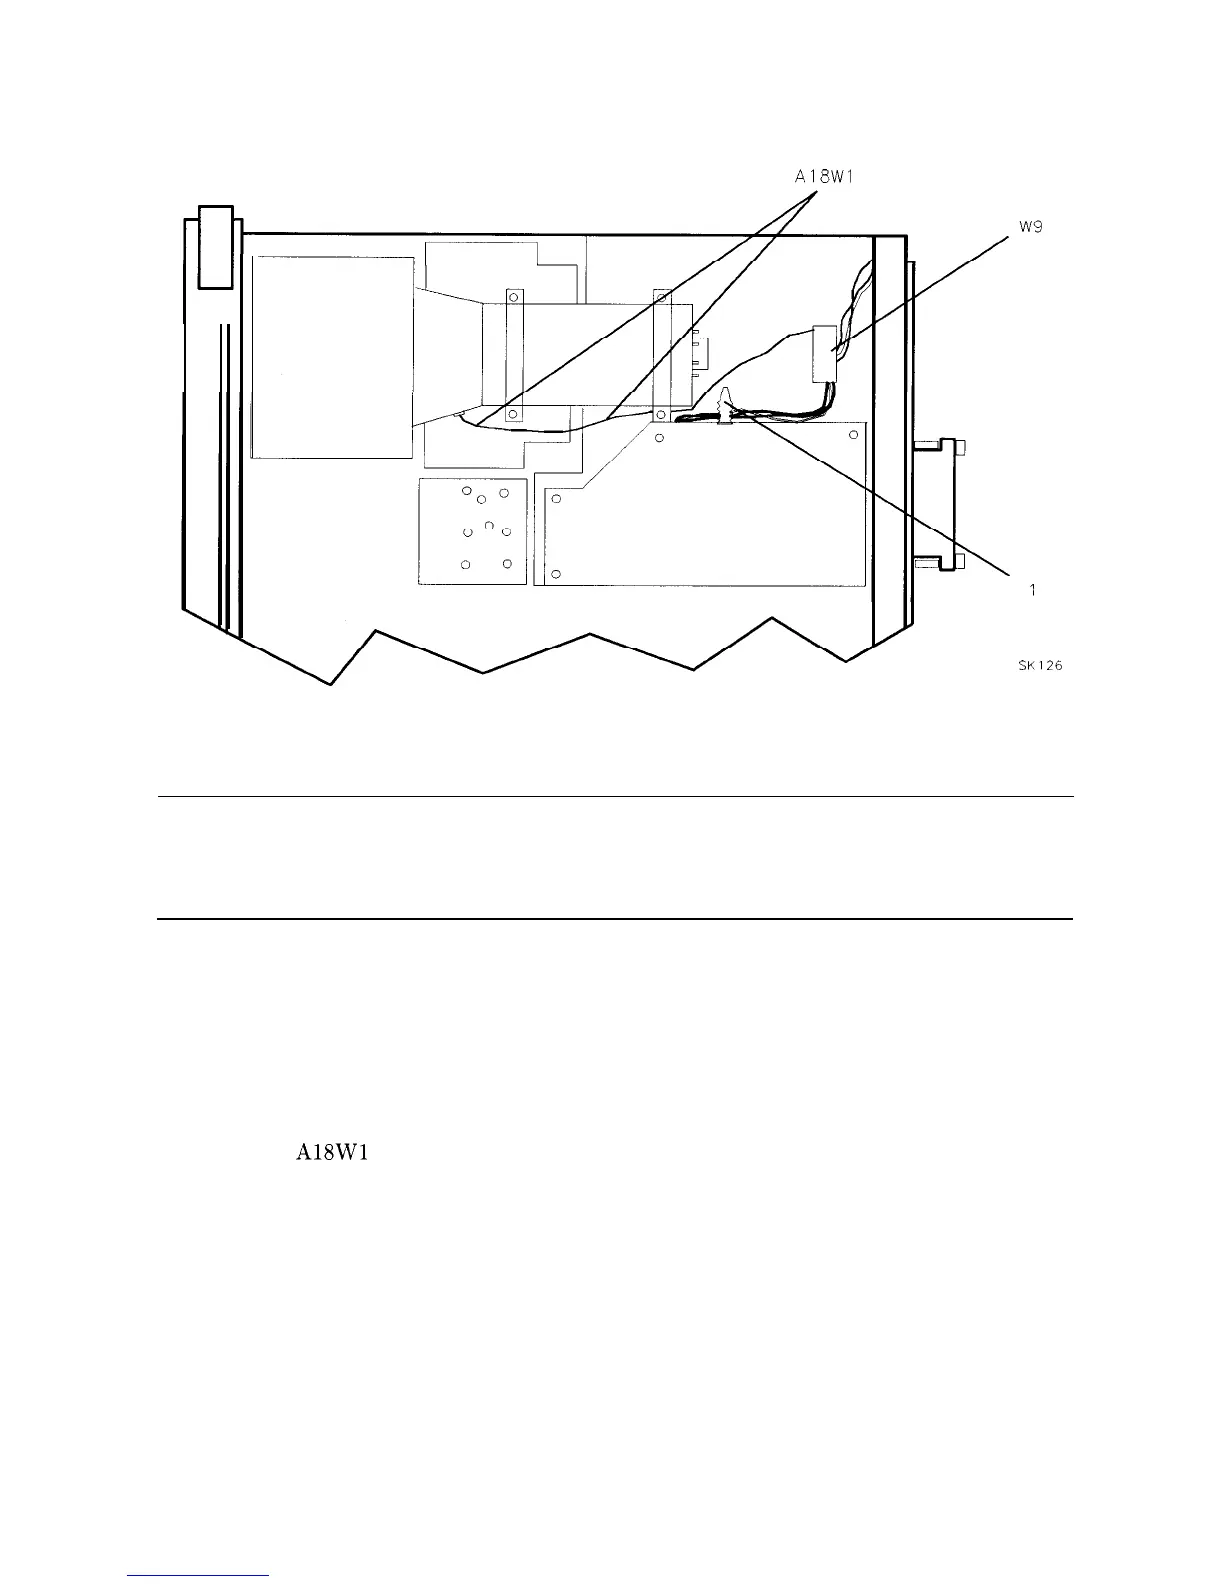
A18Wl
F
Figure 3-5. Installing the CRT and Front-Frame Assemblies
Replacement
SK126
Note
Use care when handling the glass CRT EM1 shield. The glass may be cleaned
using thin-film cleaner (HP part number 8500-2163) and a lint-free cloth.
When installing the glass shield, face the side of the glass with the silver
coated edge towards the inside of the analyzer.
1. Place the analyzer on its right-side frame with the front end extending slightly over the
front of the work bench.
2. Gently place the A18 CRT assembly into the Al Front-Frame assembly as
llustrated in
Figure 3-6.
3. Place the front-frame and CRT assemblies into the analyzer, using caution to avoid
pinching any cables.
4. Dress the
AlBWl
trace-align wires between the CRT assembly mounts and the A6 Power
Supply top shield.
3-8 Assembly Replacement