INSTRUMENTS (AND AVIONICS) / ELT 13-51
CHANGE C2 ICON A5 / MAINTENANCE MANUAL
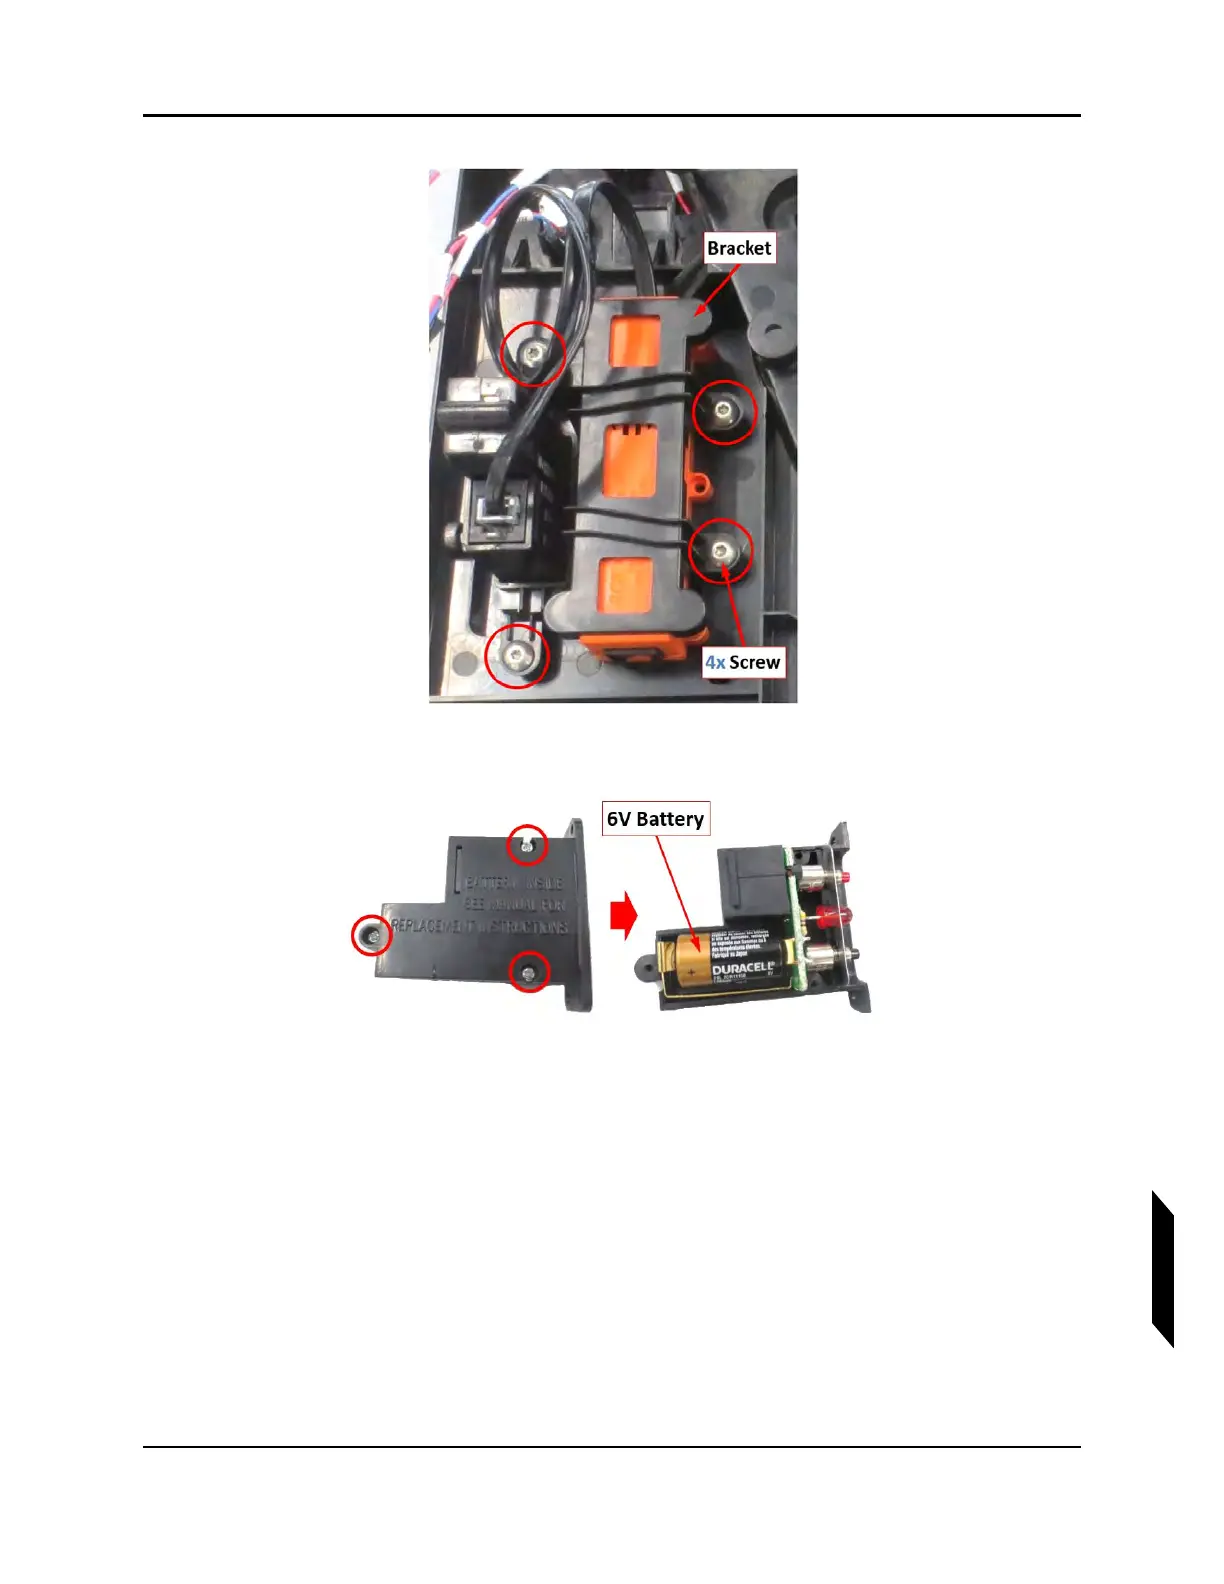
4. Remove the three 6-32 retaining screws which secure the top and bottom half of the RCPI unit.
5. Carefully remove the top half of the RCPI, exposing the battery compartment.
6. Carefully inspect the battery contacts for dirt or corrosion. If the contacts need cleaning, use only
non-abrasive electrical contact cleaner and a stiff brush. Abrasive cleaners will remove the nickel
and gold plating from contacts.
7. Insert the battery with the polarity matching the engraving on the bottom of the battery compart-
ment.
8. Join the halves of the RCPI case together and tighten the three remaining screws.
9. Mount the RCPI and audio alert indicator back into the overhead console, securing them with the
ICA009273 bracket and four screws.
10. Replace the overhead console mount.