Diagnostic aids 3-37
5026
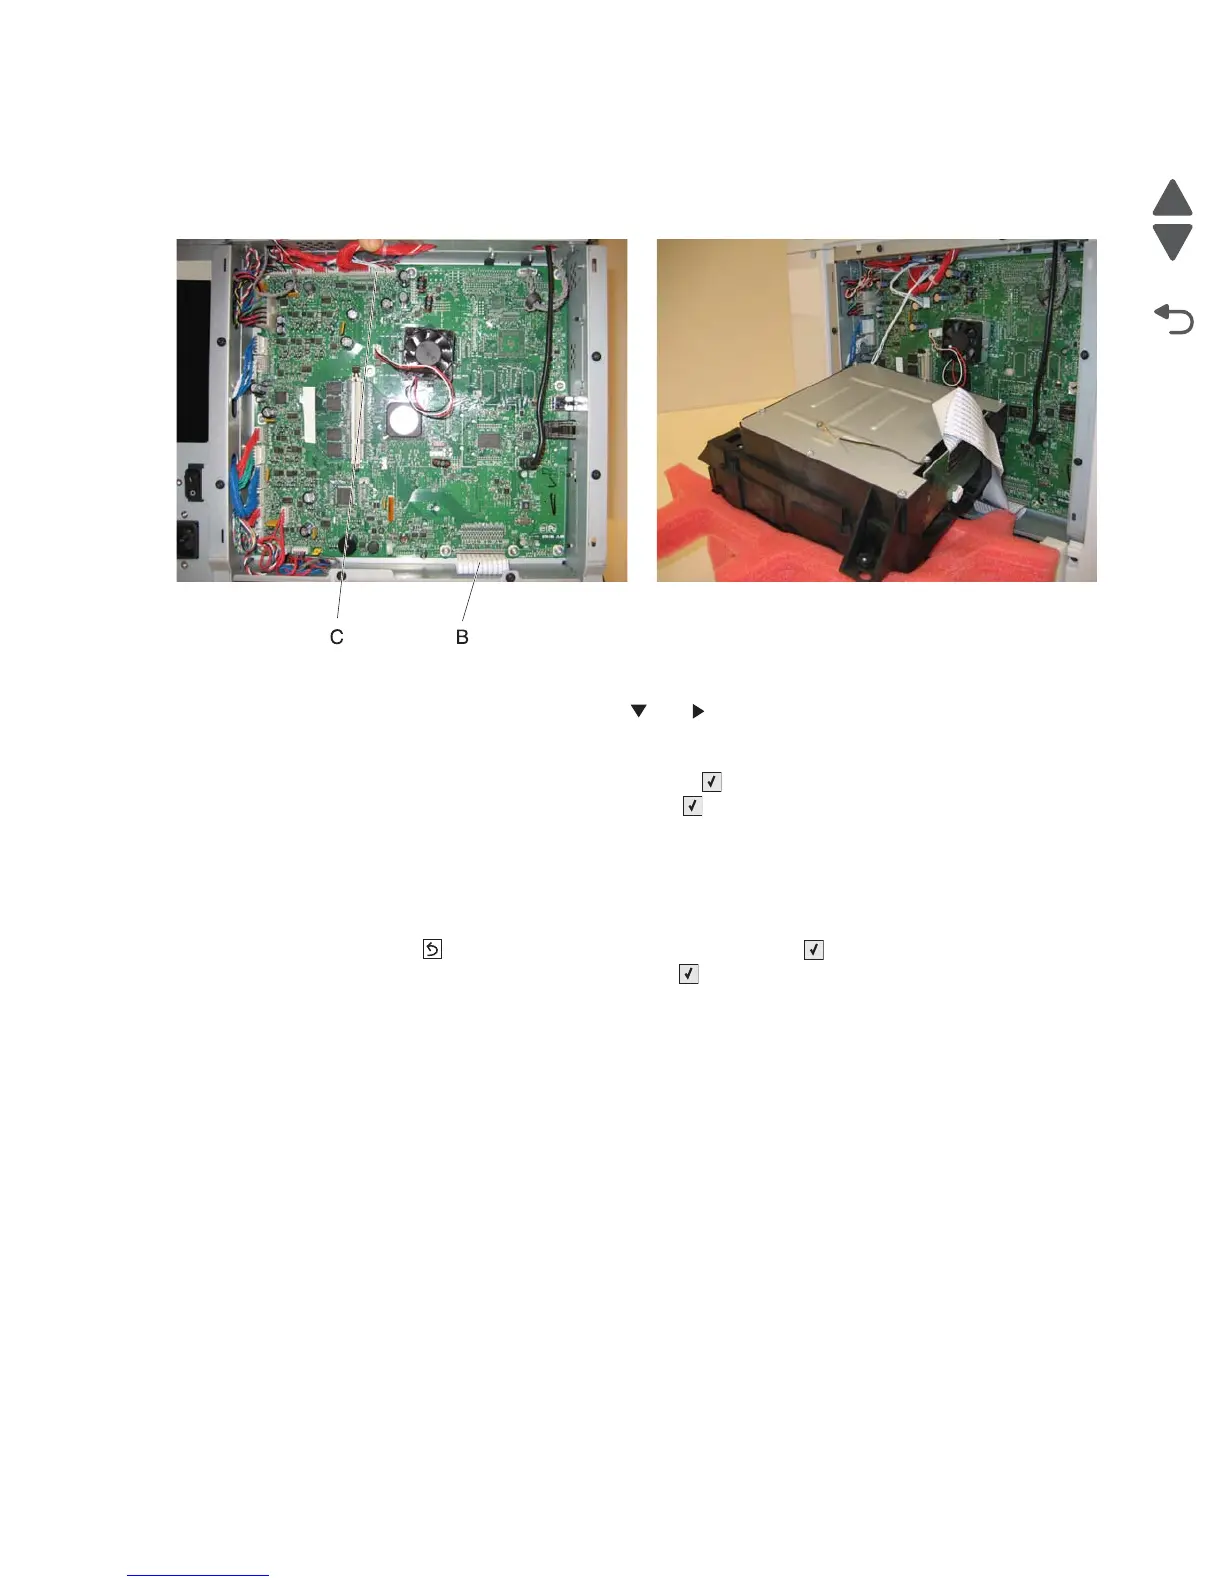
4. Carefully unplug the printhead ribbon (B) and the mirror motor cables (C) from the system board, and
carefully connect the printhead ribbon and mirror motor cables from the new printhead into the system
board. It is important to position the laser in the printhead down into the packaging as shown.
Note: Use the packaging that came with the printhead FRU to prop the printhead up..
5. Connect the power cord to the outlet and to the printer. Reconnect any cords.
6. Enter the Diagnostics menu (press and hold and , turn on the printer, and release the buttons when
the clock graphic displays.)
7. Perform the Mirror Motor Test:
a. Select PRINTHEAD TESTS, and press Select ().
b. Select Mirror Motor Test, and press Select ().
The panel displays Mirror Motor Test—Motor Running….
At the end of the test, the panel displays either Pass or Fail.
• If the test fails, replace the system board.
• If the test passes, perform the Servo Laser Test in step 8.
8. Perform the Servo Laser Test:
a. Press Back ( ) to PRINTHEAD TESTS, and press Select ().
b. Select Servo Laser Test, and press Select ().
The panel displays Servo Laser Test—Motor Running….
At the end of the test, the panel displays either Pass or Fail.
• If the test fails, replace the system board.
• If the test passes, install the printhead FRU.
 Loading...


