Repair information 4-157
5026
System board support shield removal
See “System board support shield” on page 7-9 for the part number.
1. Remove the system board. See “System board removal” on page 4-153.
2. Remove the right cover. See “Right cover removal” on page 4-37.
3. Pull the cables through the access holes on the right side of the printer.
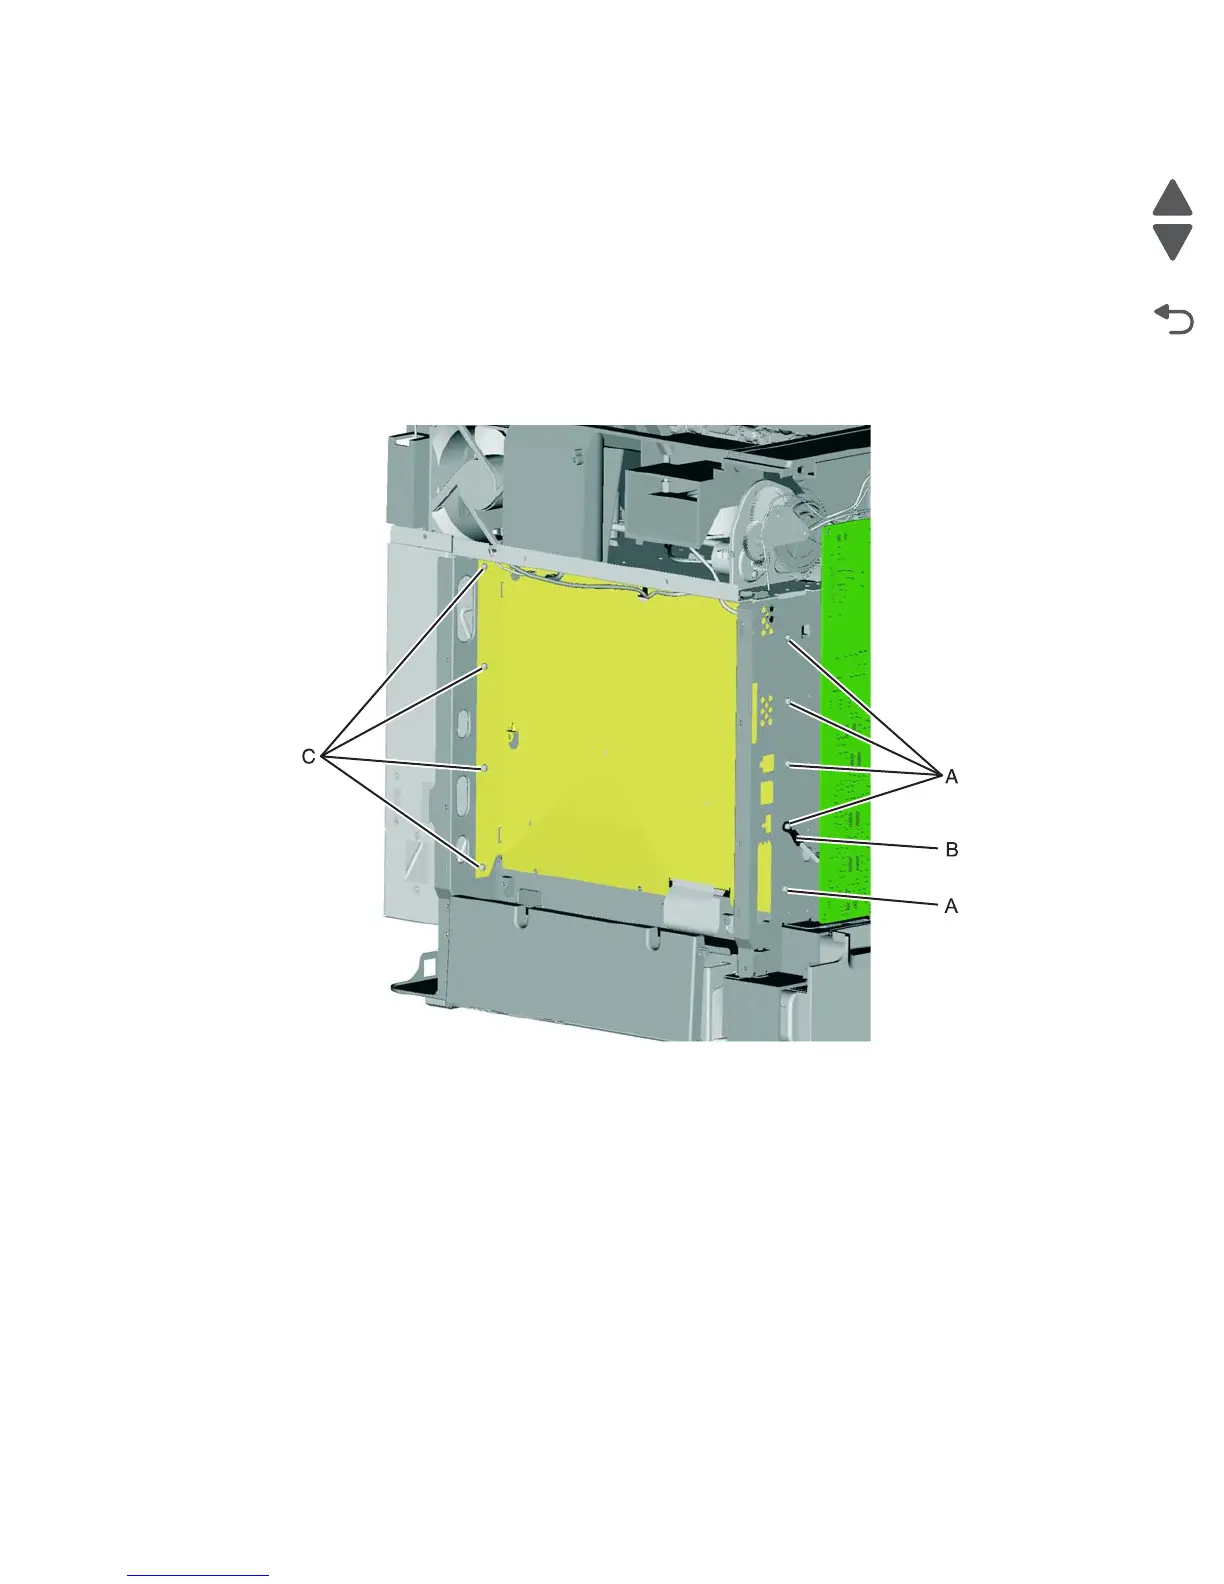
4. Remove the five mounting screws (A) from the outer left side of the printer.
Note: Make a note of the attachment of the printhead ground cable (B) to the fourth screw from the top for
later installation.
5. Remove the four screws (C) from the inner right side of the support shield.