4-40 Service Manual
5026
Top access cover assembly removal
See “Top access cover assembly” on page 7-3 for the part number.
Warning: When replacing any one of the following components:
• Operator panel assembly
• System board
• Top access cover assembly
Only replace one component at a time. Replace the required component, and perform a POR before
replacing a second component listed above. If this procedure is not followed, the printer will be
rendered inoperable.
1. Remove the rear frame cover. See “Rear frame cover removal” on page 4-33.
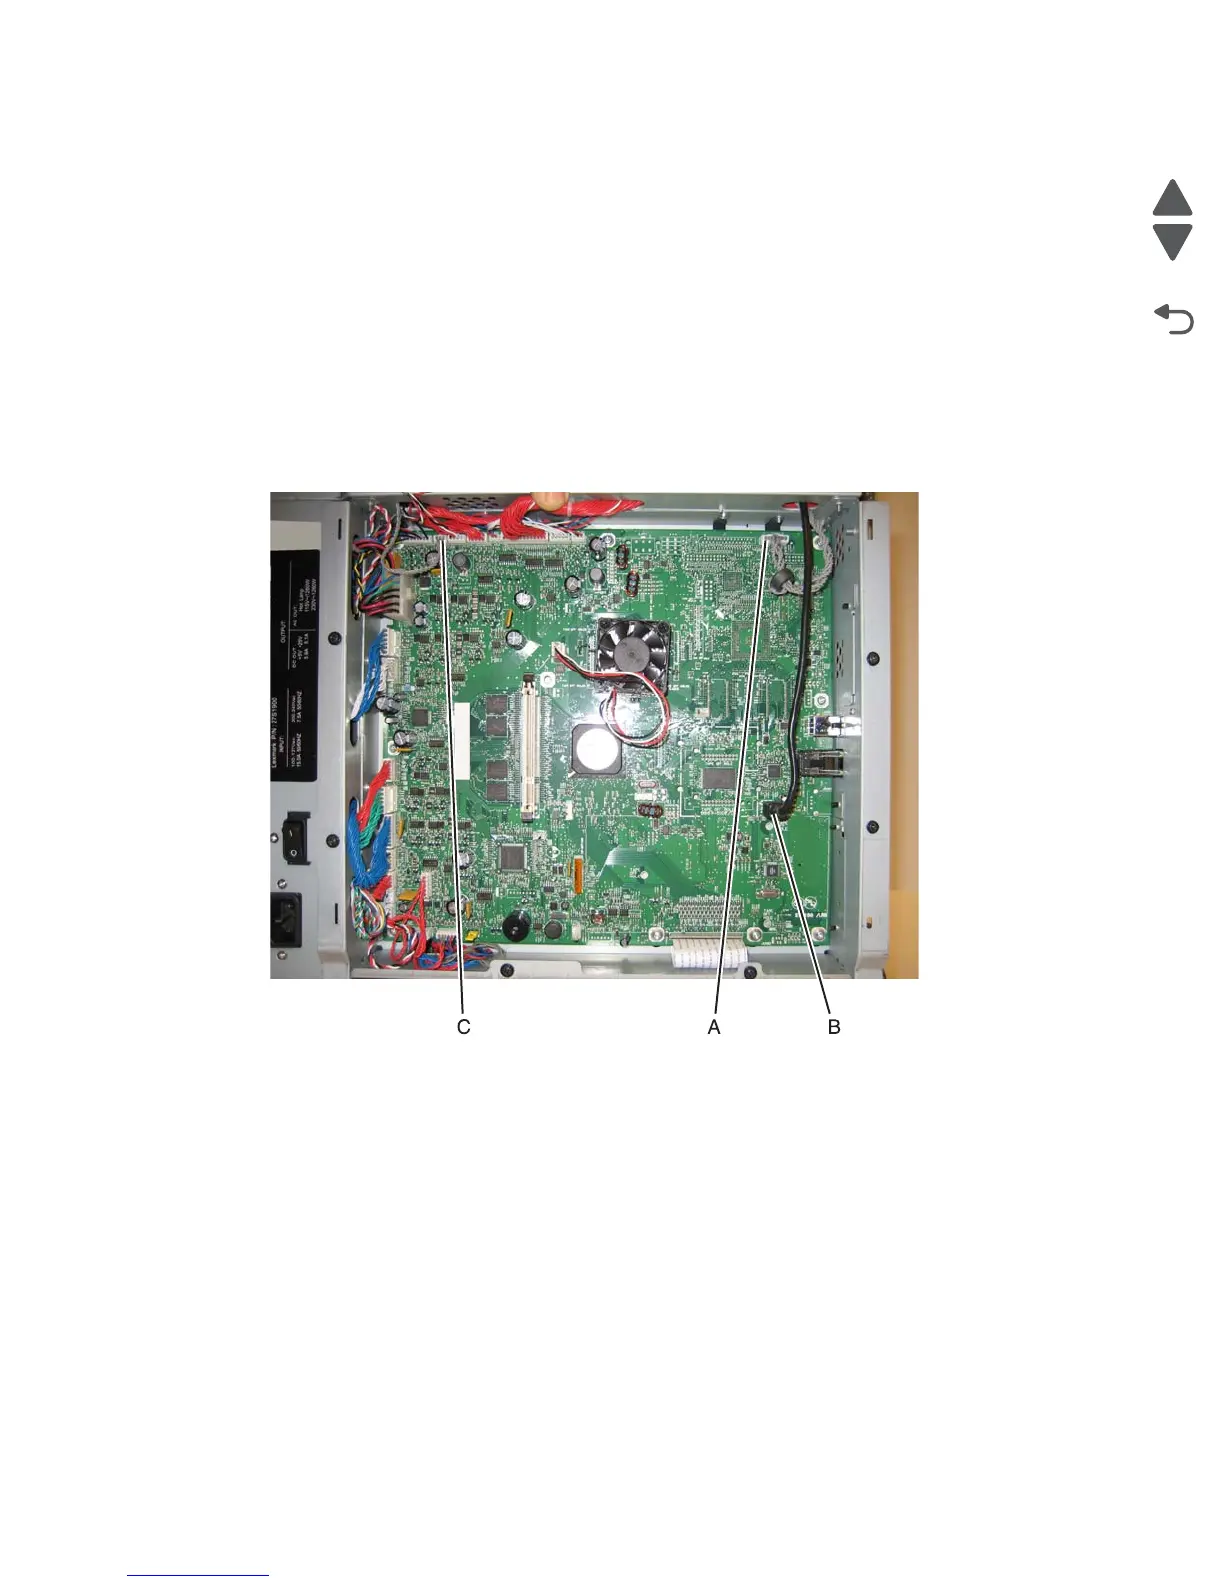
2. Disconnect the cable connectors at JOPP1(A), JFMUSB1 (B), and JBIN1 (C) on the system board.
3. Remove the right cover. See “Right cover removal” on page 4-37.
4. Remove the fuser. See “Fuser removal” on page 4-104.
Note: Be sure to observe the cable routing.
 Loading...


