Repair information 4-21
5026
6. Close the front access door assembly.
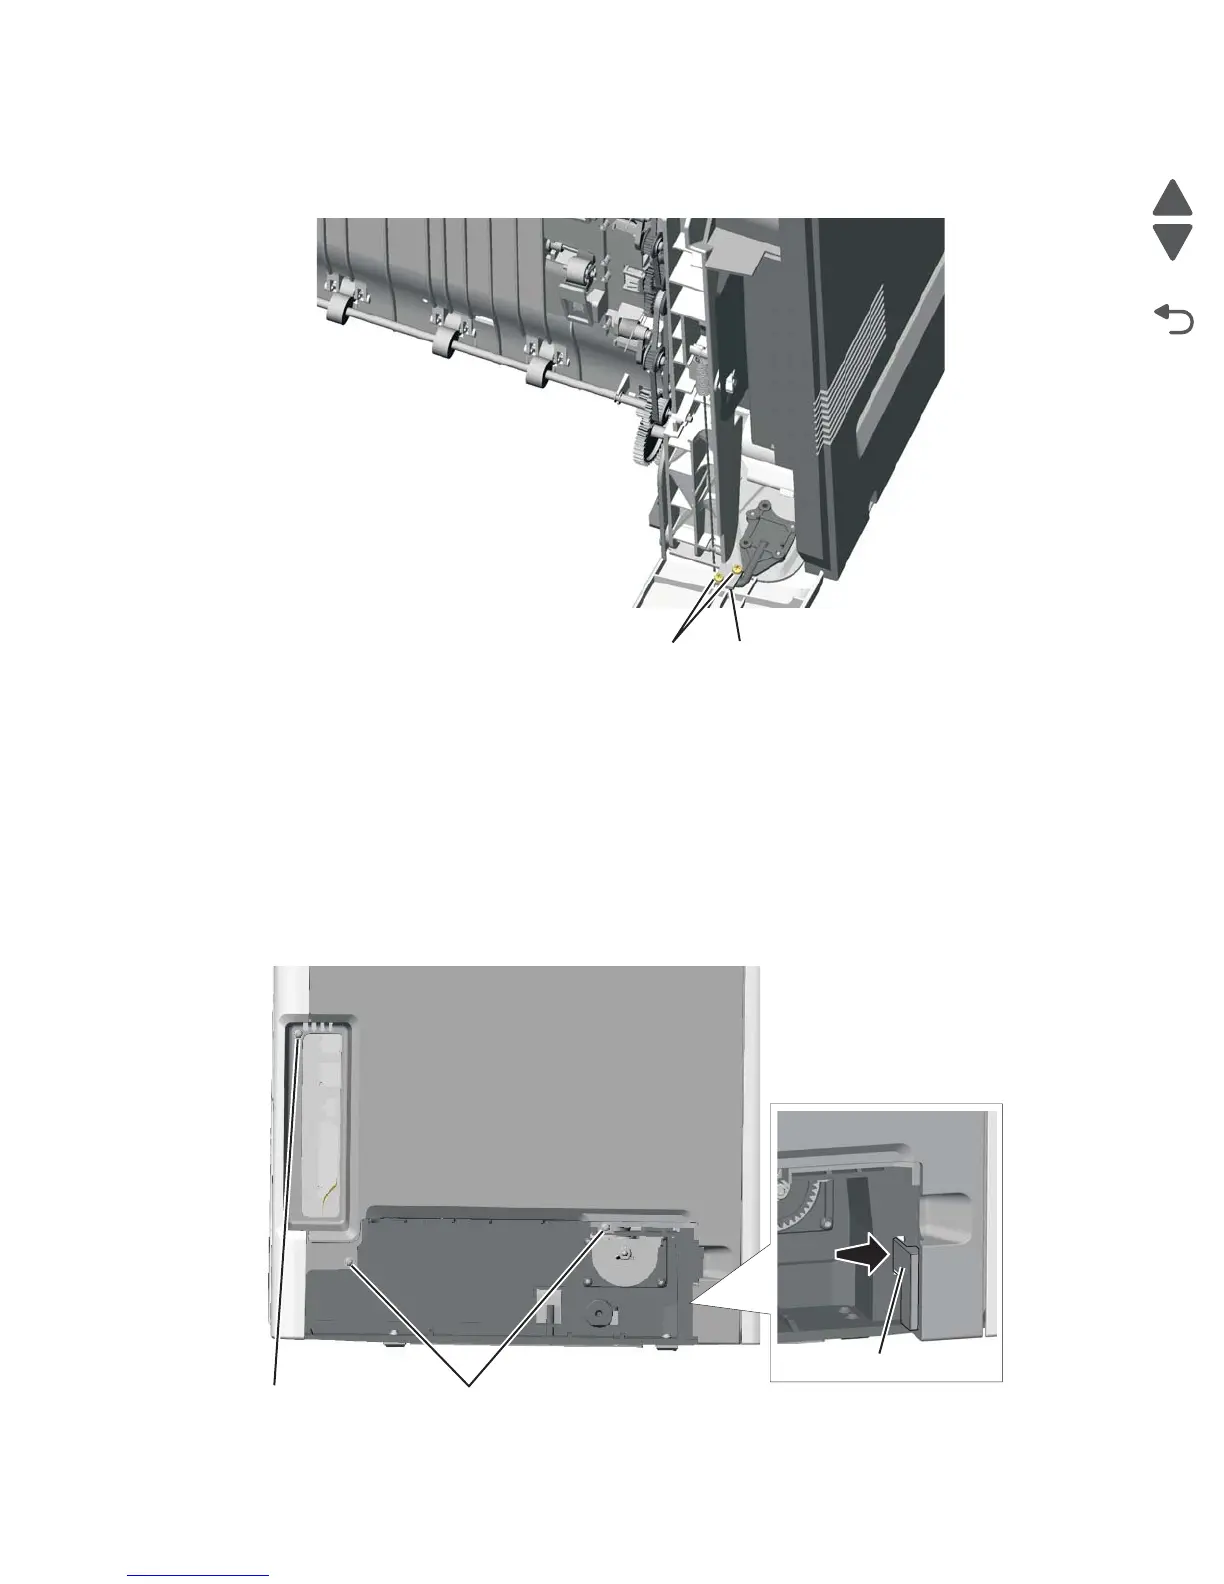
7. Remove the two screws (G) that attach the pivot pin to the front access door cover assembly.
8. Remove the bracket (H).
9. Remove the front access cover assembly.
Left cover removal
See “Left cover” on page 7-3 for the part number.
1. Remove the paper tray.
2. Remove the waste toner assembly. See “Waste toner assembly removal” on page 4-174.
3. Open the front access door.
4. Open the top access door.
5. Remove the two screws (A) on the bottom and one screw higher up (B).
6. Press the locking tab (C).