EasyManuals Logo

Lexmark C734dn Service Manual

Lexmark C734dn
470 pages
To Next Page IconTo Next Page
To Previous Page IconTo Previous Page
Page #426 background imageLoading...
Page #426 background image
4-204 Service Manual
5026
Go Back
Previous
Next
4. Remove the screw (C) securing the sensor to the rear frame, and then release the hooks (D).
Note: Remove the cable from the restraint, and observe the routing for reinstallation.
5. Remove the photointerrupter sensor with cable assembly.
Top plate assembly removal
1. Remove the high-capacity input tray (HCIT) right cover. See “HCIT right cover removal” on page 4-194.
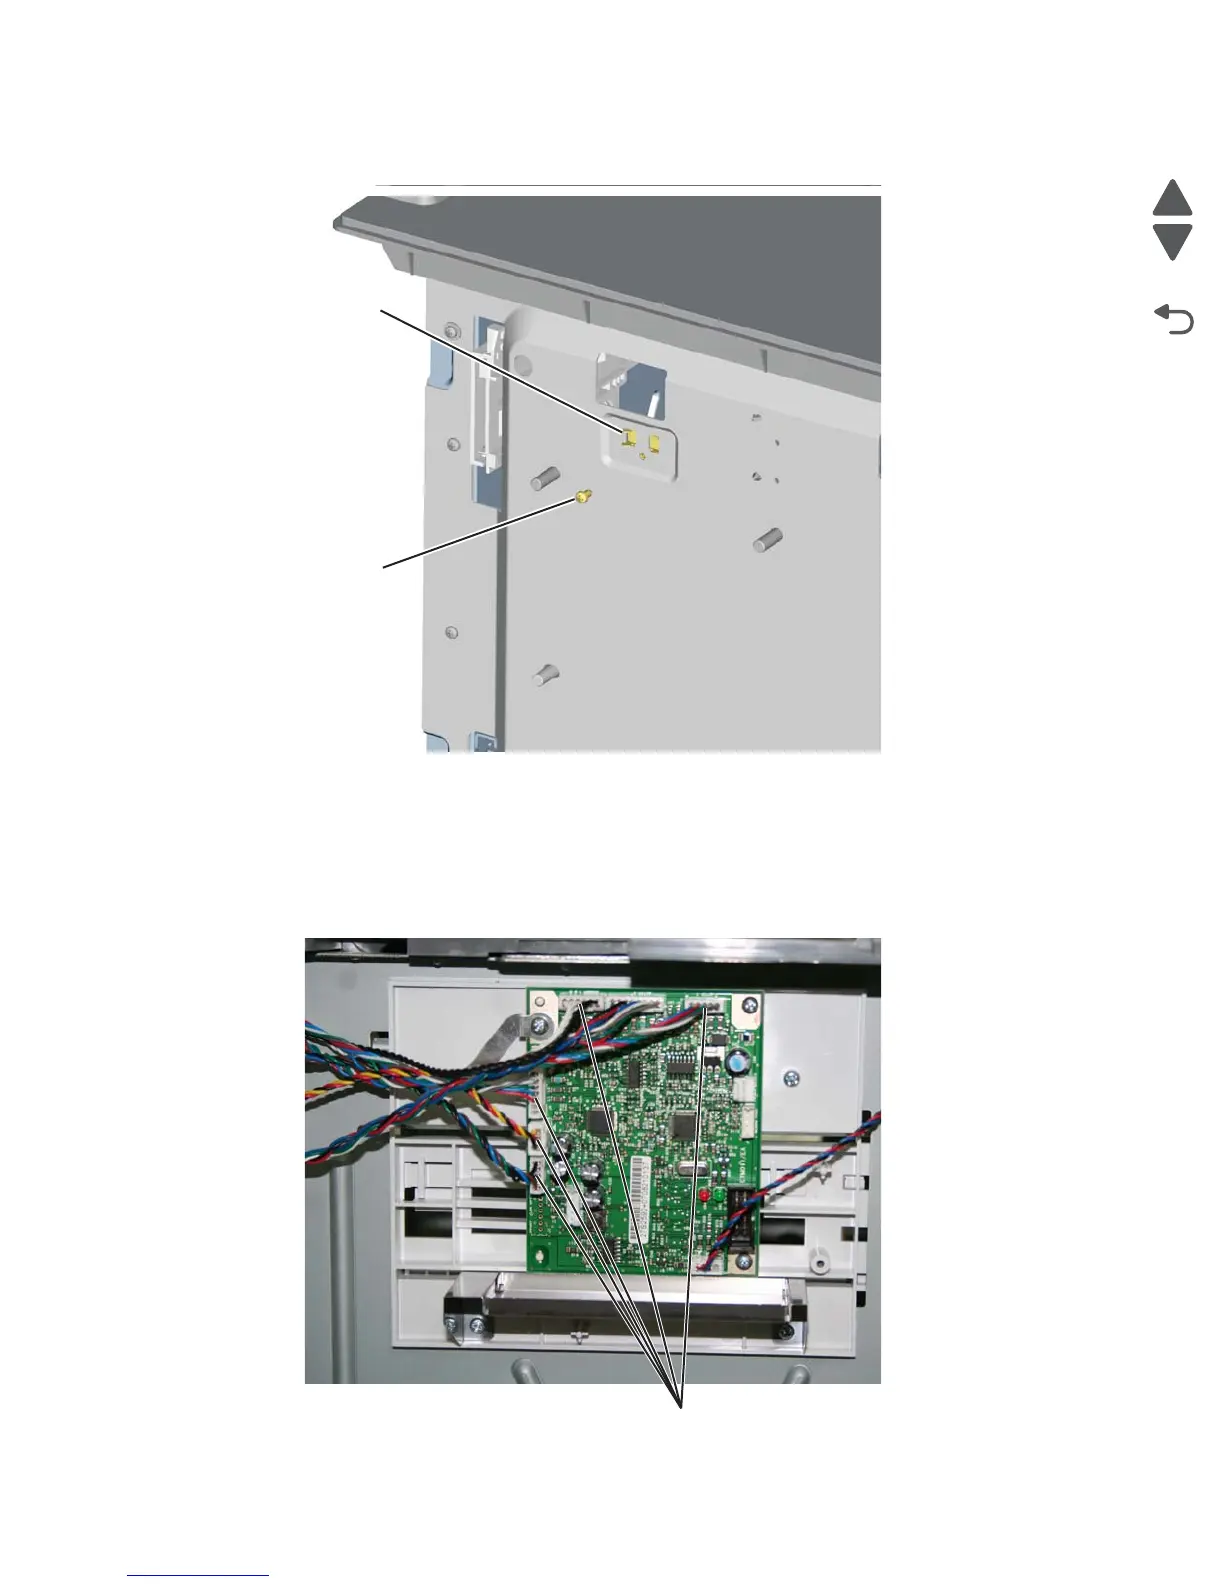
2. Disconnect the five connectors (A) from the HCIT controller board.
C
D
A

Table of Contents

Other manuals for Lexmark C734dn

Questions and Answers:

Question and Answer IconNeed help?

Do you have a question about the Lexmark C734dn and is the answer not in the manual?

Lexmark C734dn Specifications

General IconGeneral
BrandLexmark
ModelC734dn
CategoryPrinter
LanguageEnglish

Related product manuals