SERVICE PROCEDURES REQUIRING MAJOR DISASSEMBLY
SERVICE MANUAL NUMBER 28
90-863160 MAY 2000 Page 4B-35
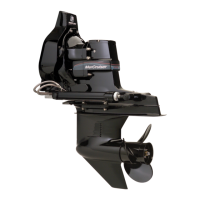
6. Install hex fitting. Torque fitting to 35 lb-in. (4 Nm).
a
76672
a-Hex Fitting
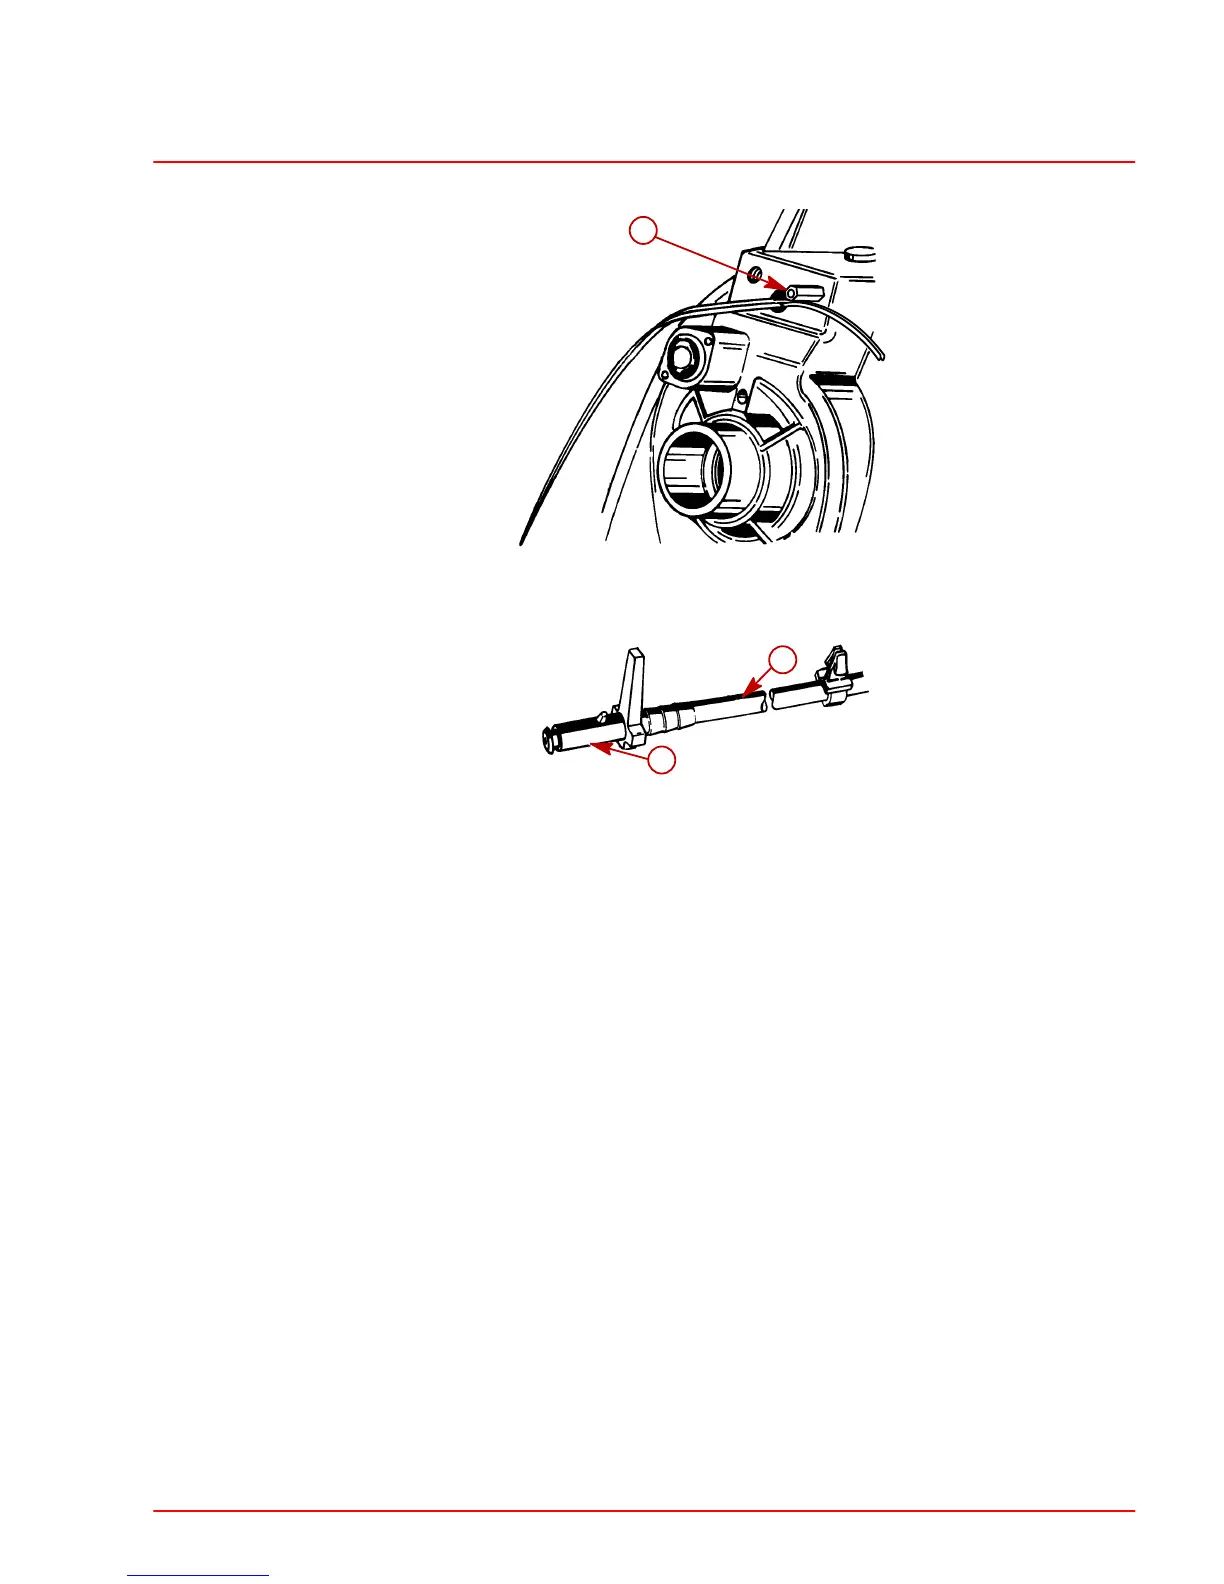
7. Install plastic adaptor fitting on speedometer hose.
22461
a
b
a-Hose
b-Plastic Adaptor Fitting
Gear Lube Monitor System Components
MONITOR TO THROUGH BULKHEAD FITTING HOSE
Check hose periodically for condition and replace as necessary.
1. To replace hose, remove hose clamps and remove hose.
2. Install new hose of sufficient length to allow monitor to be removed from topside or
bottom side of bracket. Secure hose with hose clamps.
NOTE: If location does not require that the connecting hose crosses the inner transom plate
to port side, the J-clip on water pickup outlet (top bolt) would neither be needed nor installed.
The plastic hose clip can be used to hold hose in position, if needed, on transom and prevent
it from contacting the power steering assembly or engine coupler after they are installed.
IMPORTANT: After installation of replacement hose, check that hose will not contact
any part of the power steering assembly or engine coupler.
THROUGH BULKHEAD TO BELL HOUSING GEAR LUBE MONITOR HOSE
NOTE: Bell housing must be removed from gimbal ring for this procedure. Refer to Section
4B.
1. Remove hose clamps.
2. Remove hose.
 Loading...