OILDYNE TRIM PUMP SERVICE MANUAL NUMBER 28
Page 5A-28 90-863160 MAY 2000
UP Pressure Relief Valve Replacement
NOTE: The UP pressure relief valve in the kit is color coded BLUE for easy identification.
IMPORTANT: A difference exists between the factory installed and the replacement
pressure relief valves. Once the jam nut is loosened on a factory installed relief valve,
the valve is out of adjustment.
IMPORTANT: When installing a replacement pressure relief valve, do NOT loosen or
attempt to remove the hex jam nut. This valve is preset at the factory for proper UP
pressure relief.
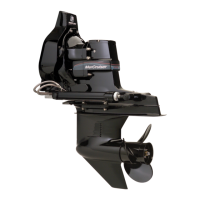
70872
a
a-Factory Installed UP Pressure Relief Valve
NOTE: Factory installed pressure relief valves will be a natural steel finish - they will NOT
be color coded.
1. Loosen jam nut on UP pressure relief valve and remove valve.
2. Remove the pump body components and discard.
3. Ensure that the threaded hole is free of dirt.
4. Lubricate the O-ring at the base of the new valve with Power Trim and Steering Fluid
and install valve.
5. Tighten at the base of the new valve. Torque to 70 lb-in. (7.9 Nm).
50396
70872
50396
e
f
a
b
c
d
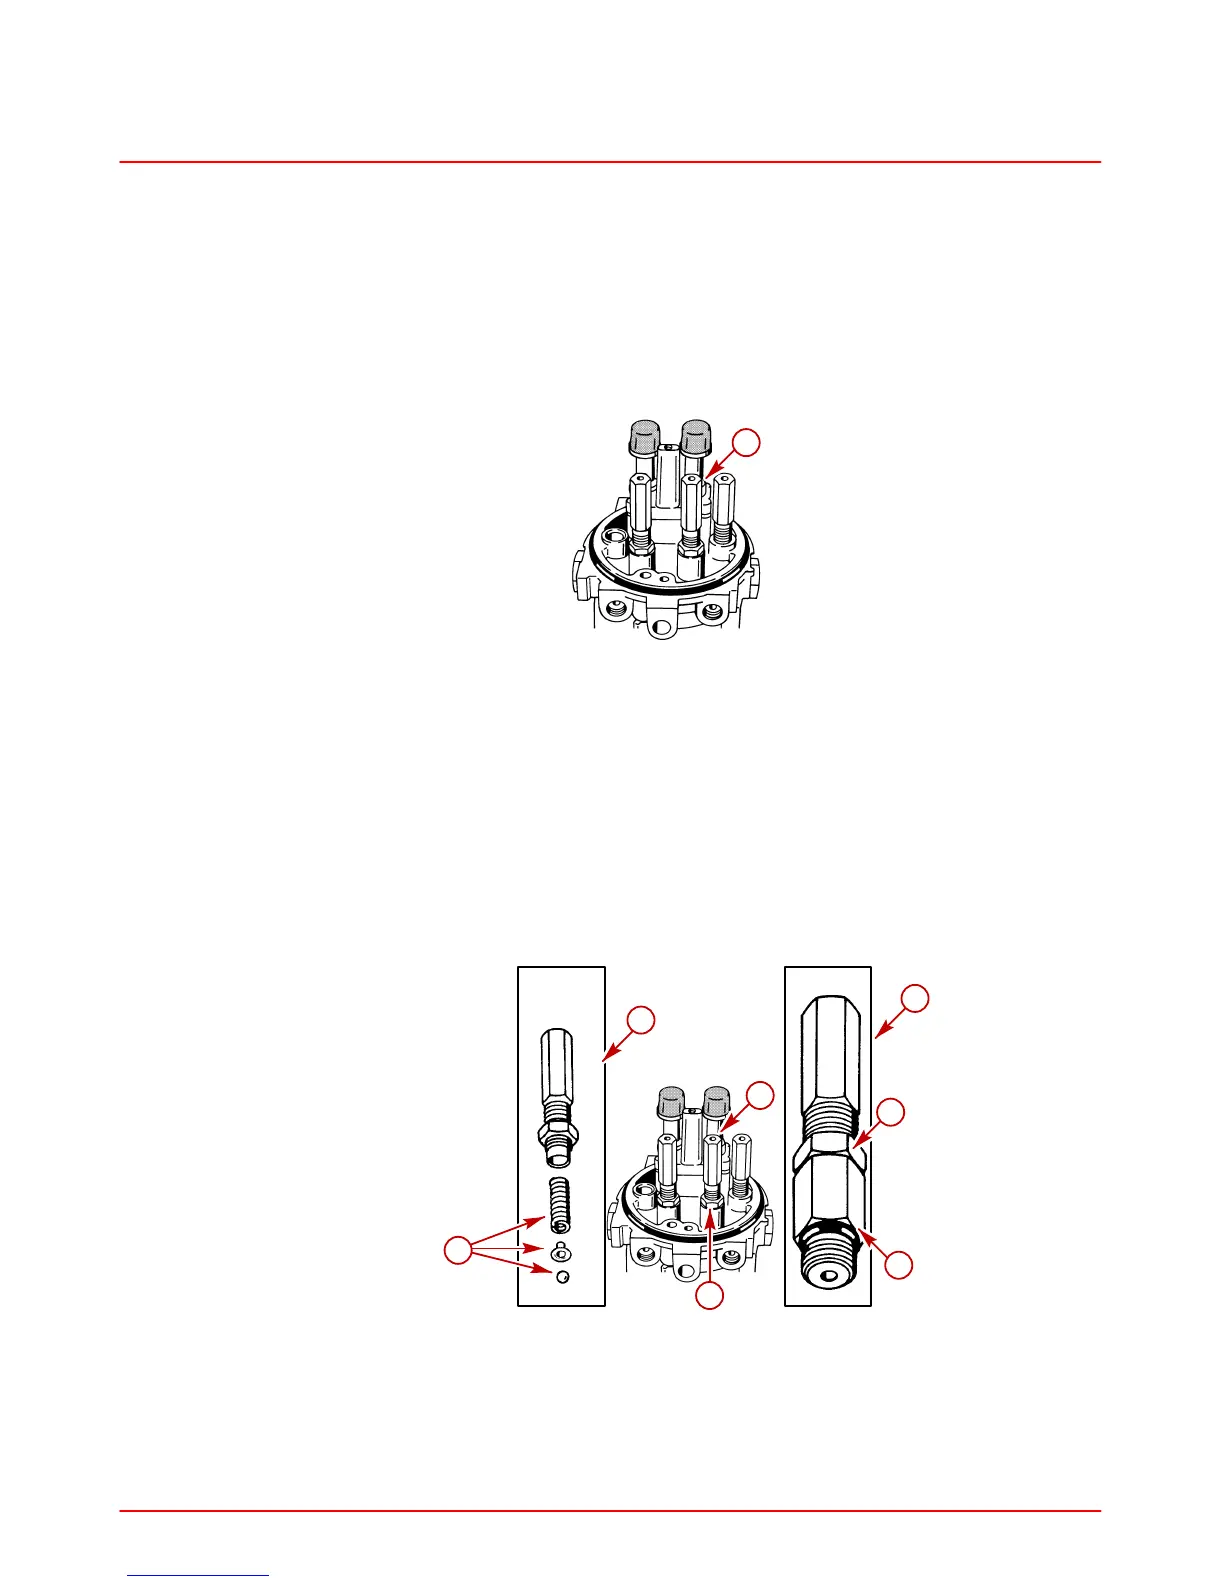
a
a-Factory Installed UP Pressure Relief Valve
b-Replacement UP Pressure Relief Valve
c-Jam Nut
d-Pump Body Components (Spring, Eyelet And Check Ball)
e-Jam Nut
f-O-ring
 Loading...