If the Robot arm is mounted on a flat table or floor, no change is needed on this screen. However, if
the Robot arm is ceiling mounted, wall mounted, or mounted at an angle, this needs to be adjusted
using the buttons.
The buttons on the right side of the screen are for setting the angle of the Robot arm’s mounting.
The top three right side buttons set the angle to ceiling (180
∘
), wall (90
∘
), floor (0
∘
). The Tilt
buttons set an arbitrary angle.
The buttons on the lower part of the screen are used to rotate the mounting of the Robot arm to
match the actual mounting.
WARNING
Use the correct installation settings. Save and load the installation files with the
program.
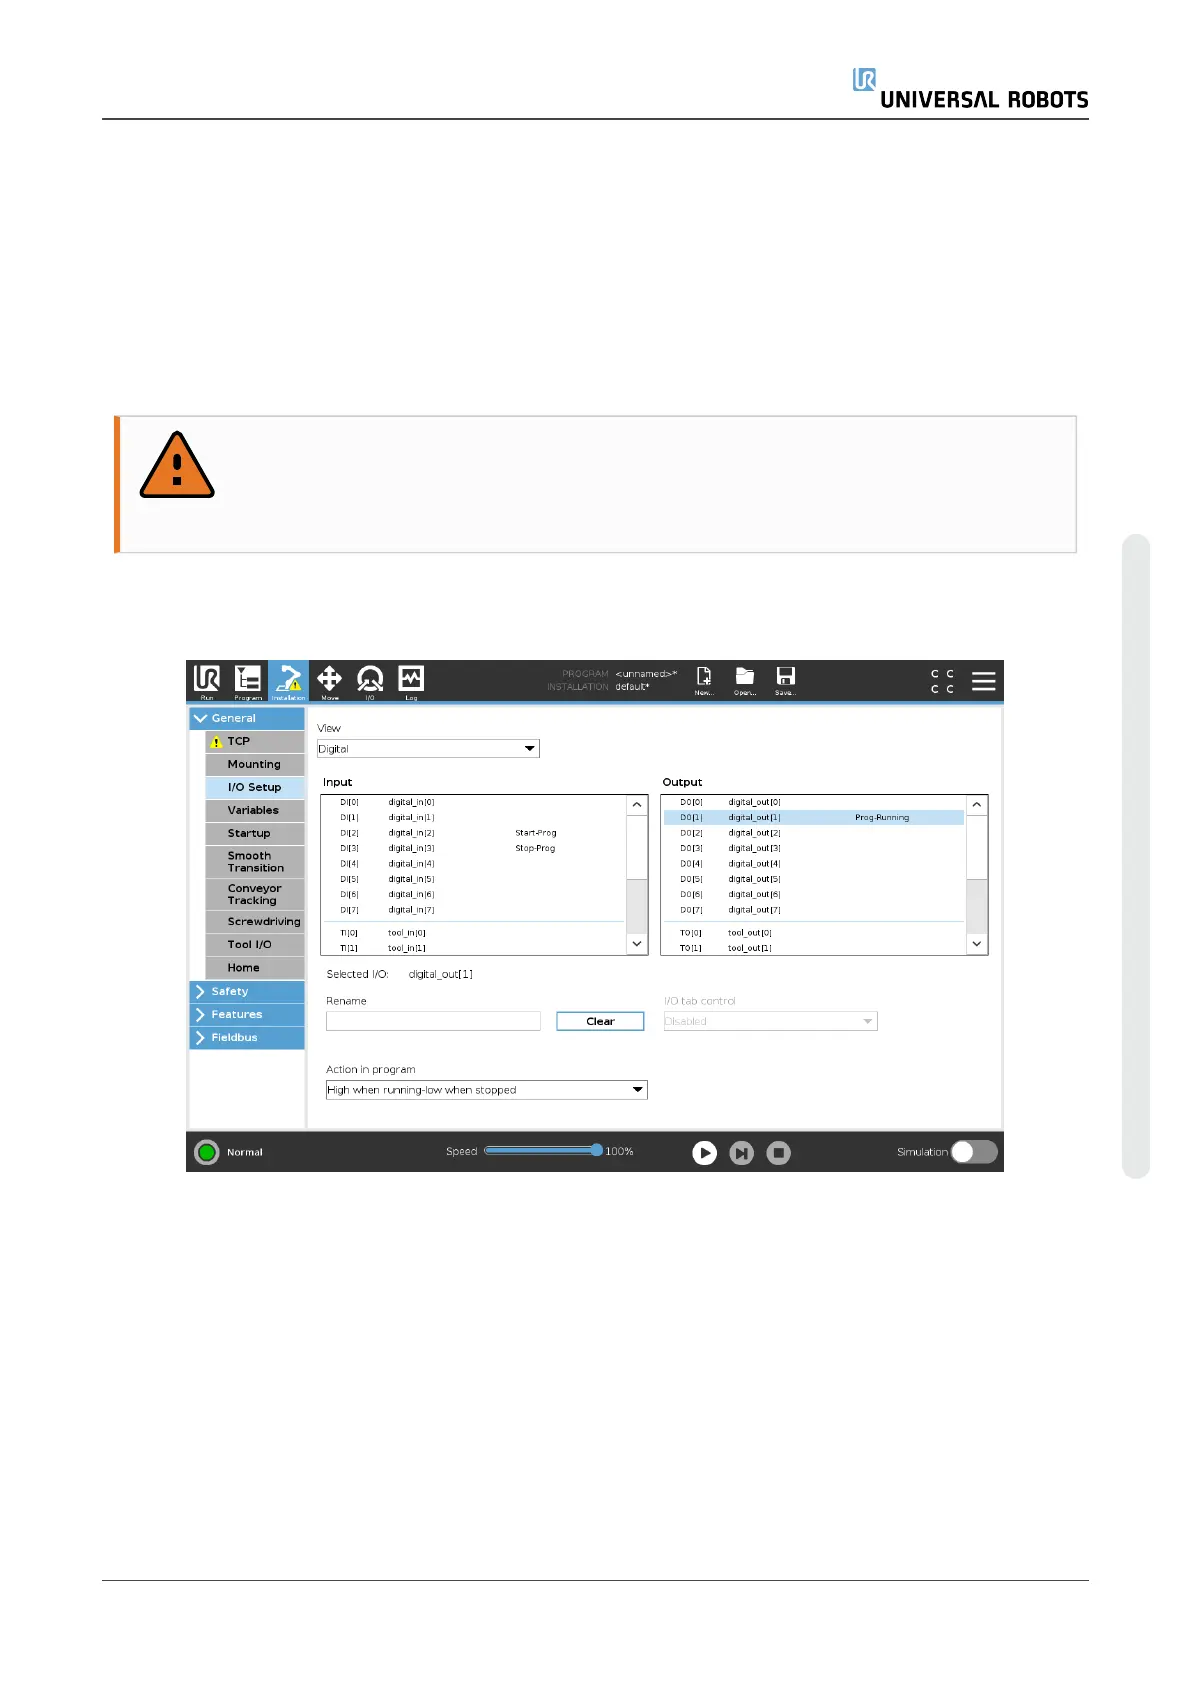
24.5. I/O Setup
Use the I/O Setup screen to define I/O signals and configure actions with the I/O tab control. The
types of I/O signals are listed under Input and Output.
You can use a fieldbus, for example, Profinet and EtherNet/IP, to access the general purpose
registers.
If you enable the Tool Communication Interface (TCI), the tool analog input becomes unavailable.
24.5.1. I/O Signal Type
To limit the number of signals listed under Input and Output, use the View drop-down menu to
change the displayed content based on signal type.
User Manual 211 UR5e
24.Installation Tab
Copyright © 2009–2021 by UniversalRobotsA/S. All rights reserved.
 Loading...