WARNING
1. Ensure the robot is grounded correctly (electrical connection to
ground). Use the unused bolts associated with grounding symbols
inside the Control Box to create common grounding of all
equipment in the system. The grounding conductor shall have at
least the current rating of the highest current in the system.
2. Ensure the input power to the Control Box is protected with a
Residual Current Device (RCD) and a correct fuse.
3. Lockout-tagout all power for the complete robot installation during
service. Other equipment shall not supply voltage to the robot I/O
when the system is locked out.
4. Ensure all cables are connected correctly before the Control Box is
powered. Always use the original power cord.
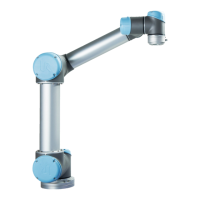
6.6. Robot Connection: Robot Cable
This subsection describes the connection for a robot arm configured with a fixed 6 meter
Robot Cable. For information on connecting a robot arm configured with a Base Flange
Cable connector, see 6.7. Robot Connection: Base Flange Cableon the next page.
6.6.1. Robot Cable connector
Establish the robot connection by connecting the robot arm to the Control Box with the
Robot Cable.
Plug and lock the cable from the robot into the connector at the bottom of the Control Box
(see illustration below). Twist the connector twice to ensure it is properly locked before
turning on the robot arm.
You can turn the connector to the right to make it easier to lock after the cable is plugged
in.
User Manual 47 UR5e
6.Electrical Interface
Copyright © 2009–2021 by UniversalRobotsA/S. All rights reserved.

 Loading...