24.15.3. Configuring the Screwdriver Interface
1. Use the Interface drop-down menu at the top of the screen to change the displayed content
based on signal type.
2. Under Input, configure the signals that the robot receives from the screwdriver:
•
OK: High when tightening ends successfully, if not selected this condition is not
available in the Screwdriving program node
•
NOK: High when tightening ends with errors, if not selected this condition is not
available in the Screwdriving program node
•
Ready: High when the screwdriver is ready to be started, if not selected this condition
is not checked
3. Under Output configure the signals that the robot sends to the screwdriver:
•
Start: starts the tool tightening or loosening a screw depending only on wiring.
•
Program Selection: one integer, or up to four binary signals, can be selected to activate
different tightening configurations stored in the screwdriver
•
Program Selection Delay: wait time to be used after changing the screwdriver’s
program to make sure it is active
24.16. Safety
See chapter 21.Safety Configurationon page119.
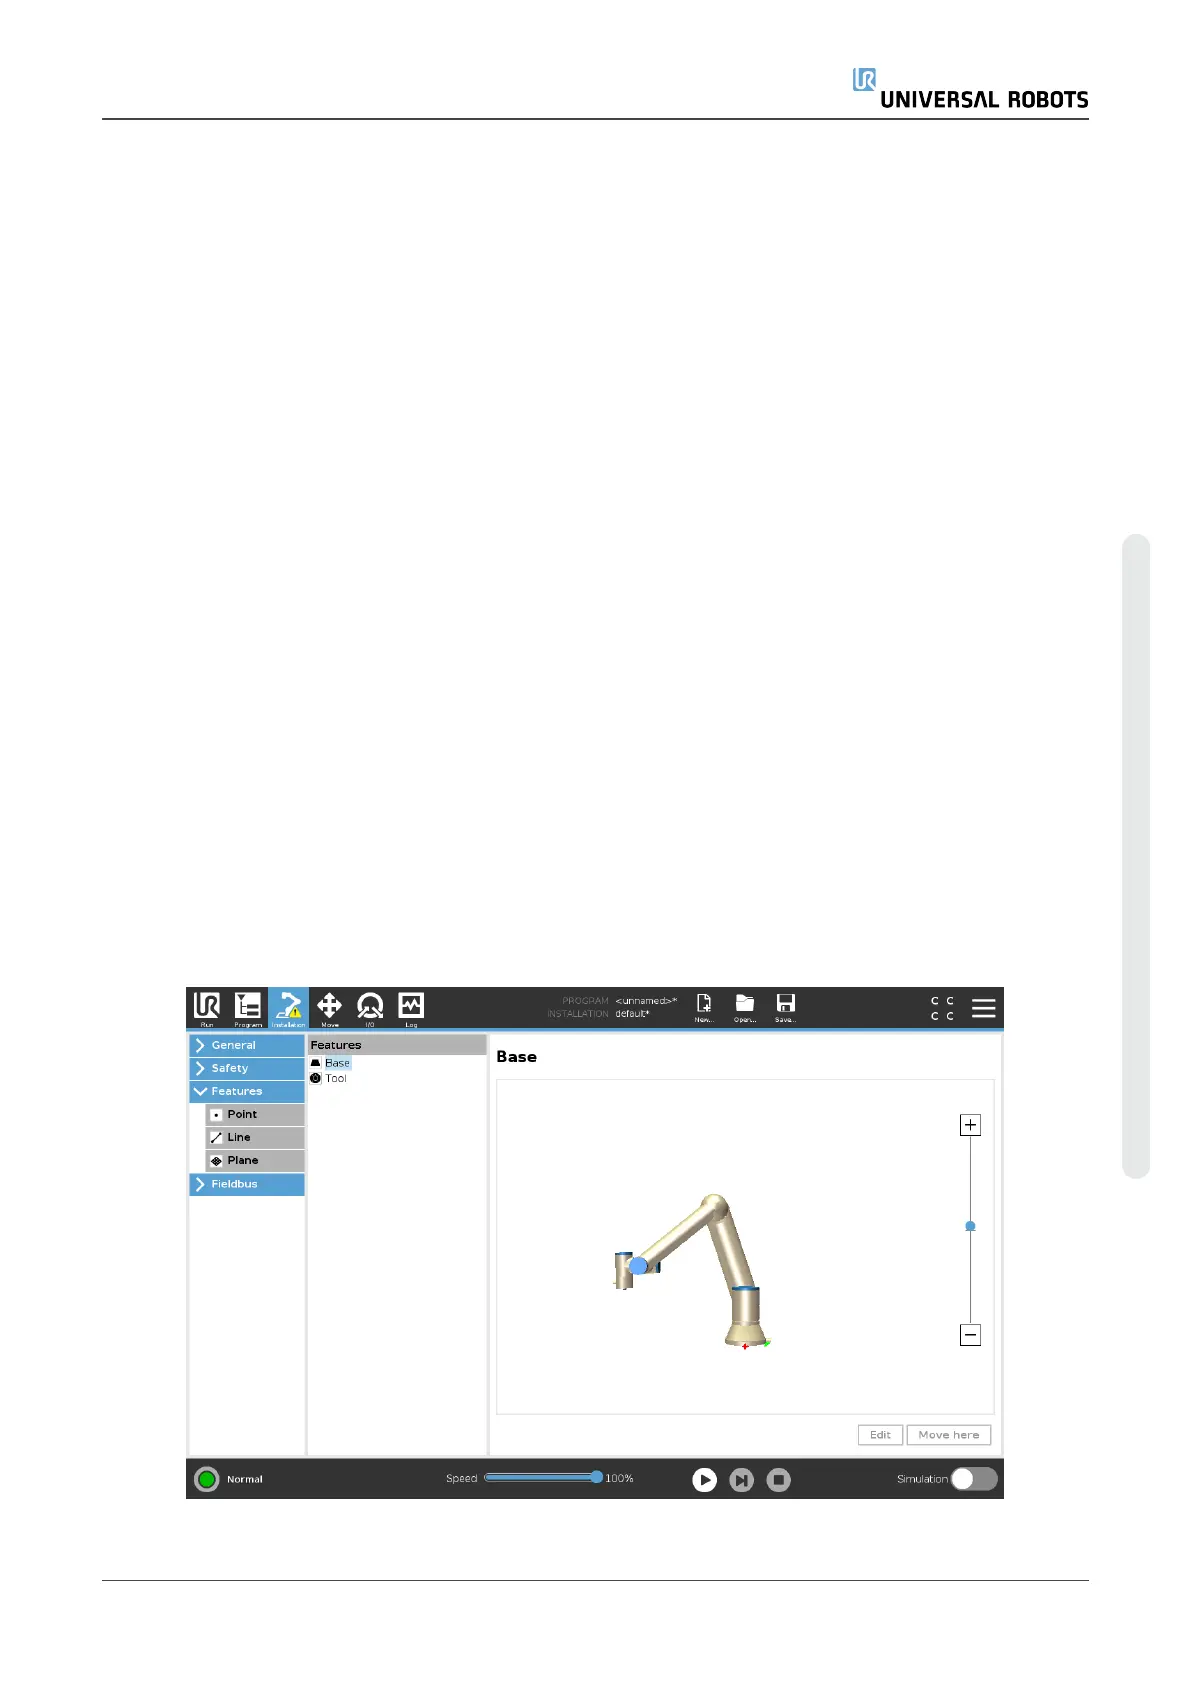
24.17. Features
User Manual 223 UR5e
24.Installation Tab
Copyright © 2009–2021 by UniversalRobotsA/S. All rights reserved.
 Loading...