INSTALLATION AND STARTUP
1MANUL220 Belanger, Inc.® * PO BOX 5470 * Northville, MI 48167-5470 * Ph (248) 349-7010 * Fax (248) 380-9681 18-3
Chapter 18 Spot Free Rinse (RO) Option
Connections for Model 3000 GPD, Stand Mounted System
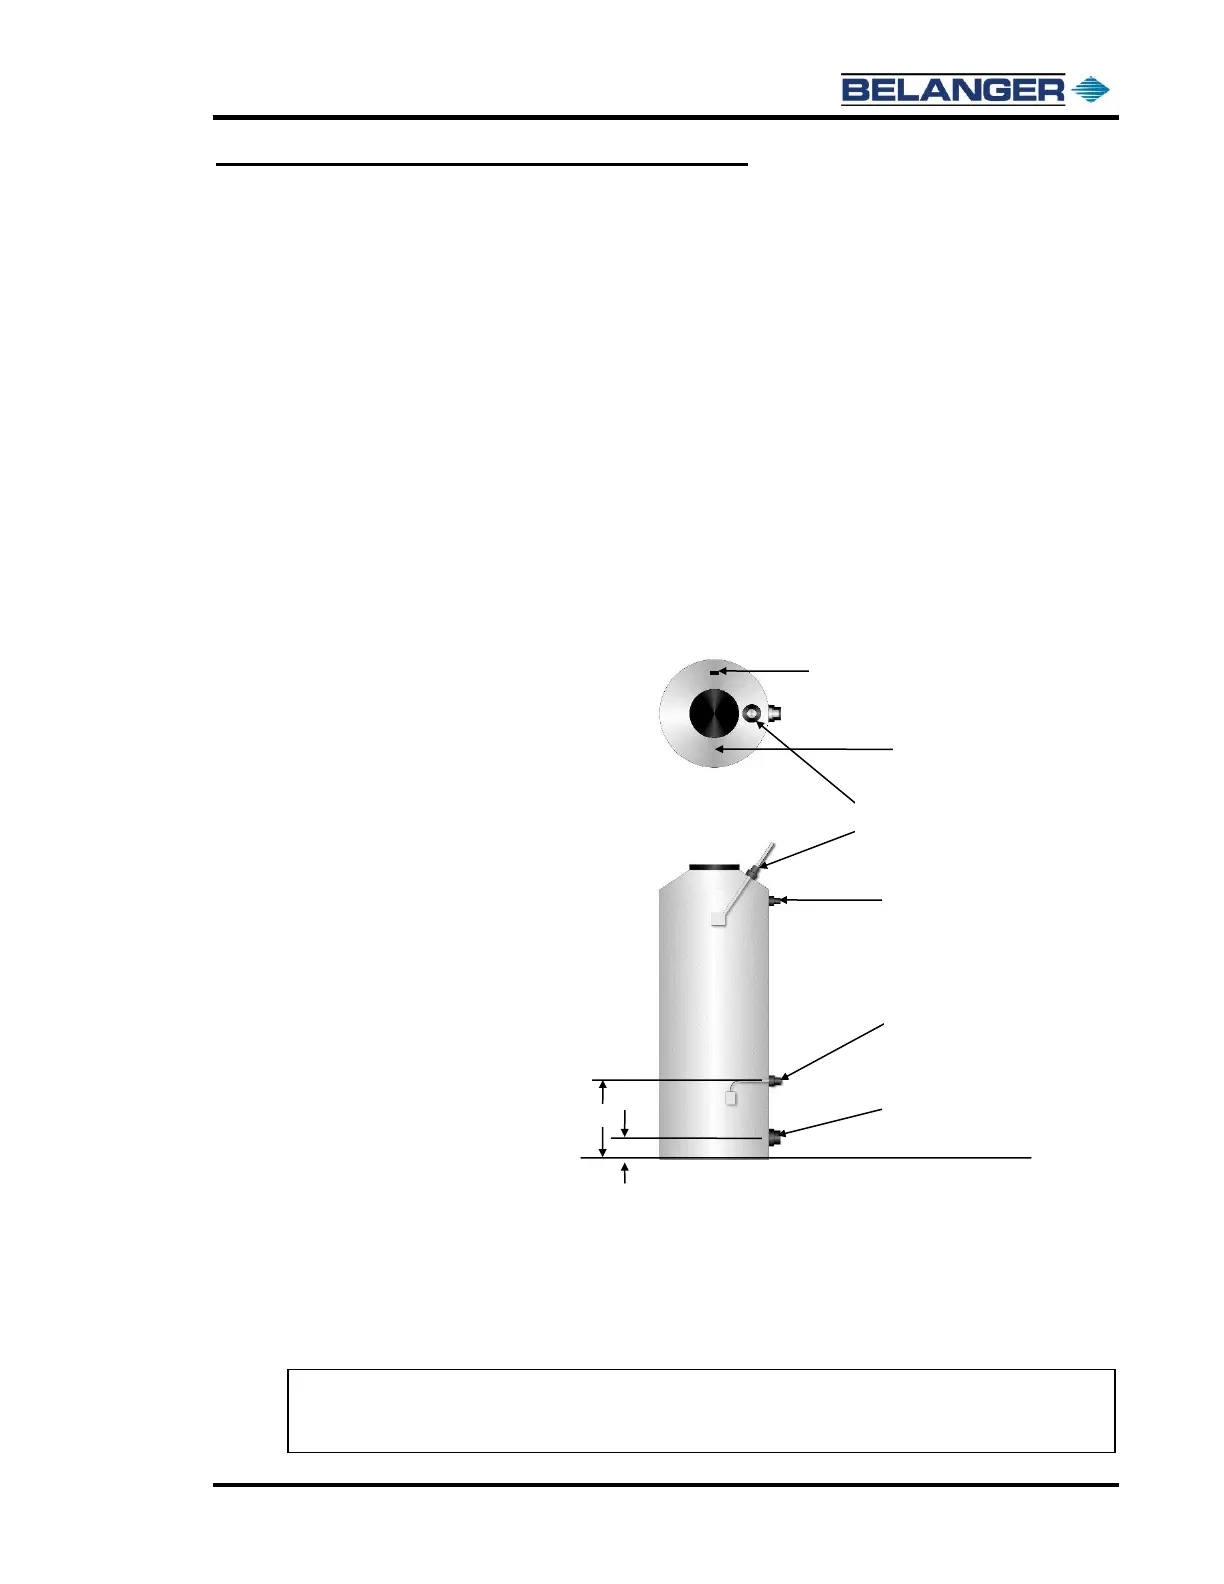
Drill a 1-3/4“ hole centered 18” up from the floor.
• See the drawings in the Pur Clean manual.
• Install a float with a rubber gasket to the inside of the tank and replace the nut. This float will plug into the control box
for the re-pressurization pump.
Drill a 9/16” hole in the top of the tank and tap it with a 3/8” pipe tap, thread in the plastic or brass fitting for the product
tube.
• See the drawings in the Pur Clean manual.
Locate the 1/2” tube.
• If you have a brass fitting to the tank, attach the fitting to the elbow in the top of the tank.
• If you have a plastic fitting, insert the 1/2” tube into the plastic elbow fitting on the top of the storage tank.
• The other end of the 1/2” tube attaches to the fitting behind the water quality light.
Connect the 1-1/4“ hose from the tank adapter to the inlet of the re-pressurization pump with the quick disconnect
fitting.
Make sure the reverse osmosis control unit switch is “off”. Now plug the reverse osmosis unit into the dedicated
outlet.
RO Water Storage Tank
•
RO Installation Final Check List
5) Is the RO unit plugged IN?
6) Are all hoses and fittings tightened?
7) Is the tap water valve turned ON?
8) Is the float plugged into the controller?