INSTALLATION AND STARTUP
1MANUL220 Belanger, Inc.® * PO BOX 5470. * Northville, MI 48167-5470 * Ph (248) 349-7010 * Fax (248) 380-9681 4-37
Chapter 4 Frame and Carriage Assembly
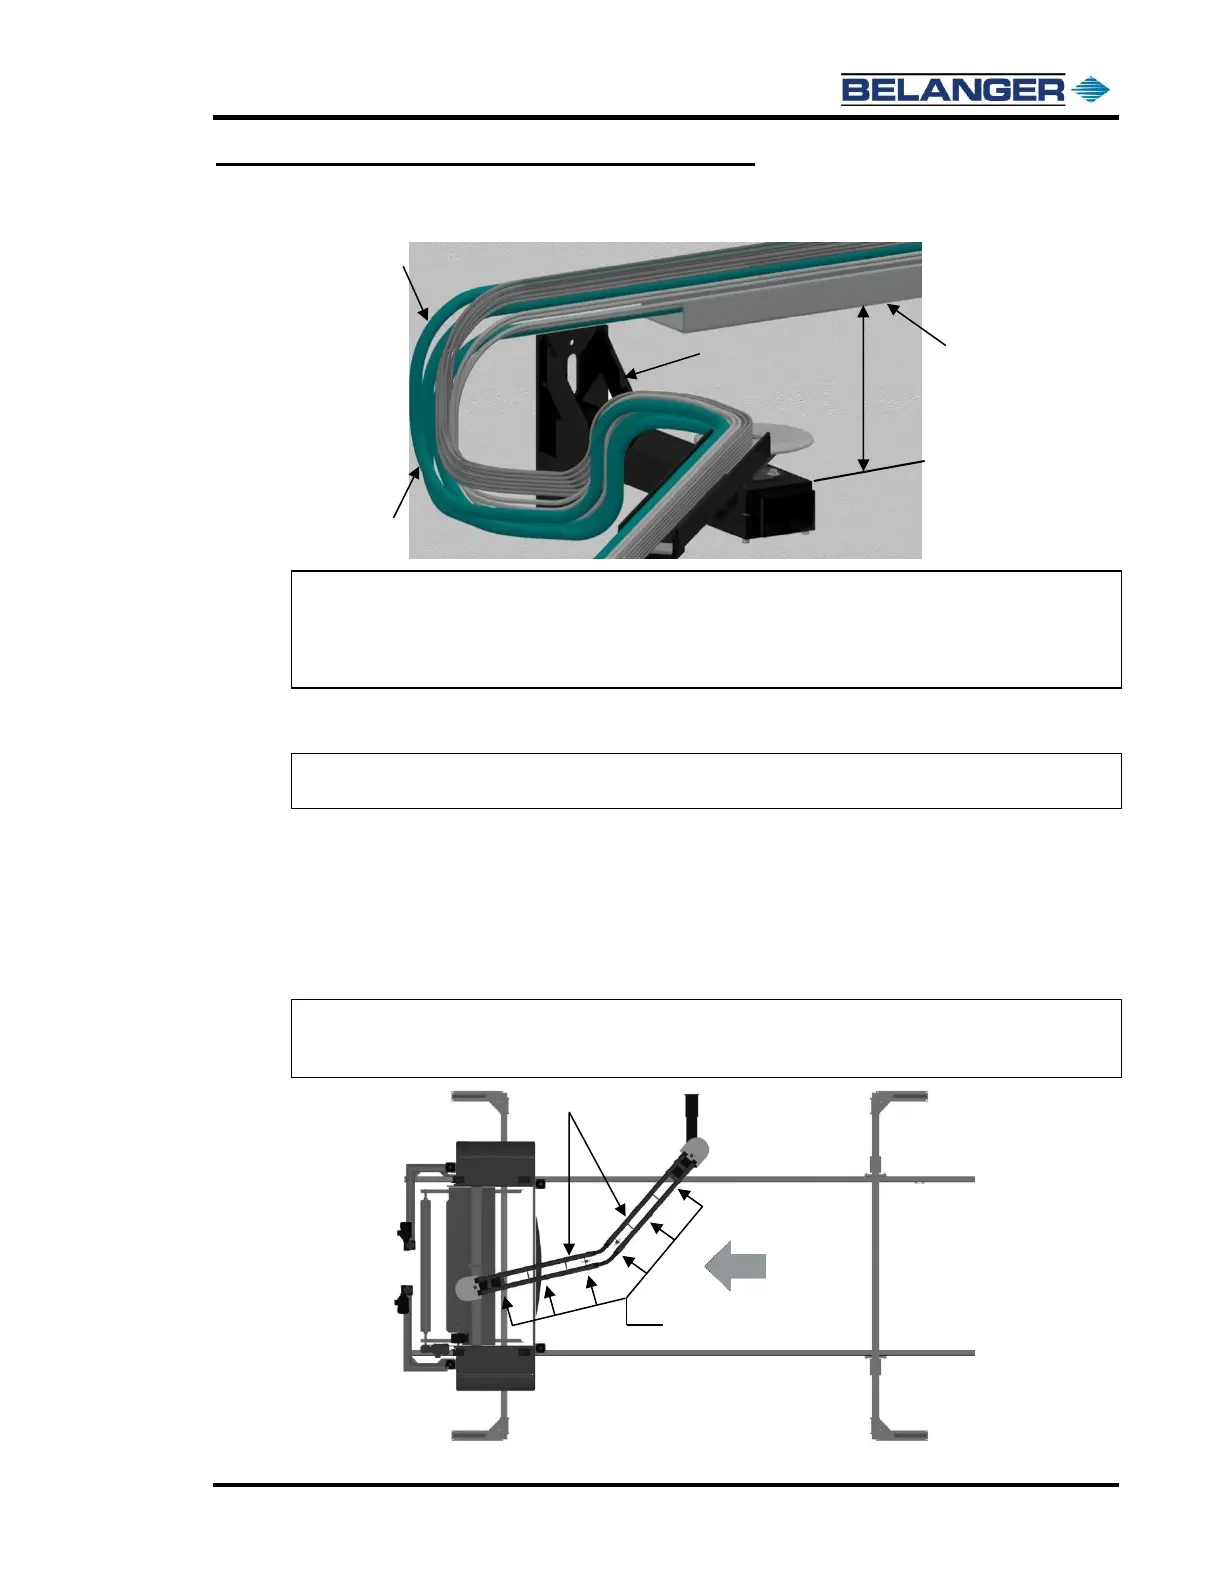
Routing Boom Utilities
Note: When setting the loop at the mount bracket, all lines except the water hoses can be neatly
tied together.
Note: Leave the water hoses untied from the other lines. A large tie strap may be fastened loosely
around all the lines to help make the loop look neater.
10) Move the machine from entrance to exit with the lines hooked up to verify that all the bends are
acceptable.
Note: In areas where the hoses may rub, put some type of hose protector around the lines to protect
them.
Optional Deluxe Boom
Connecting the Boom
• There are two Boom Arm Assemblies that are mirror images of each other. The location of the side detail plates will
indicate which arm mounts to the wall and which arm mounts to the machine. The detail plates mount to the Boom
Bushings, so they face the entrance side of the machine.
Note: Installing the Detail Plates so they face the Entrance of the machine positions the large
high/medium pressure hose on the outside of the bend radius. See image below for an
overview of the Boom placement.