INSTALLATION AND STARTUP
1MANUL220 Belanger, Inc.® * PO BOX 5470. * Northville, MI 48167-5470 * Ph (248) 349-7010 * Fax (248) 380-9681 5-9
Chapter 5 Entrance and Exit Photo-Eyes
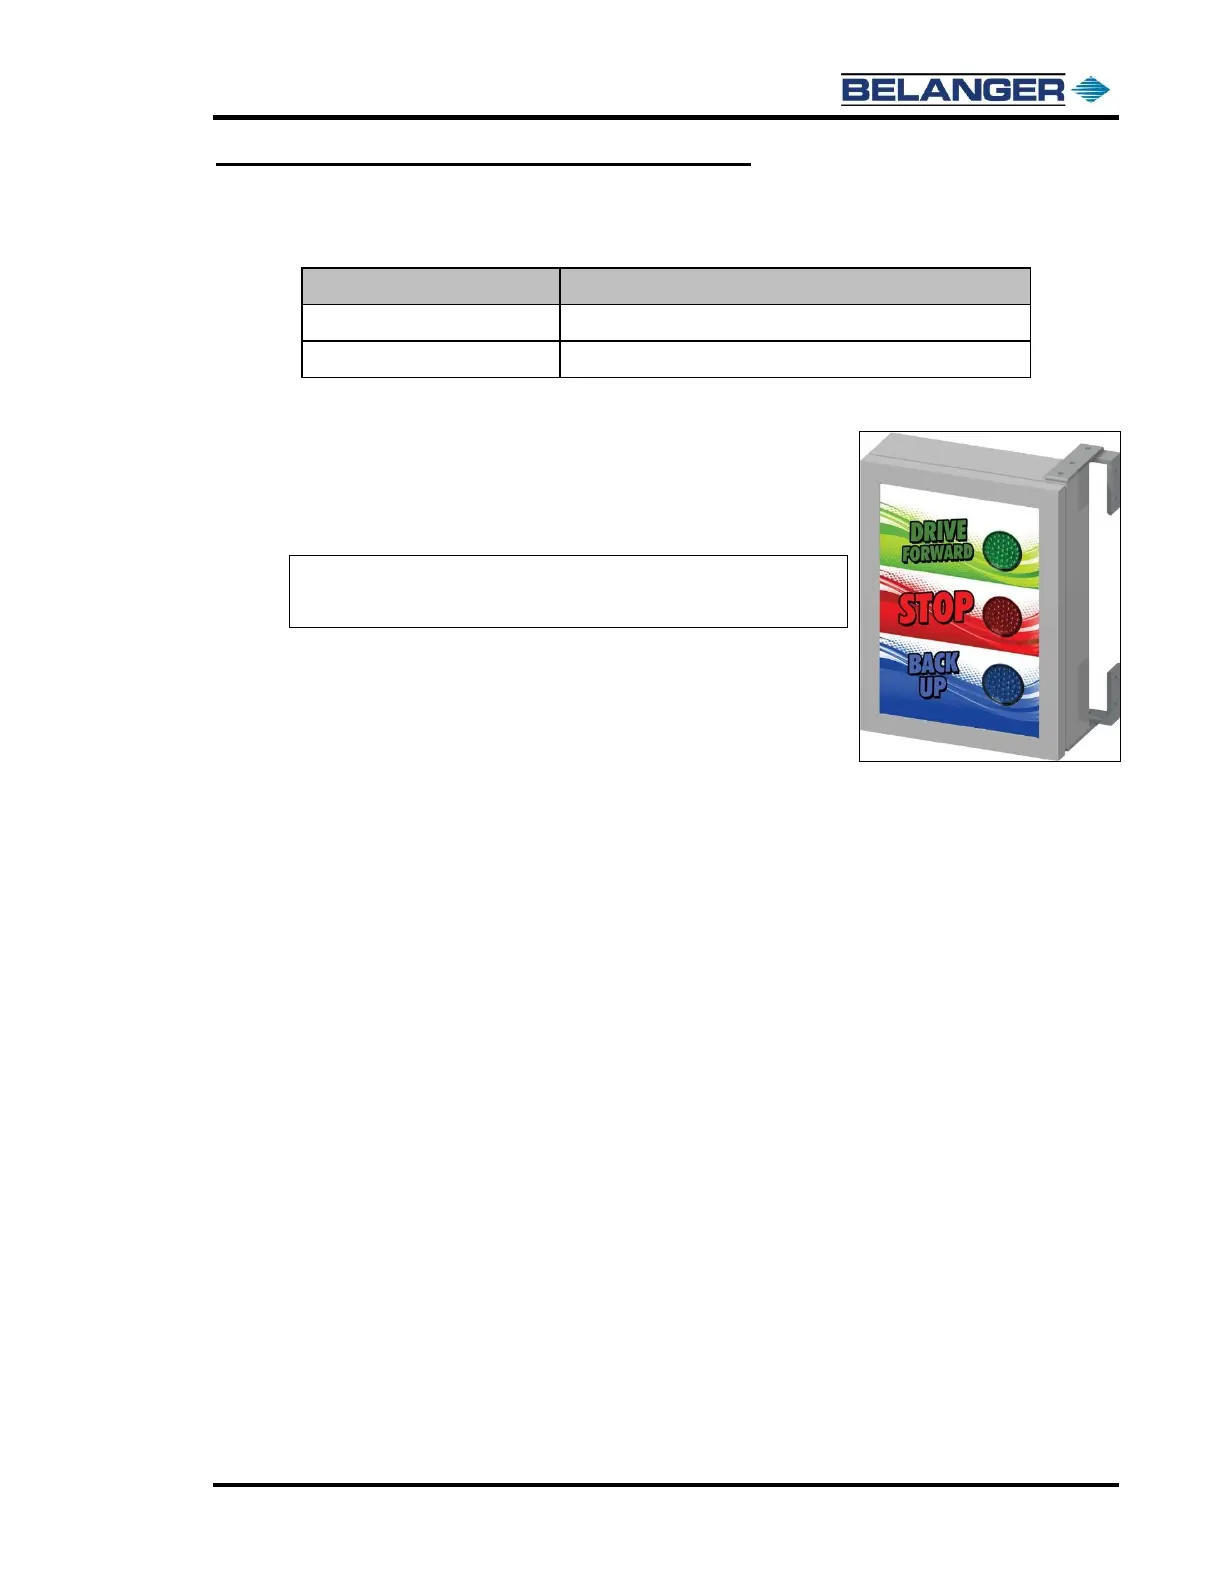
VPS Virtual Positioning System® Photo-Eye Signage
Available Options
Overview
If you have purchased the VPS Virtual Positioning System®
option for your FreeStyler® machine, it is necessary to order
one of the signs that are listed in the table above. The purpose
of the sign is to assist the carwash customer with navigating
through the bay at the right times.
Installation
There are two different ways to mount the sign in the bay. A
pedestal mount and a wall mounted swivel. Whichever one is
selected; the sign will need to be mounted on the passenger
side of bay close to the dryer system. See the images below for
more details.
1) Locate the skid that the sign was shipped on. Inspect for any damages at this time.
2) Remove the sign from the skid.
3) Jog the FreeStyler® machine until it is at the exit positive stops at the end of the rails. Turn the
passenger side exit wheel arm on so that it is spinning and then fire the arm out.
4) Position the sign on the passenger side of the bay, close to the dryer system, making sure that it is
clearly visible for the customer to see when the car wash is running.
5) Take note of the furthest point the Neo-Tex™ reaches and allow room between the sign and the
measured point. This is to assure that the arm will never come in contact with the sign.
6) Mount the sign using field supplied fasteners.
7) Have a certified field electrician wire up the optional sign to the same outputs that the on-board
sign is wired too.
8) Run a few test washes to ensure that everything is working properly and that the sign is visible.