INSTALLATION AND STARTUP
4-50 Belanger, Inc.® * PO BOX 5470. * Northville, MI 48167-5470 * Ph (248) 349-7010 * Fax (248) 380-9681 1MANUL220
Chapter 4 Frame and Carriage Assembly
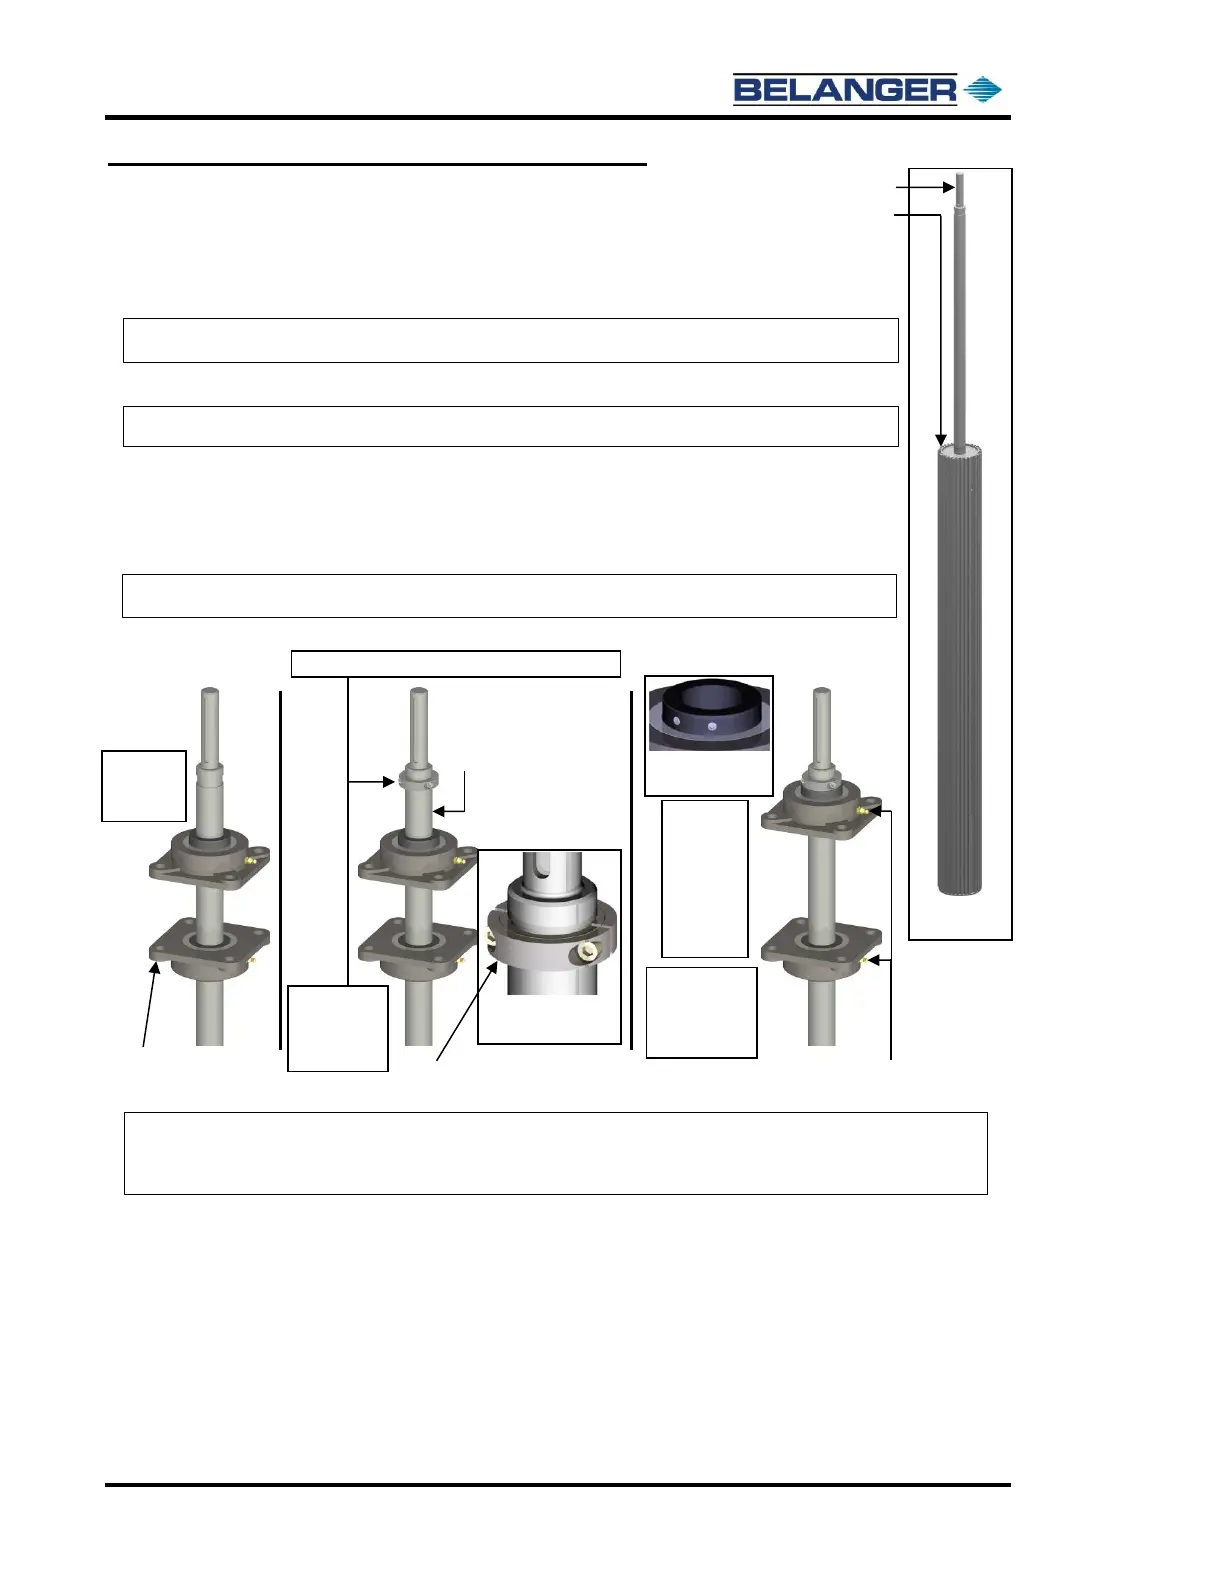
Mounting the Exit Arm Accessories
1) Locate the two Exit Hub and Shaft Assemblies as shown on the right.
Slide a 1BERNG848 onto each of the shafts with the flat side facing upward.
Slide another 1BERNG848 onto the shaft with the flat side facing downward.
See the images below in Step 2.
2) Place the 1COLLR333 into the collar slot on the shaft and tighten it down onto the
shaft so there is an even gap on both sides of the collar.
Slide the top bearing up until the collar is sitting on top of the bearing and tighten
the set screws as shown below.
Note: Use anti-seize on all bearings and on the top part of the shaft that slides into the gearbox.
Note: Overtightening may strip the threads on the locking-collar.