5•Service
Doc. 065051-03 1/08 135
5. Insert the syringe drive connecting screw removed in Section 5.3.1
and tighten fingertight.
6. Perform a flush cycle:
a. Press
Menu, Menu, and 6 to go to the FLUSH/PRIME screen.
b. Move the cursor to the
ACTION field and press Select Δ or
Select ∇ to select FLUSH. Press Enter.
7. Check the syringe for bubbles. If any exist, remove the syringe and
remove the bubbles (see Section 5.3.2
). Reconnect the syringe and
flush again.
5.3.4 Initializing the Syringe
1. On the MENU of SCREENS, press 5 and 3 to go to the PLUMBING
CONFIGURATION
screen.
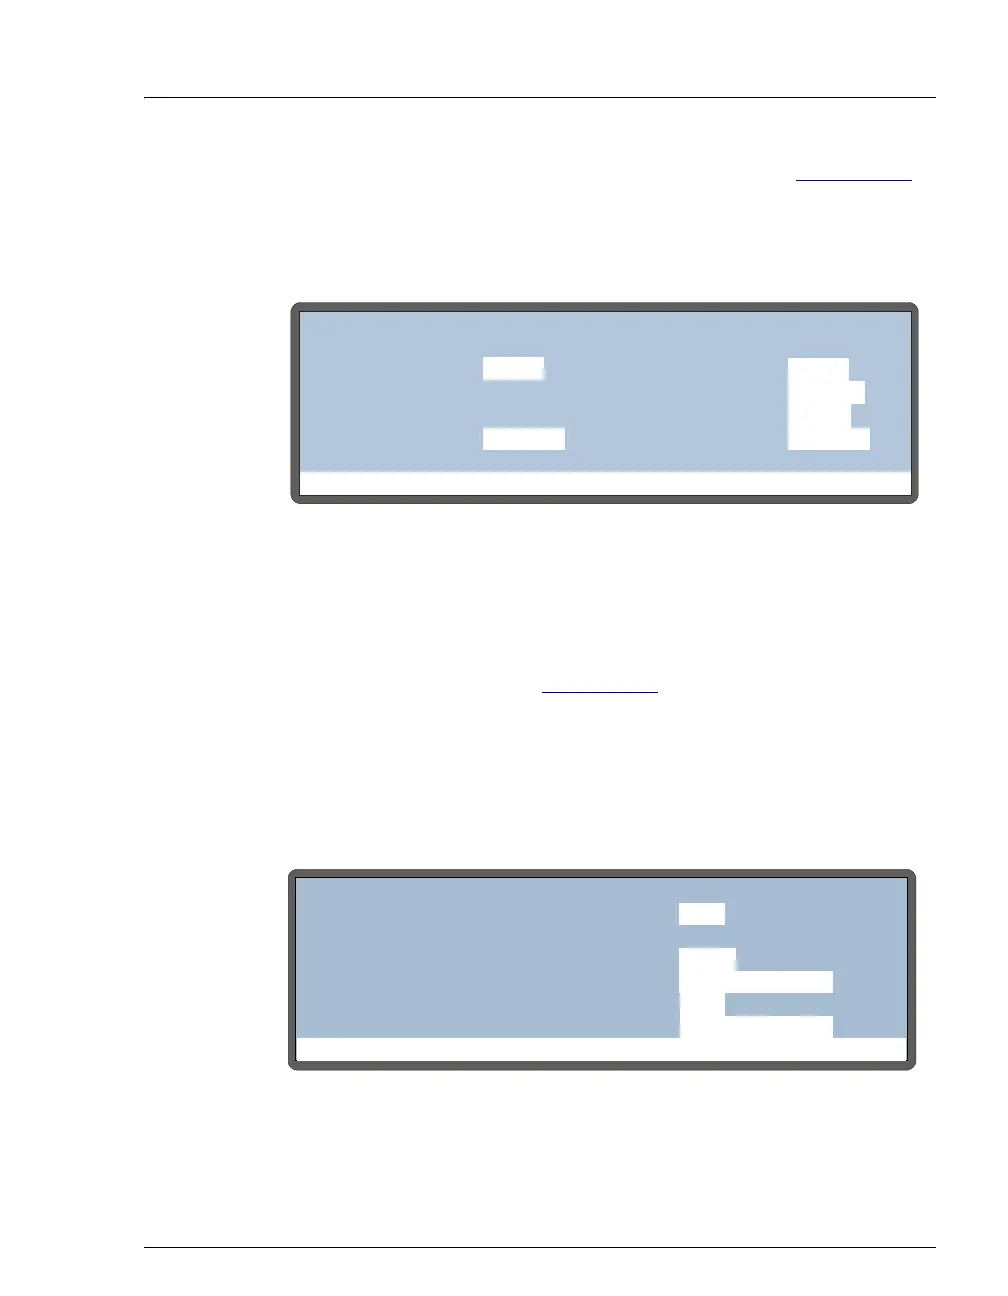
Figure 5-5. Flush/Prime Screen
Figure 5-6. Plumbing Configuration Screen
Help Prompt
FLUSH/PRIME
VOLUME:
RESERVOIR:
ACTION:
uL
250
FLUSH
FLUSH
SYRINGE:
PRIME
READY
VOLUME:
uL
2000
RESERVOIR: RES A
SYRINGE:
RES A
PREP
ACTION:
READY
SAMPLE
Help Prompt
PLUMBING CONFIGURATION
LOOP SIZE V1:
SAMPLE SYRINGE VOLUME:
PREP SYRINGE VOLUME:
SAMPLE SYRINGE CONFIG:
5
25
250
READY
uL
uL
mL
PREP SYRINGE CONFIG:
READY
uL
LOOP SIZE V2: